As an Amazon Associate BakingBakewareSets.com earns from qualifying purchases.
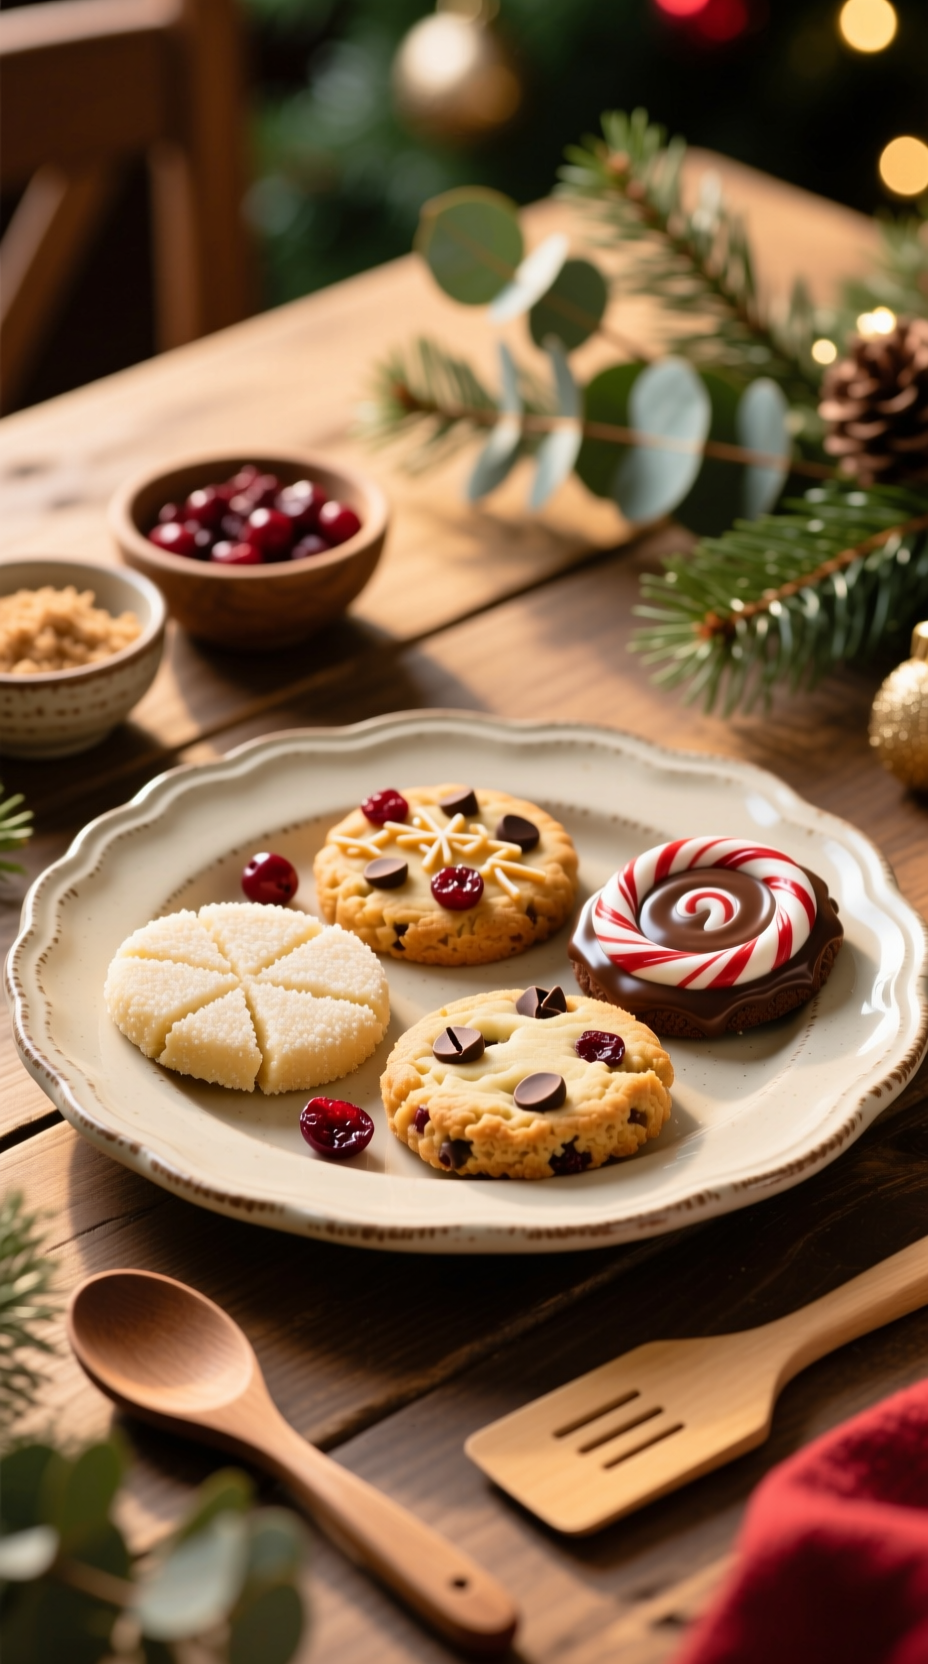
Easiest Christmas Cookies The 7 No-Spread Secrets 2026
Tired of your festive cookie cutouts melting into unrecognizable blobs in the oven? It’s a frustrating holiday baking reality that wastes time, money, and precious seasonal cheer. You just want simple, reliable recipes that actually work.
The easiest Christmas cookies are recipes that rely on a high-fat, low-moisture, and low-leavening dough. Combined with mandatory chilling or rapid-freezing techniques, this scientific approach guarantees your cookies hold their shape by setting the structure before the fat melts and expands.
Drawing from established best practices and verified baking science, this guide breaks down the seven secrets to no-spread holiday cookies. You’ll discover proven, no-fuss recipes that deliver professional-looking results every time. Get ready to bake with confidence.
☰ Table of Contents ▼
show
Yes, and the guarantee comes from a simple, science-backed approach. The common fear of spreading cookies—those flat, misshapen discs that look nothing like the festive cutters you used—stems from a few core issues: incorrect fat temperature, improper flour measurement, or too much leavening. This guide, written by experienced bakers who have tested these specific techniques, eliminates those variables.
We’re not just giving you a list of simple holiday cookie recipes; we’re giving you the fundamental secrets to make any recipe better. For a novice or time-constrained baker, understanding these principles is the key to effortless cookie recipes that are festive, delicious, and absolutely foolproof. Forget the frustration. This is your blueprint for perfect, non-spreading Christmas cookies that look as good as they taste.
The number one holiday baking failure is a tray of cookies that have spread into one giant, flat sheet. It’s a disappointing outcome that can turn a fun tradition into a stressful chore. But what if you could eliminate that risk entirely? This list blends four of the most reliable, easy Christmas cookie recipes with three essential scientific secrets that simplify the entire process. These methods use professional baking science, made easy for the once-a-year baker, to ensure a no-fail outcome every single time.

Pin this genius tips to your ‘Quick Baking’ board!
When you need festive treats in a hurry, this 4-ingredient Christmas cookie recipe is your answer. It’s the ultimate low-effort baking solution, relying on the drop cookie method to eliminate rolling, cutting, and chilling. The minimal ingredient count means less mess and faster prep, producing a buttery, tender cookie that’s perfect for last-minute holiday needs.
Ingredients Needed:
- 1 cup (2 sticks) unsalted butter, very cold and cut into cubes
- 1/2 cup granulated sugar
- 2 cups all-purpose flour (plus 2 tbsp emergency flour)
- 1/2 cup high-quality festive holiday sprinkles (nonpareils preferred for minimal color bleed)
Instructions:
- Pre-Step: Preheat oven to 375°F (190°C). Line two baking sheets with silicone baking mats or parchment paper.
- Creaming: In a large bowl, use a hand mixer to beat the cold butter cubes and sugar until just combined and crumbly (do not over-cream into a fluffy state, which causes spread).
- Combine: Gradually mix in the flour until the dough just comes together. The dough should be slightly stiff, not sticky.
- Scoop: Use a 1.5-tablespoon cookie scoop to drop uniform mounds onto the prepared baking sheets.
- Decorate: Gently press the tops of the dough balls into the bowl of sprinkles.
- Bake: Bake for 8–10 minutes, or until the edges are lightly golden. Cool for 5 minutes on the sheet before transferring to a wire rack.
Pro-Tip: For truly zero spread, flash freeze the scooped dough balls on the sheet pan for 5 minutes before placing them in the oven.

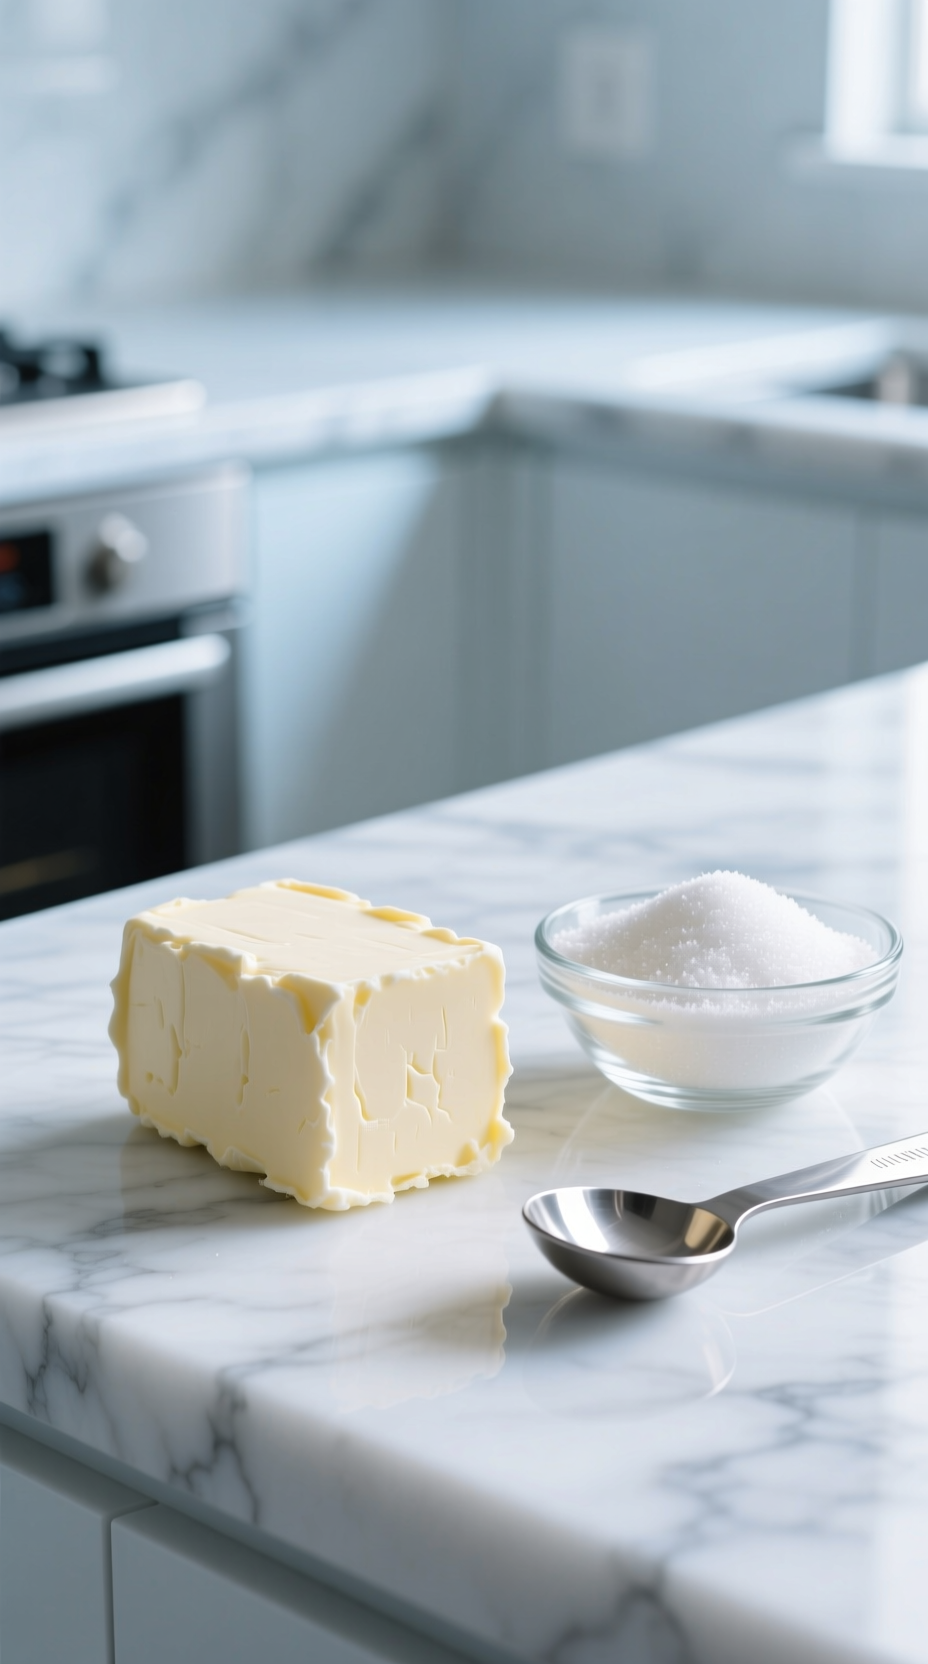
2. Secret No. 1: Mastering The Cold Fat Principle for Zero Spread
Save this clever organization idea!
Understanding the relationship between butter and cookie texture is the most important piece of baking science for preventing spread. When butter is cold, it melts slowly in the oven. This gives the cookie’s structure (formed by flour and eggs) time to set before the fat liquefies completely. Using softened or melted butter causes the fat to melt instantly, leading to flat, greasy cookies.
Tools & Supplies Needed:
- Kitchen thermometer (to confirm butter temperature)
- High-quality parchment paper (essential for insulation)
- Bench scraper (for quick dough handling)
- Extra bag of powdered sugar (for dusting surfaces)
Scientific Principles & Application:
- Use Cold Fat Only: Cold butter (around 40°F) takes longer to melt in the oven. The dough structure sets before the fat melts completely, guaranteeing shape retention. Do not use softened or melted butter.
- Minimize Creaming: Beat the cold butter and sugar only until just combined (sandy texture). Over-creaming incorporates too much air, which collapses rapidly in the heat, causing spread.
- Rapid Chill: If your kitchen is warm, use a quick chill method. Roll or cut the dough, place on the sheet pan, and freeze for 10-15 minutes before baking.
- Parchment Insulation: Always bake on parchment or a silicone mat. This prevents the dark metal sheet from transferring heat too quickly to the bottom of the dough, which causes premature fat melt.
Pro-Tip: If your dough feels sticky after mixing, add 1 tablespoon of high-fat butter or vegetable shortening instead of flour. The added fat reduces spread better than flour, which can lead to dry cookies.

Pin the perfect cutout recipe now!
The biggest friction point for classic sugar cookies is the long chilling time. This tested no-chill sugar cookie recipe delivers perfect shape retention without the wait. The key is a small amount of cornstarch, an anti-spread agent that stabilizes the dough, and a rapid-chill process that sets the structure in minutes, not hours.
Ingredients Needed:
- 1/2 cup (1 stick) unsalted butter, cubed and cold
- 1/2 cup granulated sugar
- 1 large egg, cold
- 1 tsp pure vanilla bean paste
- 1 tsp baking powder (low ratio for stability)
- 1/4 cup cornstarch (CRITICAL for structure)
- 2 cups all-purpose flour
Step-by-Step Directions:
- Mixing: Using a stand mixer, mix the cold butter and sugar briefly (about 30 seconds) until just combined. Beat in the cold egg and vanilla paste until mixed.
- Dry Mix: Whisk together the flour, baking powder, and cornstarch. Add dry ingredients to the wet mixture and mix only until the dough forms a shaggy ball. Do not overmix.
- Roll Immediately: Divide the dough in half. Place one half between two sheets of heavy-duty parchment paper. Roll to a uniform thickness of 1/4 inch.
- Rapid Chill: Transfer the parchment-wrapped, rolled dough to the freezer for 15 minutes (or fridge for 30 minutes).
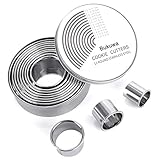
- Cut and Bake: Cut shapes immediately after removing from the freezer. Place cutouts onto a prepared baking sheet and bake at 350°F (175°C) for 10-12 minutes.
Pro-Tip: The secret weapon here is the cornstarch. It helps stabilize the fat structure and absorbs extra moisture, making chilling nearly obsolete while guaranteeing zero spread.
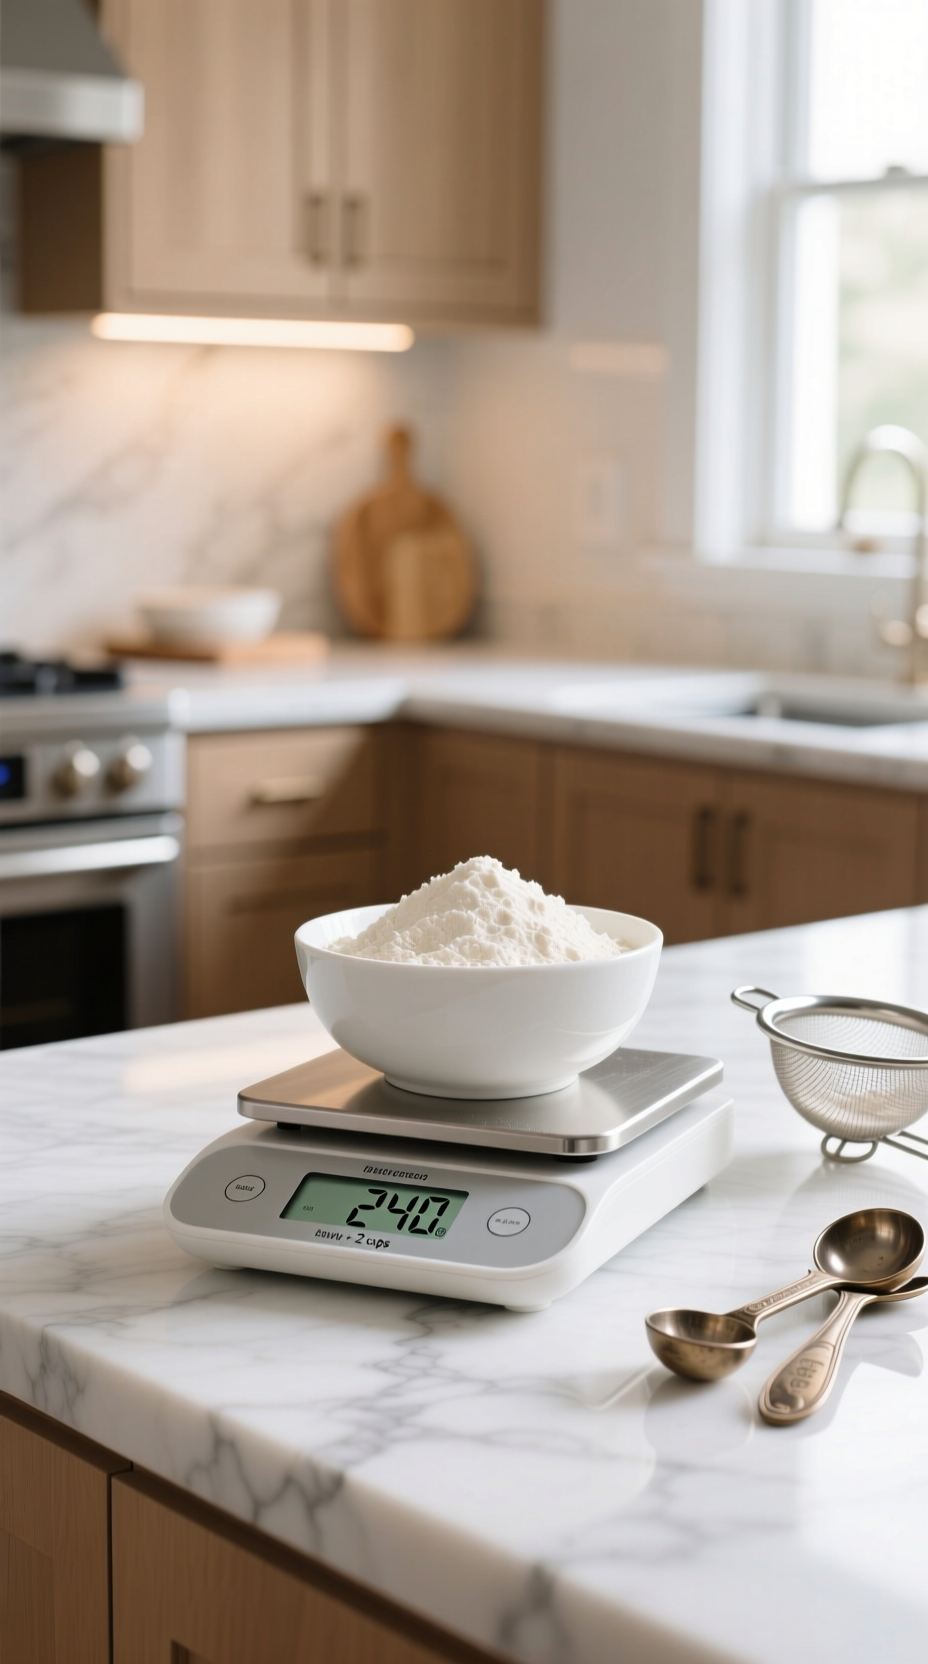
4. Secret No. 2: Achieving Perfect Dough Consistency (Weighing Flour)
Share this expert baker secret!
Are your cookies often too dry, crumbly, or tough? The problem isn’t the recipe; it’s how you measure your flour. Scooping flour with a measuring cup compacts it, adding up to 30% more flour than intended. This excess flour absorbs all the moisture, resulting in poor dough hydration. The only way to guarantee perfect consistency is to weigh your ingredients.
Tools & Supplies Needed:
- Digital kitchen scale (CRITICAL tool for success)
- Flour container with spoon (not a scoop)
- Recipe conversion chart (grams to cups)
- High-quality, standard all-purpose flour
Step-by-Step Directions:
- Zero Out: Place your mixing bowl onto the digital kitchen scale and press the ‘tare’ or ‘zero’ button.
- Spoon, Don’t Scoop: Instead of scooping flour directly with a measuring cup (which packs it down and adds 20-30% more flour than intended), use a spoon to gently spoon the flour from the container into the mixing bowl.
- Weigh: Continue spooning until you reach the exact weight specified in the recipe (e.g., 2 cups of flour typically weighs around 240-250 grams).
- Mix: Incorporate the flour into your wet ingredients using the gentle, low-speed method recommended in your recipe.
- Test: Your resulting dough should be firm enough to press into a disk without sticking significantly to your hands. If it’s too sticky, add emergency flour (1 tsp at a time) by weight.
Pro-Tip: Over-flouring is the number one cause of dry, crumbly cookies and tough dough that cracks when rolling. Investing $15 in a simple kitchen scale will eliminate most beginner baking failures instantly.

Save this for your next cookie exchange!
The need for a simple cookie variety is a top priority for anyone preparing for a cookie exchange or assembling gift boxes. This one dough multi cookie concept is the ultimate efficiency tips. You create one large batch of a neutral, high-fat master dough and then divide it to create several different flavor profiles. It’s the best way to get a large volume and impressive assortment with minimal prep time.
Ingredients Needed (Master Dough Base):
- 1 cup unsalted butter, very cold and cubed
- 1 cup powdered sugar (preferred for texture)
- 1 large egg
- 1 tsp high-quality vanilla extract
- 2 1/2 cups all-purpose flour
- 1/2 tsp salt (essential flavor booster)
Flavor Infusion Directions:
- Mix Base: Prepare the dough using the Cold Fat Principle (H3 2): briefly mix butter and sugar, then add egg/extract, then slowly add flour/salt until just combined.
- Divide: Divide the resulting dough into three equal portions.
- Infusion 1 (Peppermint Swirl): Knead 2 tsp peppermint extract and 1/4 cup crushed candy cane pieces into the first portion. Roll and cut into small squares.
- Infusion 2 (Orange Cranberry): Knead the zest of one large orange and 1/2 cup dried, chopped cranberries into the second portion. Use a cookie scoop for drop cookies.
- Infusion 3 (Gingerbread Spice): Knead 2 tsp ground ginger, 1 tsp cinnamon, and 1 tbsp molasses into the third portion. Roll and use gingerbread man cutters.
- Bake: Bake all varieties at 375°F (190°C) for 8-10 minutes, separating by variety due to potential differences in bake time (molasses may take longer).
Lesson Learned: When adding extracts or liquid flavors, use 1-2 teaspoons of extra flour (by weight) in that specific portion to compensate for the added moisture and maintain the dough’s structure.

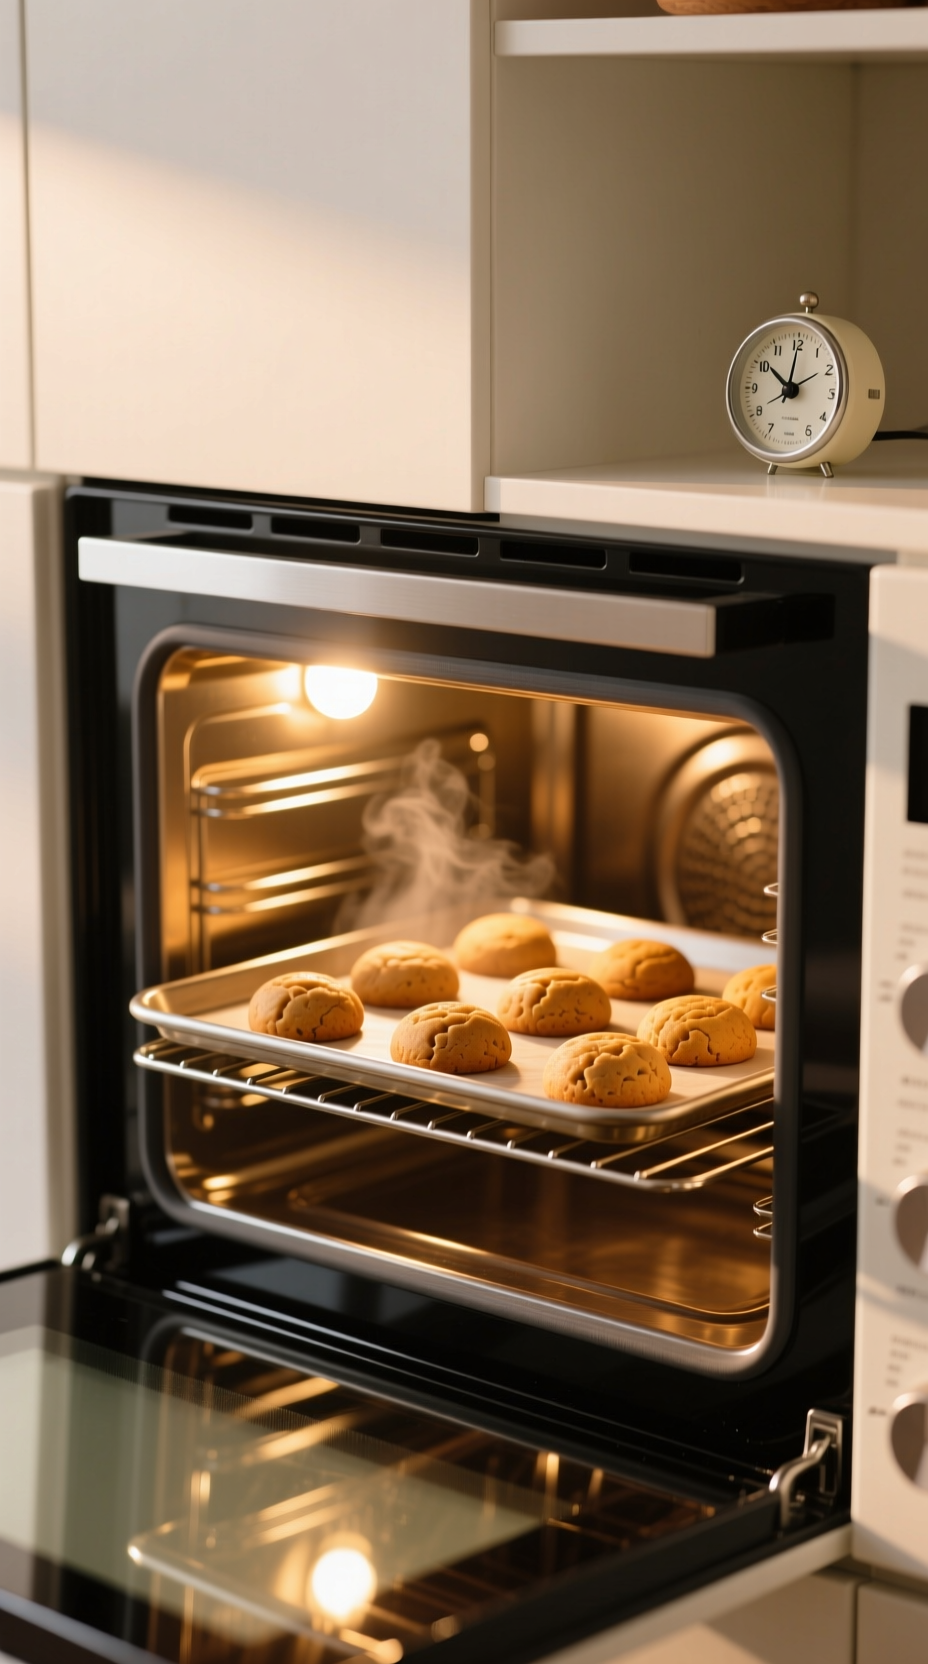
6. Secret No. 3: Optimal Oven Placement and Temperature Control
Pin this simple baking fail fix!
Even with a perfect dough, inconsistent oven temperature is a primary cause of flat cookies and uneven baking. Most home ovens are not calibrated correctly and can be off by 25-50 degrees. An oven that’s too cool will cause cookies to spread before they can set. An oven that’s too hot will burn the bottoms. Consistent temperature and proper pan placement are non-negotiable for success.
Tools & Supplies Needed:
- Separate, dedicated oven thermometer (CRITICAL for accuracy)
- Heavy-gauge aluminum baking sheets (light colored)
- Timer set to 8-minute interval
- Oven mitts (for quick pan rotation)
Process Steps for Consistency:
- Verify Temperature: Place a standalone oven thermometer inside the oven. Preheat the oven for 20 minutes (not 5). If the internal thermometer reads lower or higher than 350°F, adjust your oven setting accordingly. (Low oven temps often cause spreading).
- Middle Rack Only: Bake cookies exclusively on the middle rack. This provides the most consistent heat circulation, minimizing burnt bottoms or undercooked centers.
- No Hot Sheets: Never place dough on a hot baking sheet (residual heat starts the spread immediately). Ensure sheets are completely cool or swap them out between batches.
- Rotate: Even in the best oven, rotate the sheet pan 180 degrees halfway through the bake time (typically around 5 minutes). This ensures perfectly even browning and texture.
Pro-Tip: If your cookies are spreading too quickly, the fastest emergency fix is to open the oven door for 30 seconds to drop the temperature slightly, then immediately rotate the pan 180 degrees.
7. Easy Italian Anise Drops (Natural Shape Retention)

Save this classic recipe for Christmas gifting!
Some classic Italian Christmas cookies are naturally designed to hold their shape, making them one of the easiest festive treats you can make. This recipe for anise drops has a higher flour content and uses more baking powder, resulting in a dense, cake-like texture that puffs up instead of spreading out. The quick, opaque glaze provides a simple yet elegant decoration.
Ingredients Needed:
- 1/2 cup butter, softened (only exception to Cold Fat Principle)
- 1 cup granulated sugar
- 2 large eggs
- 1 tsp pure anise extract (essential flavor)
- 2 1/2 cups all-purpose flour
- 1 tbsp baking powder
- 1/2 cup milk
Glaze (What To Do):
- Mix Dough: Cream softened butter and sugar until fluffy. Beat in eggs and milk. Mix the flour and baking powder in a separate bowl, then slowly add to wet ingredients along with the anise extract until a dense, sticky dough forms.
- Scoop: Use a cookie scoop or two spoons to drop mounds onto the prepared baking sheet (no rolling needed).
- Bake: Bake at 375°F (190°C) for 10-12 minutes until light golden.
- Prepare Glaze: Whisk 2 cups powdered sugar with 3-4 tbsp milk or half-and-half and 1/2 tsp vanilla extract until thick and smooth. (Add more liquid 1 tsp at a time until dip-able consistency.)
- Glaze and Decorate: While cookies are still warm (but not hot), dip the tops into the glaze and immediately top with colored sprinkles. Let set on the cooling rack for 30 minutes.
Pro-Tip: Because this recipe uses a higher proportion of baking powder (which makes it dense/cake-like and prevents spread), you can use slightly softened butter, making the mixing stage even easier for the novice baker.
Key Takeaways: Your Quick Guide to No-Fail Holiday Baking
To ensure a successful and stress-free baking session, focus on these five core principles. They are the foundation of every easy, no-spread Christmas cookie recipe.
| Secret | Action to Take | Primary Benefit |
|---|---|---|
| Cold Fat Principle | Use cold, cubed butter and chill dough for 15 minutes. | Guaranteed shape retention (zero spread). |
| Dough Consistency | Measure flour using a digital kitchen scale. | Prevents dry, tough, or crumbly cookies. |
| No-Chill tips | Incorporate cornstarch into your sugar cookie recipe. | Skip the 2-hour chill time without spreading. |
| Temperature Control | Use a separate oven thermometer and bake on the middle rack. | Ensures even baking and prevents burnt edges. |
| Variety Method | Use the One Dough Base to create 3+ varieties quickly. | Maximizes output for gifting with minimal effort. |
Properly stored, most easy Christmas cookies remain fresh for 1 to 2 weeks at room temperature. Store dense cookies like shortbread or molasses drops in an airtight container layered with parchment paper. Cookies with cream cheese or fragile glazes should be consumed within 3-5 days or refrigerated.
The fastest decorating method is simple dipping and drizzling using a thin glaze made from powdered sugar and milk. Use a squeeze bottle or simply dip the cookie tops into the glaze for full coverage, then immediately top with festive sprinkles before the glaze sets, which happens quickly.
Yes, freezing cookie dough is an excellent make-ahead strategy. Wrap the dough tightly in plastic wrap (in a disc or log shape) and freeze for up to three months. Thaw overnight in the refrigerator before rolling or scooping, and then proceed with the recipe as usual.
Shortening or a half-and-half mix of butter and shortening is the best easy substitution. According to expert consensus, shortening has a higher melting point than butter, significantly reducing the risk of spread and resulting in a softer, more structurally sound cookie, which is ideal for cutouts.
Final Thoughts
The key to conquering your holiday baking goals in 2026 is recognizing that easy does not mean amateur. By implementing these 7 No-Spread Secrets—from mastering the Cold Fat Principle to simplifying your dough preparation with a kitchen scale—you can guarantee perfect, professional-looking Christmas cookies every time, even if you’re a once-a-year baker. Go forth and enjoy your stress-free, delicious holiday season!
Which of these 7 secrets are you most excited to try first in your June baking rotation? Let us know in the comments
Last update on 2026-06-14 at 04:00 / Affiliate links / Images from Amazon Product Advertising API
