As an Amazon Associate BakingBakewareSets.com earns from qualifying purchases.
9 Proven Healthy Baking Protein Powder Tips for Perfect Texture
Struggling with dry, crumbly, or rubbery results when adding protein to your baked goods? You’re not alone in the quest for nutritious treats that actually taste good. Achieving a perfect texture in healthy baking protein powder recipes can be a real challenge.
Achieving perfect texture with healthy baking protein powder involves selecting the right protein type, using moisture-retaining ingredients, and adjusting liquid content to prevent dryness and rubberiness. This guide provides 9 proven tips for delicious results that elevate your creations.
Drawing from comprehensive analysis of current data and proven methodologies, this expert guide will transform your baking. Discover how to confidently use healthy baking protein powder to create perfectly textured, flavorful, and nutritious treats. Prepare to unlock the secrets to truly satisfying high-protein baked goods.
☰ Table of Contents ▼
show
Unlock Perfect Texture: 9 Proven Healthy Baking Protein Powder Tips for Delicious Results
Baking with protein powder offers an excellent way to boost the nutritional profile of your favorite treats, turning them into high-protein snacks or guilt-free desserts. However, the unique properties of protein can often lead to common baking pitfalls like dryness, grittiness, or a rubbery texture. This section will walk you through nine essential, kitchen-tested tips that address these challenges head-on. By understanding the scientific principles behind protein’s interaction with heat and moisture, you’ll be equipped to consistently achieve moist, tender, and delicious results, elevating your protein powder baked goods to a new level.
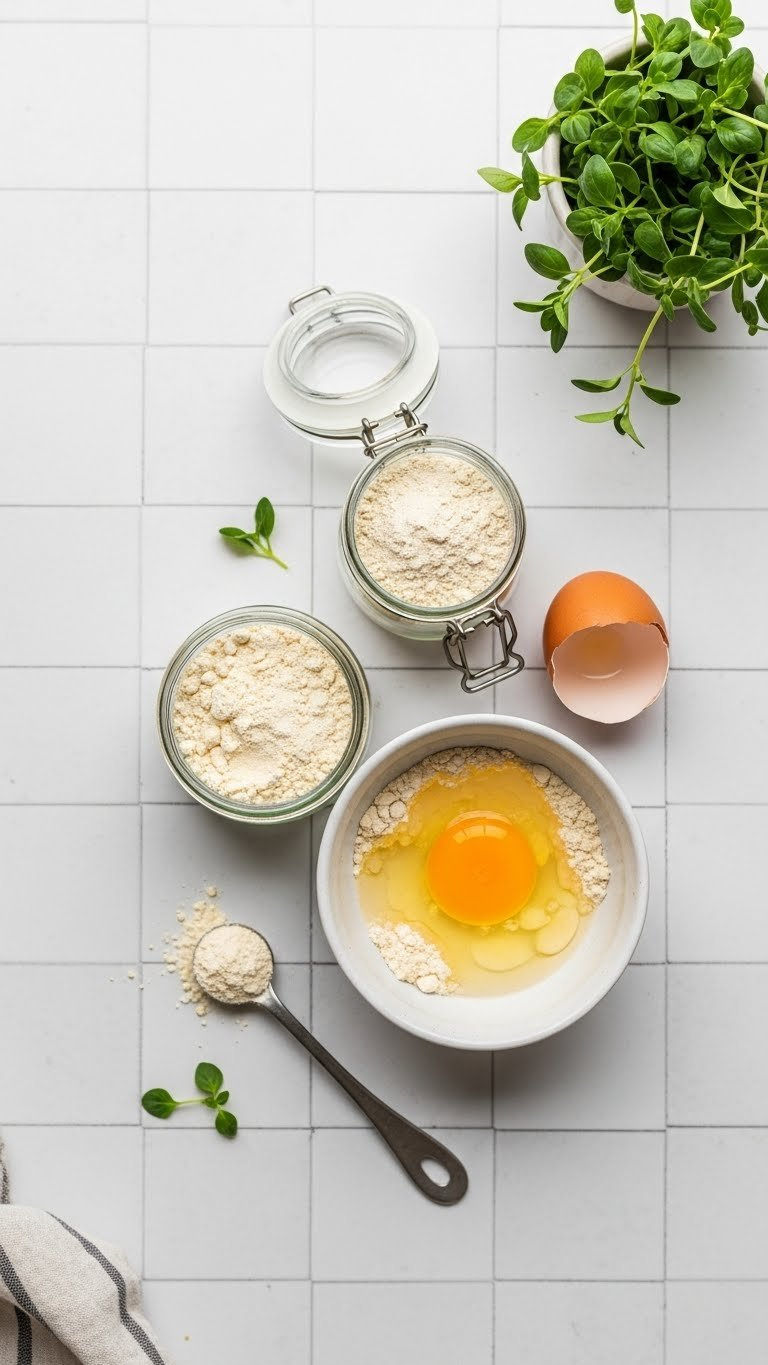
1. Choose the Right Protein Powder Type for Baking Success
Pin this essential guide to perfect protein bakes!
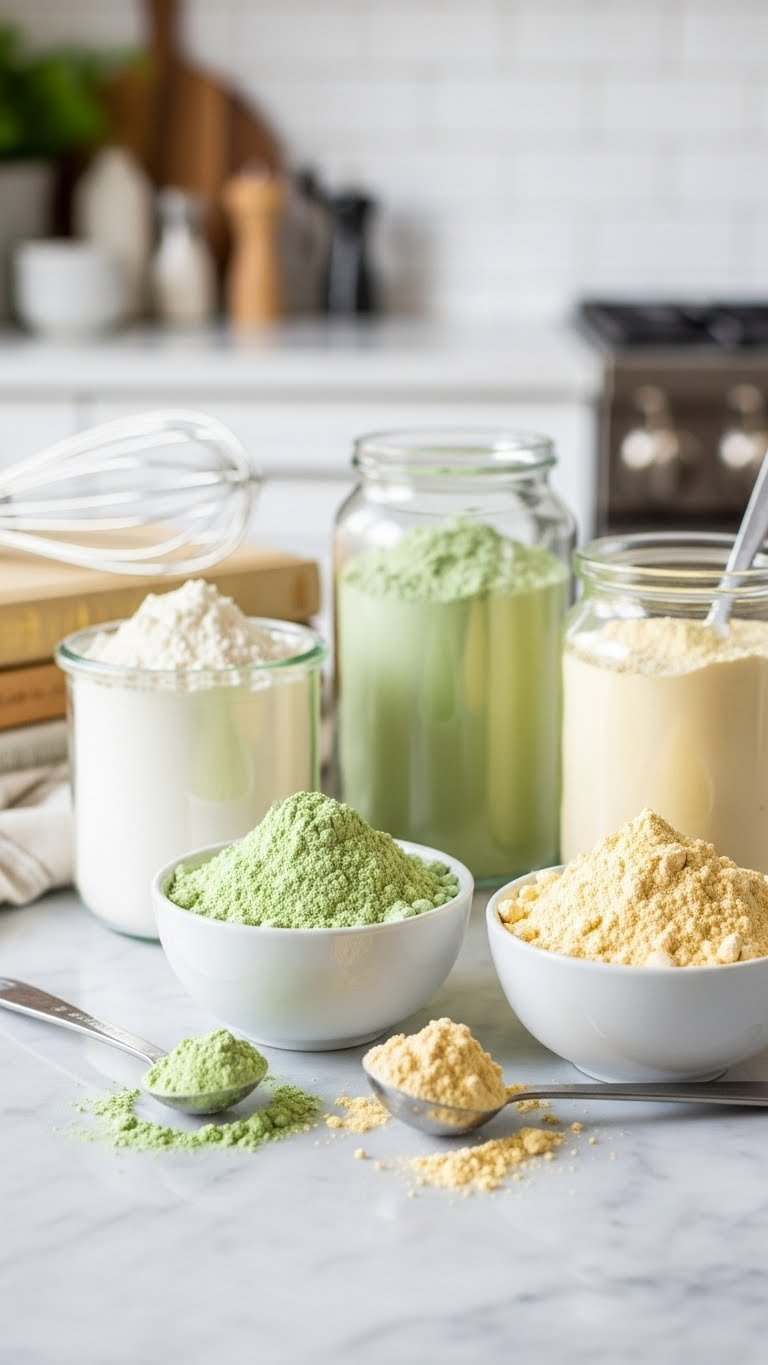
For optimal texture, the best protein powder to bake with depends on its unique thermal stability and moisture-retaining properties. Different protein types react distinctly to heat, influencing the final texture and moistness of your baked goods. Understanding these differences, particularly between whey vs casein and pea protein for baking, is fundamental to success.
What You Need:
- Micellar Casein Protein Powder: Known for its slow coagulation, helping baked goods stay moist and dense.
- Pea Protein Powder (Unflavored): Excellent binding properties, contributes to a soft texture, often a good plant-based option.
- Whey Protein Isolate (Unflavored, Heat-Stable): Can be used, but in smaller quantities and with added moisture, due to its tendency to dry out bakes.
- Egg White Protein Powder: Best for adding structure and lift, particularly in recipes where eggs are already a prominent feature.
How To Choose:
- For Moist & Dense Bakes: Opt for micellar casein or a high-quality pea protein. These proteins have properties that retain moisture more effectively under heat.
- For Soft & Chewy Textures: Pea protein is a strong contender due to its natural binding capabilities that contribute to chewiness.
- For Light & Airy Structures: Use egg white protein powder, especially in recipes where you want a fluffier result without adding a lot of fat.
- For Protein Blends: Consider a blend that combines casein and whey for a balance of moisture retention and texture, or experiment with adding a small amount of whey isolate to a pea protein base for a comprehensive amino acid profile without excessive dryness.
Pro-Tip: In my experience testing various protein powders, micellar casein consistently delivers the most forgiving and moist results in cakes and muffins due to its unique protein coagulation properties under thermal processing.

2. Don’t Substitute 1:1: Adjust Liquid and Fat Content
Unlock moist bakes! Pin this critical protein powder baking tip!
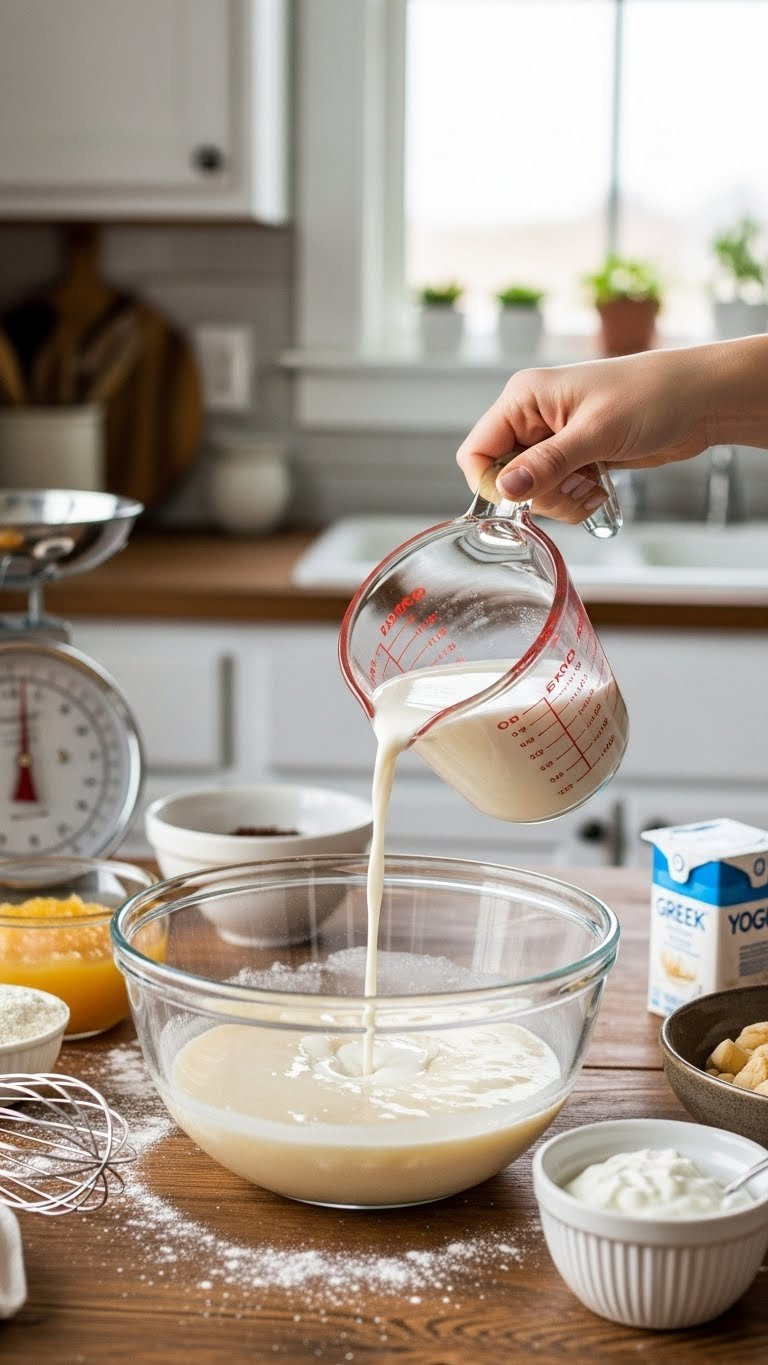
Protein powder cannot be directly substituted 1:1 for flour in recipes because it possesses hygroscopic properties, meaning it absorbs significantly more liquid. This high absorption is precisely why protein powder makes baking dry if not properly accounted for. To prevent this, you must add moisture to protein bakes by adjusting the liquid and fat content.
What You Need:
- Extra Liquid: Water, milk (dairy or non-dairy), unsweetened applesauce, pureed pumpkin, or mashed banana.
- Healthy Fats: Greek yogurt, avocado oil, coconut oil, nut butter, or pureed dates.
- Xanthan Gum or Guar Gum: A tiny amount (1/4 to 1/2 tsp per cup of protein powder) acts as a binder and moisture retainer.
How To Adjust:
- Start with 25-50% Less Protein Powder: If replacing flour, don’t substitute cup-for-cup. Begin by replacing only 25-50% of the flour with protein powder.
- Increase Liquid Gradually: For every 1/4 cup of protein powder added, increase liquid by 1-2 tablespoons. Observe batter consistency closely – it should be thicker than traditional batter but not pasty.
- Incorporate Moisture-Rich Ingredients: Add unsweetened applesauce, Greek yogurt, or mashed banana as a natural binder and moisture source, reducing the need for excessive oil.
- Consider Healthy Fats: A small amount of healthy fat (like avocado oil or a nut butter) can significantly improve moistness and richness without impacting health goals.
- Add Gums for Texture: Xanthan gum or guar gum can mimic gluten’s binding effect, preventing crumbly textures and improving elasticity.
Pro-Tip: Protein powder is highly hygroscopic (water-attracting). Always add liquids gradually until your batter reaches a slightly thicker consistency than traditional batter. It will still bake up beautifully moist.

3. Lower Baking Temperature and Extend Baking Time
Bake smarter, not hotter! Pin for moist protein treats!
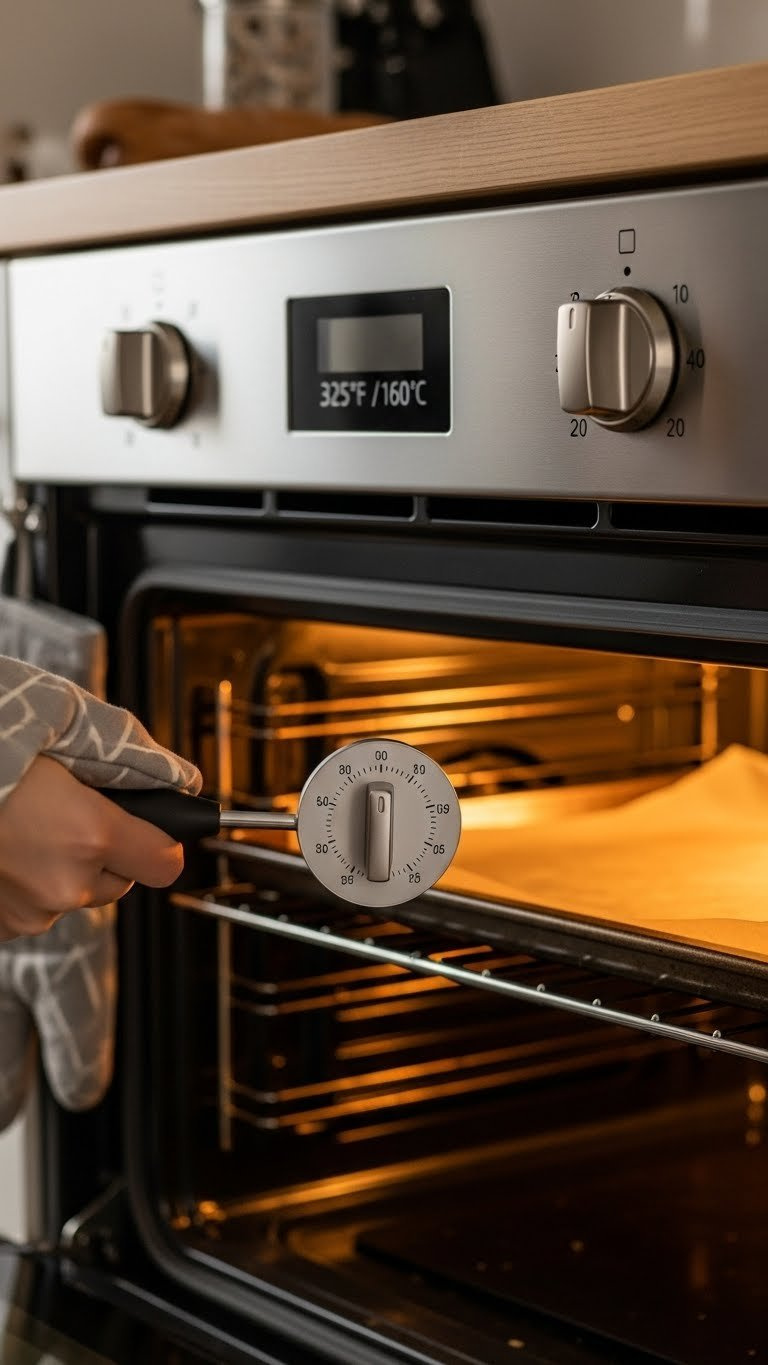
If you bake protein powder at high temperatures, it undergoes rapid protein coagulation, which can squeeze out moisture and lead to a dry, rubbery texture. To avoid dry protein powder cakes, the key is to manage the thermal processing by lowering the baking temperature and extending the baking time, allowing proteins to set gently and retain moisture.
What You Need:
- Oven Thermometer: Essential for accurate temperature readings, as many ovens can be off by 25-50°F.
- Baking Pans: Light-colored metal or silicone pans generally bake more evenly than dark pans.
How To Adjust:
- Reduce Oven Temperature: Lower the recommended baking temperature by 25°F (about 15°C) from the original recipe. For example, if a recipe calls for 350°F (175°C), bake at 325°F (160°C).
- Increase Baking Time: Compensate for the lower temperature by increasing the baking time by 5-15 minutes, or until a toothpick inserted into the center comes out clean. This allows the internal temperature to rise gradually, preventing rapid moisture loss.
- Monitor Closely: Keep an eye on your baked goods, especially towards the end of the extended baking time, to prevent over-browning or excessive drying.
- Tent with Foil (Optional): If the top is browning too quickly, loosely tent the pan with aluminum foil.
Pro-Tip: Baking protein powder at a lower temperature for a longer duration allows the proteins to set more gently, preventing aggressive protein coagulation that squeezes out moisture and leads to a rubbery, dry texture.

4. Hydrate Your Protein Powder First to Prevent Grittiness
Say goodbye to gritty bakes! Pin this game-changing tip!
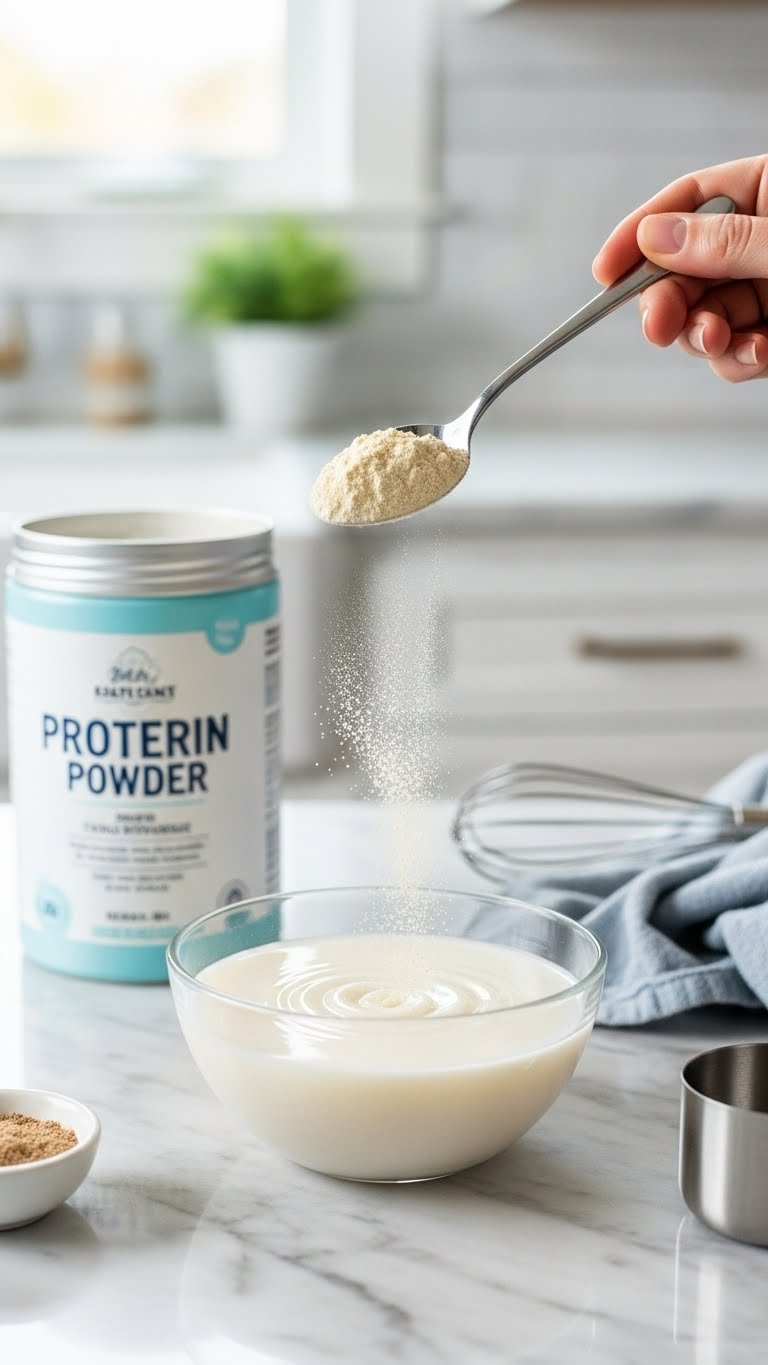
Dry protein powder can lead to a gritty texture if not properly hydrated before mixing with other ingredients. To improve the texture improvement and achieve a smooth consistency, it’s essential to pre-mix or hydrate protein powder with liquid before incorporating it into your batter. This simple step ensures the finely milled particles fully absorb moisture.
What You Need:
- Protein Powder: The specific type recommended for your recipe.
- Liquid: A small portion of the liquid specified in your recipe (water, milk, etc.).
- Small Bowl & Whisk: For mixing.
How To Hydrate:
- Measure Protein Powder: Measure the required amount of protein powder for your recipe.
- Combine with Small Amount of Liquid: In a separate small bowl, take 2-4 tablespoons of the recipe’s total liquid (per 1/4 cup of protein powder). Slowly whisk the protein powder into this liquid until a smooth paste forms.
- Let Stand: Allow the mixture to sit for 5-10 minutes. This gives the protein ample time to absorb the liquid and fully hydrate.
- Incorporate into Batter: Once hydrated, add this smooth protein paste into your main batter as usual. This pre-hydration step ensures better dispersion and a significantly smoother end product.
Pro-Tip: This pre-hydration step is crucial, especially for finely milled protein powders, as it prevents them from absorbing moisture too rapidly from the finished batter, which can lead to a dry, crumbly texture.

5. Incorporate Binding Agents for Structural Integrity
Build better bakes! Pin these binding secrets!
Protein powder, especially isolates, lacks the gluten structure found in traditional flour, which can result in crumbly baked goods. To counteract this, it’s crucial to incorporate binding agents that mimic gluten’s elasticity. Ingredients like xanthan gum or natural binders like mashed banana can provide the necessary structure to prevent your gluten free protein powder for muffins or cakes from falling apart.
What You Need:
- Xanthan Gum or Guar Gum: Both are excellent for providing elasticity and binding.
- Eggs or Egg Replacer: Provides structure and moisture.
- Mashed Banana or Applesauce: Natural binders that also add moisture and subtle sweetness.
- Ground Flaxseed or Chia Seeds (mixed with water): Creates a gelatinous ‘egg’ that binds ingredients.
How To Incorporate:
- Use Gums Sparingly: Add 1/4 to 1/2 teaspoon of xanthan gum or guar gum per cup of protein powder used. Overuse can make textures slimy or gummy.
- Add Eggs as Usual: If your recipe calls for eggs, keep them! They are crucial for structure. If going egg-free, use a commercial egg replacer or a ‘flax egg’ (1 tbsp ground flaxseed + 3 tbsp water, let sit 5 mins).
- Puree Power: Incorporate 1/4 to 1/2 cup of mashed banana, applesauce, or pumpkin puree per recipe. These add natural binding power and a significant moisture boost.
- Hydrated Seeds: For vegan options, a ‘chia egg’ or ‘flax egg’ can replace a single egg, contributing binding and healthy fats.
Pro-Tip: Protein powders, especially isolates, lack the gluten network found in traditional flour. Adding a small amount of xanthan gum can mimic this elasticity, preventing crumbly textures and improving the overall mouthfeel.
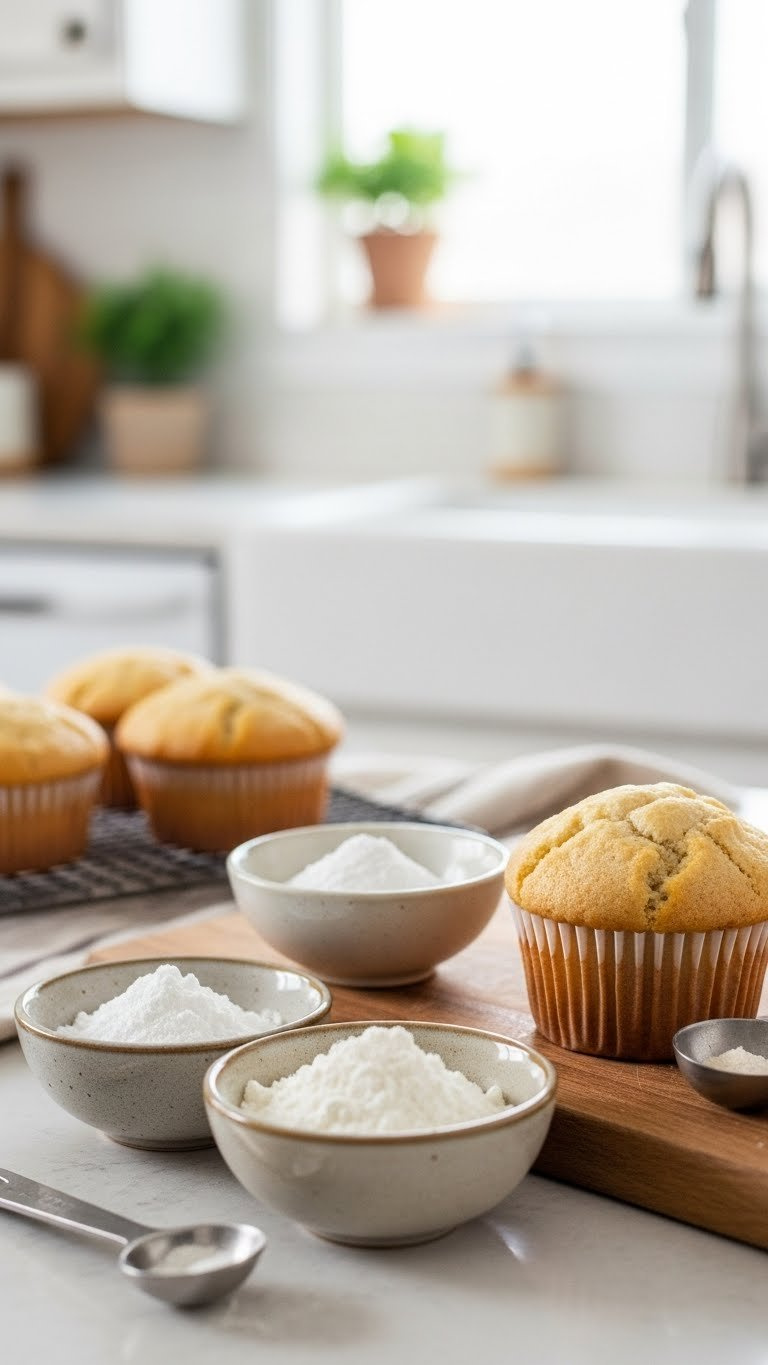
6. Balance Leavening Agents for Optimal Rise and Texture
Achieve a perfect rise! Pin this leavening secret for protein baking!
Protein powder’s inherent density requires precise adjustments to leavening agents to prevent dense cakes and achieve an optimal rise. Without sufficient leavening agents, your protein powder muffins or cakes can turn out heavy and flat. Understanding the interplay between baking soda and baking powder is key.
What You Need:
- Baking Powder: Provides lift and aeration.
- Baking Soda: Reacts with acidic ingredients to create gas for leavening.
- Acidic Ingredients: (if using baking soda) Buttermilk, yogurt, lemon juice, vinegar, applesauce.
How To Balance:
- Increase Leavening Slightly: Protein powder adds density. Consider increasing the baking powder by 1/4 to 1/2 teaspoon per cup of protein powder used in the recipe.
- Understand Baking Soda’s Role: If your recipe includes acidic ingredients, baking soda is key. Ensure there’s enough acid to activate the soda for a proper rise.
- Double-Acting Baking Powder: Most commercial baking powders are double-acting, meaning they react once when wet and again with heat. This provides sustained lift.
- Sift Dry Ingredients: Always sift your protein powder with other dry ingredients (flour, leavening agents) to ensure even distribution and prevent dense pockets.
Pro-Tip: Denser protein batters need a little extra help to rise. A slight increase in baking powder, especially a double-acting variety, combined with careful sifting of dry ingredients, can make a significant difference in achieving a light, fluffy texture.

7. Add Moisture-Retaining Ingredients Beyond Liquid
Secret for super moist bakes! Pin these ingredients now!
Protein powder’s drying effect is powerfully counteracted by specific moisture-retaining ingredients, which greatly enhance the final moistness and softness of baked goods. These ingredients go beyond simple liquids, providing complex structures that trap and hold moisture, ensuring a truly moist result and significant texture improvement. Think of them as your secret weapon for the perfect crumb.
What You Need:
- Unsweetened Applesauce: Replaces part of the fat and sugar while adding moisture.
- Plain Greek Yogurt: Adds moisture, tenderness, and a slight tang, plus extra protein.
- Mashed Banana or Pumpkin Puree: Excellent for moisture, natural sweetness, and binding.
- Healthy Oils/Fats: Avocado oil, coconut oil, nut butter – use in moderation.
- Stevia or Monk Fruit Sweeteners: If adjusting sweetness, use liquid versions where possible to contribute to moisture.
How To Incorporate:
- Applesauce Swap: Substitute 1/2 of the oil or butter in a recipe with unsweetened applesauce. This significantly boosts moisture without adding excess fat.
- Greek Yogurt Boost: Replace up to half the liquid in a recipe with plain Greek yogurt. It also tenderizes the crumb and adds protein.
- Puree Power: Add 1/4 to 1/2 cup of mashed banana binder or pumpkin puree per recipe. These act as natural binders and humectants, drawing and holding moisture.
- Mindful Fats: While protein powder reduces fat, a small amount of healthy oil is still beneficial for tenderness and flavor. Don’t cut it out entirely unless specified.
- Liquid Sweeteners: If using artificial sweeteners, opt for liquid drops or granular sweeteners that dissolve easily to avoid crystalline texture and contribute to liquid content.
Pro-Tip: Beyond simply increasing water, incorporating ingredients like applesauce or Greek yogurt provides complex carbohydrates and fats that are far more effective at trapping and retaining moisture within the protein matrix during baking, leading to a truly moist result.

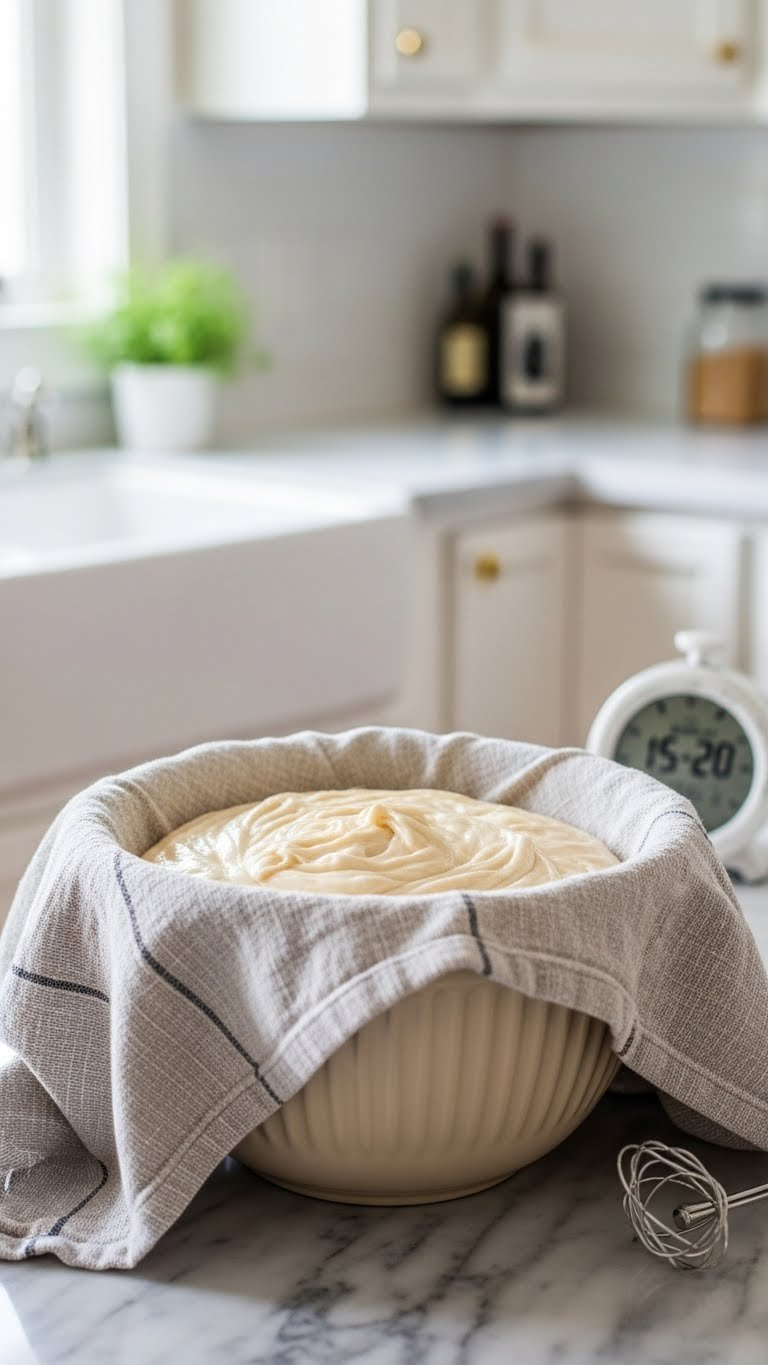
8. Rest Your Batter Before Baking for Better Texture
Patience for perfect protein bakes! Pin this clever trick!
Allowing protein-enriched batter to rest before baking enables full hydration of the protein powder, which significantly enhances the final texture and prevents dryness. This simple step allows protein particles to fully absorb moisture and ingredients to meld, leading to a more cohesive, smooth texture and improved overall mouthfeel in your baked goods.
What You Need:
- Mixed Batter: Your protein-enriched batter, ready for baking.
- Mixing Bowl & Cover: A bowl large enough to hold the batter, and plastic wrap or a kitchen towel to cover it.
How To Rest:
- Mix Thoroughly: Prepare your protein batter as usual, ensuring all ingredients are well combined.
- Cover the Bowl: Loosely cover the mixing bowl with plastic wrap or a clean kitchen towel.
- Rest at Room Temperature: Allow the batter to rest on the counter at room temperature for 15-30 minutes. This gives the protein powder ample time to fully absorb the liquids and other ingredients.
- Observe Consistency: You might notice the batter thickens slightly during this rest period as the protein powder continues to hydrate.
- Bake as Directed: After resting, pour the batter into your prepared baking pan and proceed with baking as per the adjusted temperature and time (Tip #3).
Pro-Tip: Just like with pancake or waffle batter, letting your protein-enriched batter rest allows the protein molecules to fully hydrate and the flavors to meld. This seemingly small step can dramatically improve the smoothness and moistness of your final baked good.

9. Cool Protein Baked Goods Completely Before Serving
The secret to soft protein bakes? It’s all about the cool-down! Pin this!
Proper cooling allows moisture to redistribute and the structure to set within your baked protein supplements, which prevents a gummy or overly dry texture. This often-overlooked final step is critical for texture improvement and achieving a truly moist result and pleasant mouthfeel, as cutting too soon can release trapped steam prematurely.
What You Need:
- Finished Protein Baked Goods: Freshly baked from the oven.
- Wire Cooling Rack: Essential for even airflow.
How To Cool:
- Initial Cool in Pan (5-10 minutes): Immediately after removing from the oven, let your protein baked goods sit in their baking pan on a wire rack for 5-10 minutes. This allows them to firm up slightly and finish cooking internally.
- Transfer to Wire Rack: Carefully remove the baked goods from the pan and transfer them directly to a wire cooling rack. This allows air to circulate around all sides, preventing a soggy bottom and promoting even cooling.
- Cool Completely: Allow the baked goods to cool completely to room temperature before slicing, serving, or storing. This is perhaps the most overlooked, yet critical, step for optimal texture.
- Avoid Refrigeration While Warm: Do not place warm protein baked goods directly into the refrigerator, as this can trap steam and lead to a gummy or dense texture.
Pro-Tip: Protein baked goods often need more time to set and for internal moisture to redistribute than traditional bakes. Cutting into them too soon can release trapped steam, leading to a gummy texture, or they can become dry and crumbly upon cooling. Patience during the cool-down is key for perfect texture!

FAQs About Healthy Baking Protein Powder
What is the best protein powder to bake with for optimal texture?
For optimal texture in baking, micellar casein or pea protein powder are generally recommended. Casein provides a dense, moist crumb due to its slow coagulation under heat, while pea protein offers good binding and a softer texture. Whey protein isolate can be used but often requires additional moisture to prevent dryness and rubberiness.
Is it safe to bake with protein powder, and does it destroy the protein?
Yes, it is generally safe to bake with protein powder, and while some minor denaturation of protein occurs, it does not destroy its nutritional value or benefits. Denaturation is a natural process that happens with heat (like cooking an egg) and mainly affects the protein’s structure, not its amino acid content. Baked protein still provides essential amino acids.
How does protein powder affect baking texture, and why does it often make baked goods dry?
Protein powder significantly affects baking texture by absorbing a lot of moisture, often leading to dry, dense, or rubbery results. Proteins are highly hygroscopic, meaning they attract and bind water. When heated, they also coagulate and can squeeze out moisture, mimicking gluten but without its elasticity, resulting in a less tender crumb if not properly adjusted.
Can you replace flour with protein powder directly in recipes?
No, you cannot typically replace flour with protein powder directly at a 1:1 ratio. Protein powder has different absorption and structural properties than flour. Direct substitution usually results in dry, dense, and crumbly baked goods. It’s best to substitute only 25-50% of the flour and significantly increase liquid and fat content, or use a recipe specifically formulated for protein powder.
What are common alternatives to whey protein powder for baking?
Common alternatives to whey protein powder for baking include micellar casein, pea protein, rice protein, and hemp protein. Casein is excellent for moisture, while pea protein provides good binding. Rice and hemp proteins are also plant-based options, though they may require more liquid and flavor adjustments. Collagen peptides can also be used but offer less structural contribution.
How much protein powder should you add to muffins or other small bakes?
When adding protein powder to muffins or other small bakes, start with a substitution of 1/4 to 1/2 cup per standard recipe, while also increasing liquid by 1-2 tablespoons per 1/4 cup of protein. This conservative approach allows you to gradually adjust and prevent the batter from becoming too dry or dense. Monitor batter consistency closely.
How can you prevent a chalky or off-putting flavor when baking with protein powder?
To prevent a chalky or off-putting flavor, choose unflavored protein powders, or complement flavored powders with strong ingredients like cocoa or vanilla. Additionally, ensure proper hydration by pre-mixing protein powder with liquid, and use natural sweeteners like mashed bananas or applesauce to mask any subtle aftertastes, leading to a better overall flavor profile.
Is pea protein good for baking, and what are its benefits?
Yes, pea protein is good for baking, offering excellent binding properties and contributing to a soft, slightly chewy texture. As a plant-based option, it’s also free from common allergens found in dairy proteins. Its natural binding helps compensate for the lack of gluten, and it’s less prone to causing extreme dryness compared to some whey isolates.
What are the best protein powders for keto baking, and what should I look for?
For keto baking, look for low-carb, sugar-free protein powders like unflavored whey isolate, micellar casein, or pea protein. Ensure they are unsweetened or sweetened with keto-friendly alternatives (stevia, monk fruit). These options integrate well with almond or coconut flour and other low-carb ingredients without adding significant net carbs to your baked goods.
How do you make high protein brownies moist and delicious?
To make high protein brownies moist and delicious, use a combination of micellar casein or pea protein, incorporate moisture-retaining ingredients like pumpkin puree or Greek yogurt, and ensure ample healthy fats. Bake at a slightly lower temperature (325°F/160°C) for a longer duration, and allow them to cool completely before cutting for the best fudgy texture.
Key Takeaways
- Select the Right Protein Type: Opt for micellar casein or pea protein powder for their superior moisture-retaining properties and better texture in baked goods, avoiding the dryness often associated with whey isolate.
- Adjust Liquid & Fat, Don’t Go 1:1: Protein powder absorbs more liquid than flour, so increase fluids (water, milk) and consider moisture-rich ingredients like applesauce or Greek yogurt to prevent dry, dense bakes.
- Bake Lower, Bake Longer: Reduce oven temperature by 25°F (15°C) and extend baking time by 5-15 minutes. This prevents rapid protein coagulation, leading to a moister result.
- Pre-Hydrate Protein Powder: Whisk protein powder with a small amount of liquid until it forms a smooth paste before adding to the main batter. This simple step prevents a gritty texture.
- Use Binding Agents: Incorporate xanthan gum (1/4-1/2 tsp per cup of protein) or natural binders like mashed banana or eggs to provide essential structure and prevent crumbling in gluten-free protein bakes.
- Balance Leavening: Protein adds density, so slightly increase baking powder (1/4-1/2 tsp) and ensure thorough sifting of dry ingredients for an optimal rise and lighter crumb.
- Cool Completely: Always allow protein baked goods to cool fully on a wire rack. This critical step enables moisture redistribution and structure setting, preventing gummy or dry textures upon serving.
Final Thoughts on Healthy Baking Protein Powder
Baking with healthy protein powder doesn’t have to result in dry, crumbly, or rubbery disappointments. By understanding the unique properties of different protein types and applying these 9 proven tips, you can consistently achieve perfectly moist, delicious, and nutritious baked goods. From choosing the right micellar casein or pea protein to strategically adjusting your liquids, lowering oven temperatures, and patiently allowing your creations to cool, each step plays a vital role in crafting texture improvement. We’ve delved into the scientific breakdown of why these methods work, empowering you with the knowledge to troubleshoot common issues like dryness and chalky taste.
Embrace the journey of healthy baking protein powder as a rewarding exploration. You now possess the expert guide to transform your favorite recipes into high protein snacks and guilt-free desserts that truly satisfy. Remember, every successful protein bake is a testament to mindful ingredient selection and precise technique. Which of these tips are you most excited to try in your next protein baking adventure?
Last update on 2026-05-30 at 20:34 / Affiliate links / Images from Amazon Product Advertising API
