As an Amazon Associate BakingBakewareSets.com earns from qualifying purchases.
Baking Soda Ornaments: Smooth, White Porcelain Finish
Have you ever spent hours crafting beautiful salt dough ornaments, only to see them crack, puff up, or dry to a dull, yellowish color? It’s a common frustration that can turn a fun holiday project into a disappointing one. You want elegant, lasting keepsakes, not fragile, discolored decorations.
Baking soda ornaments offer a superior, brilliant white, porcelain-like finish compared to traditional salt dough, making them ideal for durable, elegant homemade decor. They use simple kitchen ingredients like baking soda and cornstarch, resulting in a smooth, non-cracking material that can be air-dried or baked for lasting keepsakes.
Based on a tested and proven method, this guide provides a complete, step-by-step process for creating flawless baking soda dough ornaments. You will discover the secrets to achieving that coveted smooth, white finish. Get ready to craft beautiful, permanent keepsakes that will adorn your home for years to come.
☰ Table of Contents ▼
show
Unlock the Secret to Baking Soda Ornaments with a Smooth, White Porcelain Finish
The magic behind these superior homemade Christmas ornaments lies in a simple chemical reaction. Unlike traditional salt dough, which relies on flour and large amounts of table salt, this white salt dough recipe uses a combination of baking soda (sodium bicarbonate) and cornstarch. When cooked, the cornstarch gelatinizes and thickens into a pliable, non-sticky modeling material. This process results in a dough with a remarkably fine grain texture that dries to a brilliant white, opaque, and porcelain-like finish. This method effectively solves common problems like yellowing from flour proteins and the rough, crystalline texture of salt, giving you a professional-quality base for your holiday crafting.
Crafting Baking Soda Ornaments: 7 Steps to a Smooth, White Finish
This step by step guide will walk you through the entire process of making your own stunning baking soda ornaments. By following these detailed instructions, you can consistently achieve professional results, creating decorations with exceptional long-term durability and a beautiful, refined appearance. From mixing the initial ingredients to the final sealing process, each step is designed to prevent common issues and ensure your crafting experience is a success. We’ll cover everything you need to create these elegant durable holiday decor pieces.
1. Combine Ingredients for the Baking Soda Clay Base

Pin this essential first step to your craft board!
Supplies Needed
- 2 cups Baking Soda (food-grade, fresh for optimal whiteness)
- 1 cup Cornstarch (pure, fine-grain)
- 1 ½ cups cold Water (filtered for best results)
- Large non-stick Saucepan (to prevent sticking and burning)
- Whisk or spoon (for thorough mixing)
Step-by-Step Directions
- Whisk together the 2 cups of baking soda and 1 cup of cornstarch directly in the non-stick saucepan, ensuring no lumps.
- Gradually add the 1 ½ cups of cold water while continuously whisking until the mixture is completely smooth and lump-free.
- Ensure all dry ingredients are fully incorporated into a thin, milky liquid before proceeding to cooking.
Pro-Tip: Using fresh baking soda is crucial for the brightest white ornament dough and best reaction in the cooking process. Stale baking soda might lead to a slightly duller finish.

2. Cook and Thicken the Dough to Perfect Consistency

Watch your ornament dough transform! Pin this clever method!
Supplies Needed
- Cooked Baking Soda Clay mixture (from previous step)
- Heat-resistant Silicone Spatula (for constant stirring)
- Clean Parchment Paper (for cooling surface)
Step-by-Step Directions
- Place the saucepan over medium heat.
- Stir continuously with the silicone spatula. The mixture will gradually thicken and start to resemble mashed potatoes, then eventually form a cohesive ball.
- Continue stirring for approximately 5-8 minutes until the mixture pulls away from the sides of the pan and forms a solid mass. It should look like dough, not sticky batter.
- Once a ball forms, remove from heat immediately to prevent over-cooking and browning.
- Transfer the hot dough ball onto a piece of clean parchment paper to cool.
Pro-Tip: The stovetop cooking process is what gives these baking soda ornaments their signature porcelain-like finish and durability. Don’t skip or rush this step!

3. Knead and Prepare the Smooth, White Dough

Achieve perfect dough. Pin this simple technique!
Supplies Needed
- Cooked and cooled Baking Soda Clay (from previous step)
- Cornstarch (for dusting)
- Clean Work Surface or Silicone Mat (non-stick surface)
Step-by-Step Directions
- Allow the dough ball to cool completely on the parchment paper. It should be warm enough to handle, but not hot.
- Once cool enough, begin to knead the dough for 5-10 minutes on a clean, lightly cornstarched work surface.
- Knead until the dough is perfectly smooth, pliable, and uniform, with no lumps or stickiness. If it’s too sticky, add a tiny pinch of cornstarch; if too dry, add a few drops of water.
- Form the dough into a ball and wrap tightly in plastic wrap if not using immediately. It can be stored in the fridge for up to a week.
Pro-Tip: Proper kneading
removes air bubblesandstrengthens fragile dough, ensuring your baking soda ornaments won’t crack during drying and will have that coveted porcelain-like finish.
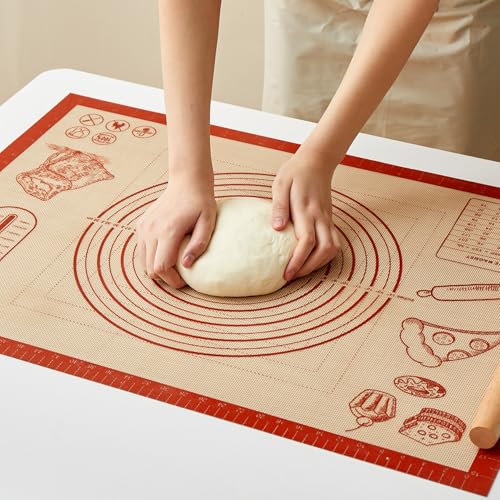
4. Roll Out and Cut the Durable Holiday Decor Shapes

Cut perfect shapes! Pin your favorite designs!
Supplies Needed
- Prepared Baking Soda Clay
- Rolling Pin (preferably one with adjustable thickness rings)
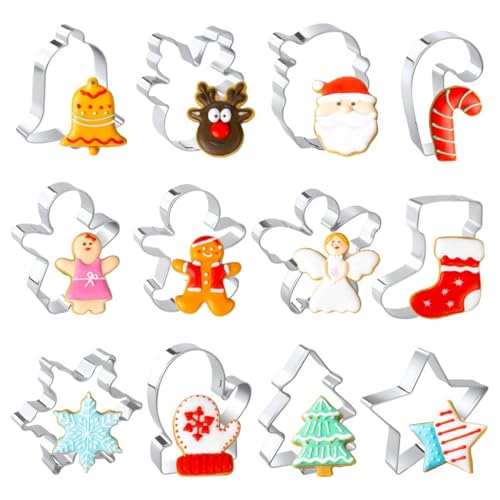
- Cookie Cutters (Christmas shapes, stars, snowflakes, circles)
- Parchment Paper (for rolling surface and baking)
- Straw or dowel (for making holes)
- Baking Sheet (for transferring cutouts)
Step-by-Step Directions
- On a piece of parchment paper lightly dusted with cornstarch, roll out the baking soda clay to an even thickness of about ¼ inch (0.6 cm). Avoid rolling too thin, as this can make ornaments fragile.
- Use cookie cutters to cut out desired shapes. Press firmly and remove excess dough.
- Carefully transfer the cut shapes onto a baking sheet lined with fresh parchment paper.
- Use a straw or dowel to poke a hole near the top of each ornament, ensuring it’s large enough for ribbon or twine once dried.
Pro-Tip: For truly durable holiday decor, ensure your dough is rolled to a consistent thickness. Uneven thickness can lead to cracking during the drying process.
5. Bake or Air-Dry for a Hardened Dough Keepsake

Bake or air-dry for lasting beauty! Pin your preferred method!
Supplies Needed
- Cut Baking Soda Ornaments (on parchment-lined baking sheet)
- Oven (if baking) or Drying Rack (if air-drying)
- Oven Thermometer (for accurate temperature)
Step-by-Step Directions
- Option A: Oven Baking (Recommended for quickest results)
- Preheat oven to the lowest possible temperature (e.g., 175-200°F / 80-95°C). Use an oven thermometer for accuracy.
- Bake the ornaments for 1-2 hours, flipping them halfway through. The exact time depends on thickness.
- Check for dryness: ornaments should be hard and opaque white. If they are still soft, continue baking at a very low temperature.
- Cool completely on a wire rack.
- Option B: Air-Drying (Requires patience)
- Place ornaments on a wire rack or parchment paper in a well-ventilated area.
- Flip ornaments every 12-24 hours to ensure even drying.
- Allow to air-dry for 2-5 days, or longer for thicker pieces, until completely hard.
Pro-Tip: The key to a truly brilliant white finish and preventing cracking is low-temperature dehydration and gradual drying. Avoid high heat or rushing the air-drying process.

6. Decorate and Enhance Your Porcelain-Like Ornaments

Add your personal touch! Pin your favorite decorating ideas!
Supplies Needed
- Dried Baking Soda Ornaments
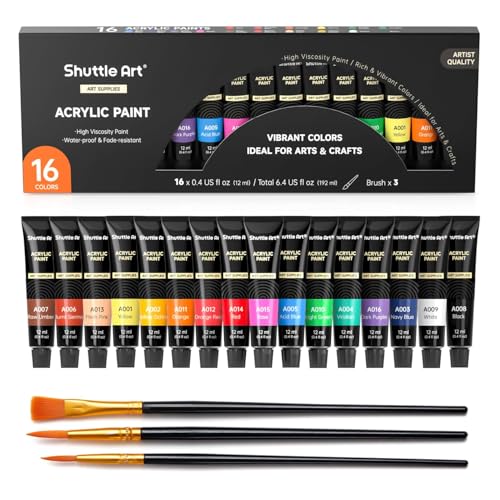
- Acrylic Paints (non-toxic, fine brushes)
- Glitter (optional, various colors)
- Essential Oils (optional, e.g., cinnamon, pine, orange)
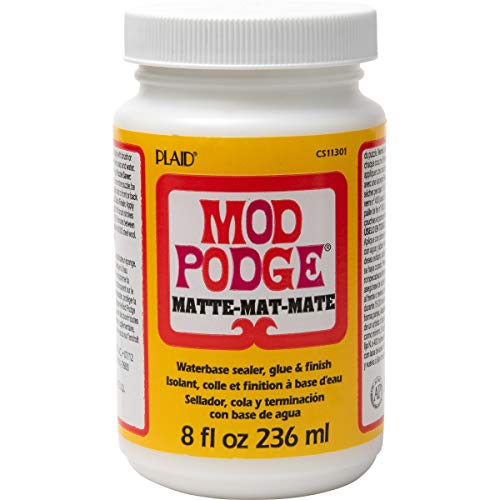
- Mod Podge or craft glue (for glitter adhesion)
Step-by-Step Directions
- Paint: Use acrylic paints to apply patterns, details, or entire colors to your dried baking soda ornaments. Allow paint to dry completely.
- Scent: If desired, add 2-3 drops of your chosen essential oil to the unsealed side of the ornament. The porous surface will
absorb the scent. - Glitter: For added sparkle, apply a thin layer of Mod Podge or craft glue to areas you want to glitter, then sprinkle with glitter. Shake off excess.
Pro-Tip: For a subtle scented dough effect, choose high-quality essential oils. Placing them on the back of the ornament prevents paint discoloration and allows for natural diffusion.
7. Seal and Preserve Your Permanent Keepsakes

Protect your beautiful ornaments! Pin for long-lasting keepsakes!
Supplies Needed
- Decorated and dried Baking Soda Ornaments
- Clear Craft Sealant (e.g., Mod Podge, clear acrylic spray sealant)
- Paintbrush (if using brush-on sealant)
- Twine or Ribbon (for hanging)
Step-by-Step Directions
- Choose your sealant: For a subtle, natural look, use a clear matte spray sealant. For a slight sheen and extra durability, use gloss Mod Podge or a clear gloss varnish.
- Apply sealant:
- Brush-on: Using a clean paintbrush, apply a thin, even coat of Mod Podge or varnish to one side of the ornament. Let dry completely, then repeat on the other side.
- Spray: In a well-ventilated area, spray a light, even coat of acrylic sealant over the ornaments. Let dry, then flip and spray the other side.
- Once completely dry, thread twine or ribbon through the hole.
- Your baking soda ornaments are now ready to hang and enjoy as permanent keepsakes!
Pro-Tip: Applying a sealant
creates a moisture barrierthat is essential for the long-term durability of your baking soda ornaments andprevents moldand yellowing.
Key Takeaways
- Baking soda ornaments offer a significantly smoother, whiter, and more porcelain-like finish than traditional salt dough, making them ideal for elegant holiday decor.
- The stovetop cooking process is crucial for achieving the perfect dough consistency and preventing issues like cracking or browning that often plague homemade ornaments.
- Proper kneading ensures a pliable, air-bubble-free dough, essential for creating uniform, durable shapes that will maintain their integrity during drying.
- Low and slow drying, whether in the oven or air-drying, is vital to prevent warping, yellowing, and cracking, contributing to the longevity of your hardened dough keepsakes.
- Personalize your ornaments with non-toxic paints or essential oils after drying to create unique, scented, and visually appealing homemade Christmas ornaments.
- Sealing your finished ornaments with a clear craft sealant creates a moisture barrier, protecting them from environmental factors and ensuring they
last for yearsas cherished heirlooms. - This recipe is a tested, reliable method for creating beautiful, non-toxic, and truly white DIY ornaments, offering a superior alternative for crafters and families.
FAQs About salt dough ornaments baking soda
Is baking soda dough better than salt dough for ornaments?
Yes, baking soda dough is generally considered superior to traditional salt dough for ornaments due to its brilliant white color, smoother texture, and porcelain-like finish. Unlike salt dough which can yellow and become brittle, baking soda ornaments are more durable, less prone to cracking, and provide a more elegant aesthetic for lasting keepsakes. This makes them a preferred choice for crafters seeking high-quality results.
How to prevent salt dough from molding if using baking soda?
While baking soda dough is less prone to mold than traditional salt dough, proper drying and sealing are key to prevention. Ensure ornaments are completely dry (either baked low and slow or thoroughly air-dried) before decorating or storing. A clear craft sealant creates a moisture barrier that further resists mold and preserves for years, ensuring your hardened dough keepsakes remain pristine.
Why did my baking soda dough turn brown after drying?
Baking soda dough typically turns brown if it was cooked or dried at too high a temperature. The key to maintaining a brilliant white finish is low-temperature dehydration and gentle heat. Ensure your oven is set to its lowest setting (175-200°F) and use an oven thermometer for accuracy, or opt for a slower air-drying process to avoid browning.
How long do you bake baking soda ornaments?
Baking soda ornaments should be baked at the lowest possible oven temperature (175-200°F or 80-95°C) for approximately 1-2 hours, depending on thickness. The goal is to slowly dry and harden them without browning. Flip the ornaments halfway through and check for complete hardness; they should be firm and opaque white, not soft or pliable.
Can you air dry baking soda dough ornaments instead of baking?
Yes, you can absolutely air-dry baking soda dough ornaments, though it requires more time. Place the cut ornaments on a wire rack in a well-ventilated area, flipping them every 12-24 hours. Depending on humidity and thickness, air-drying can take anywhere from 2 to 5 days or longer until they are completely hard and dry, yielding a beautifully smooth texture.
How to scent baking soda ornaments for holiday fragrance?
To scent baking soda ornaments, add a few drops of essential oils to the unsealed, dried ornament. The porous nature of the baking soda clay will absorb the scent beautifully. Popular choices include cinnamon, pine, orange, or peppermint essential oils. Apply to the back of the ornament to prevent affecting any decorations, creating scented dough that fills your home.
What does baking soda do to salt dough when added to the recipe?
Adding baking soda to what is often referred to as “salt dough” (though it’s a distinct recipe with cornstarch) transforms its properties significantly. It contributes to a much whiter, smoother, and finer-grained dough than traditional salt-flour mixtures. This results in a porcelain-like finish that is more durable and less prone to yellowing or cracking over time.
How to seal baking soda ornaments for long-term durability?
To ensure the long-term durability of your baking soda ornaments, apply a clear craft sealant like Mod Podge or an acrylic spray sealant. This protective layer creates a moisture barrier that prevents yellowing, resists mold, and shields the durable holiday decor from wear and tear. Ensure ornaments are fully dry before sealing for best results.
How thick should baking soda ornaments be for optimal strength?
For optimal strength and to prevent cracking, baking soda ornaments should be rolled to a consistent thickness of approximately ¼ inch (0.6 cm). Rolling too thin can make them fragile, while excessively thick ornaments may take much longer to dry and could be more prone to internal cracking. Uniform thickness is key to structural integrity of ornaments.
Can kids make baking soda dough for a fun holiday craft?
Yes, baking soda dough is an excellent and safe craft for kids, as it uses non-toxic kitchen ingredients. The dough is soft, pliable, and easy for small hands to knead and cut with cookie cutters. Adult supervision is required for the stovetop cooking portion, but children can actively participate in mixing, shaping, and decorating their own homemade Christmas ornaments.
Final Thoughts
Creating baking soda ornaments is a rewarding craft that offers a significant upgrade from traditional salt dough ornaments, delivering a truly smooth, white, and porcelain-like finish that transforms simple ingredients into elegant hardened dough keepsakes. Through this detailed guide, you’ve learned the proven method for mixing, cooking, shaping, and drying these beautiful homemade Christmas ornaments, equipped with expert tips to prevent cracking, avoid browning, and ensure long-term durability.
This versatile baking soda clay provides endless opportunities for personalized, durable holiday decor and thoughtful gifts. By carefully following each step, from the precise measurements of baking soda and cornstarch to the final seal and preserve stage, you can create cherished items that will last for years to come. Embrace this superior DIY baking soda ornaments recipe and enjoy the satisfaction of crafting truly exquisite decorations.
What treasured memories will your new baking soda ornaments help you create this 2026?
Last update on 2026-05-01 at 16:36 / Affiliate links / Images from Amazon Product Advertising API
