As an Amazon Associate BakingBakewareSets.com earns from qualifying purchases.
Garlic Herb Chicken: Healthy, Easy Family Dinner with Creamy Mashed Potatoes
Struggling with dry, disappointing chicken dinners? You followed the recipe for Garlic Herb Chicken perfectly, yet the result is tough, bland, and anything but the juicy, flavorful meal you envisioned for your family.
The secret to perfectly juicy garlic herb chicken is to use bone-in, skin-on thighs, sear them properly to create a flavorful crust, and cook them to a precise internal temperature of 165°F without overcooking. This method ensures the meat stays moist and tender while the skin gets golden and crispy. It’s the foolproof solution to the common problem of dry chicken.
Drawing from established best practices and a kitchen-tested recipe, this guide will walk you through everything. You will discover the seven essential secrets to mastering this dish. Prepare to learn not just a recipe, but a technique for a perfect, healthy, easy family dinner complete with creamy mashed potatoes.
☰ Table of Contents ▼
show
Why Is Your Garlic Herb Chicken Dry? Here’s How to Make It Perfectly Juicy Every Time
The most common reason for dry chicken isn’t a bad recipe; it’s a misunderstanding of a few key culinary principles. Many home cooks make the mistake of choosing the wrong cut, cooking with a pan that isn’t hot enough, or guessing when the chicken is done. This often leads to overcooked, tough meat and soggy skin. The solution lies in a series of simple but crucial techniques that professional chefs use to guarantee a moist, tender result with golden, crispy skin every single time. This guide breaks down those exact techniques into an easy-to-follow method, transforming your Garlic Herb Chicken from a source of frustration into a reliable, show-stopping weeknight dinner idea. By mastering the sear, understanding the importance of a meat thermometer, and letting the chicken rest, you’ll solve the dry chicken problem for good.
7 Secrets to Irresistible Garlic Herb Chicken (with Creamy Mashed Potatoes)
To achieve a truly irresistible Garlic Herb Chicken dinner, it’s best to think of it not as a single recipe, but as a collection of seven essential secrets. Each step builds upon the last, from selecting the perfect cut of meat to creating a luscious pan sauce from scratch. This approach, which focuses on flavor layering and technique, is what separates a decent meal from a spectacular one. We’ll guide you through each secret, providing the ‘why’ behind the ‘what,’ so you can cook with confidence. Prepare to master the art of searing, deglazing, and creating the perfect pairing of creamy mashed potatoes that will make this one-pan meal a permanent fixture in your dinner rotation.
1. Choose the Right Cut: Why Bone-In Thighs Beat Breasts for Flavor
Pin this essential tip for the juiciest chicken every time!
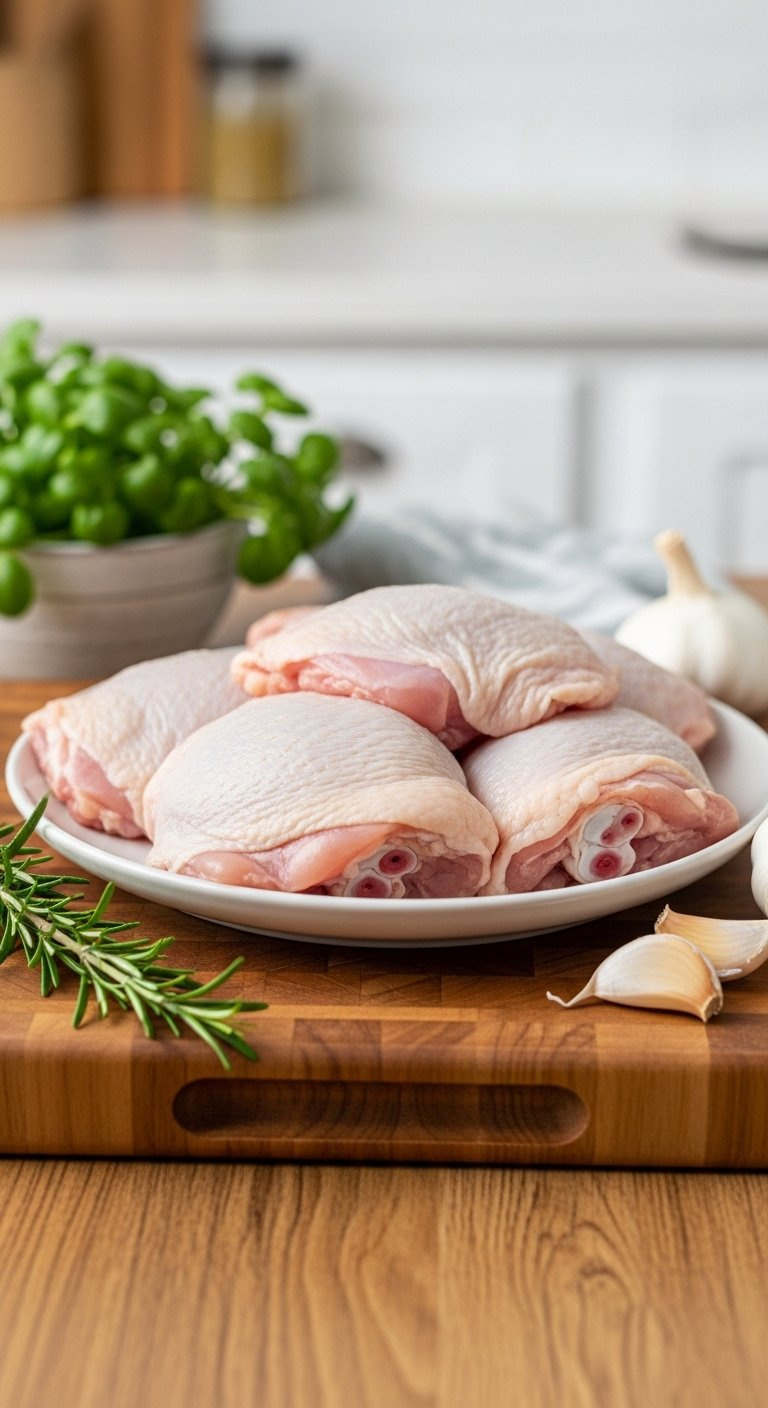
While skinless chicken breasts are popular, the secret to a truly juicy and tender Garlic Herb Chicken lies in using bone-in, skin-on chicken thighs. The bone helps to regulate heat, preventing the meat from cooking too quickly, while the higher fat content and skin baste the chicken as it cooks. This combination provides a safety net against overcooking and results in exceptionally flavorful meat. The skin transforms into a crispy, golden-brown crust that provides a wonderful texture contrast to the tender meat, a result that’s much harder to achieve with lean breast meat.
What You Need
- 4-6 bone-in, skin-on chicken thighs (about 1.5-2 lbs)
- Alternative: 4 boneless, skinless chicken breasts, pounded to even thickness
What To Do
- Pat Dry: Use paper towels to thoroughly pat the chicken skin dry. This is the most crucial step for achieving crispy skin.
- Season Generously: Season both sides of the chicken with salt and pepper. This initial layer builds the foundation of your flavor layering.
- Temper: Let the chicken sit at room temperature for 15-20 minutes before cooking. Cold chicken seizes in a hot pan, leading to tough meat.
Pro-Tip: The bone in chicken thighs not only adds flavor but also helps regulate the cooking speed, making it much harder to overcook the meat compared to a boneless breast. This is a key principle in preventing dry chicken.
2. Create a Potent Garlic Herb Compound Butter
Save this recipe for the most flavorful Garlic Herb Butter you’ll ever make!
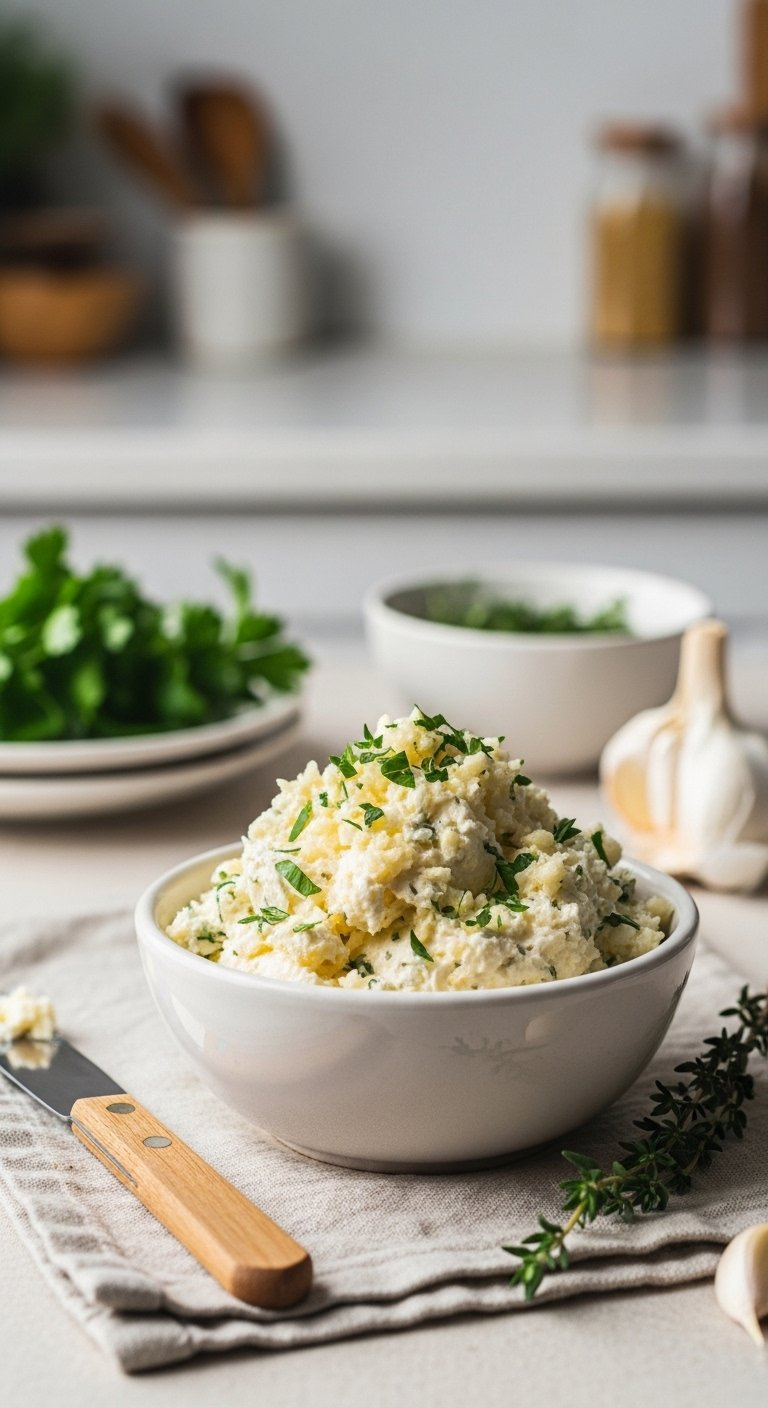
The heart of this dish is a potent Garlic Herb Butter Sauce, which starts as a compound butter. This is simply softened butter mixed with minced garlic cloves and a fresh herb blend. Creating this butter allows the flavors of the garlic and herbs to infuse the fat, which then coats and penetrates the chicken as it cooks. It serves a dual purpose: it helps to crisp the skin during the initial sear and later melts into the pan drippings to form the base of your rich, creamy sauce.
What You Need
- 1/2 cup (1 stick) unsalted butter, softened to room temperature
- 4-6 minced garlic cloves (about 2 tablespoons)
- 2 tablespoons finely chopped fresh parsley
- 1 tablespoon fresh thyme leaves
- 1/2 teaspoon black pepper
- 1/2 teaspoon salt
Instructions
- Combine Ingredients: In a small bowl, combine the softened butter, minced garlic, parsley, thyme, salt, and pepper.
- Mix Thoroughly: Use a fork or a small spatula to whisk and mash the ingredients together until everything is evenly distributed. The goal is a uniform paste.
- Prepare for Use: You can use the butter immediately or roll it into a log using plastic wrap and chill it for later use.
Pro-Tip: For an even deeper flavor, gently separate the skin from the chicken thigh meat and push a small amount of this compound butter underneath the skin before searing. This infuses the meat with flavor from the inside out as it cooks.

3. Master the Sear for a Crispy, Golden Skin
Pin this guide to achieve perfectly crispy chicken skin every single time!
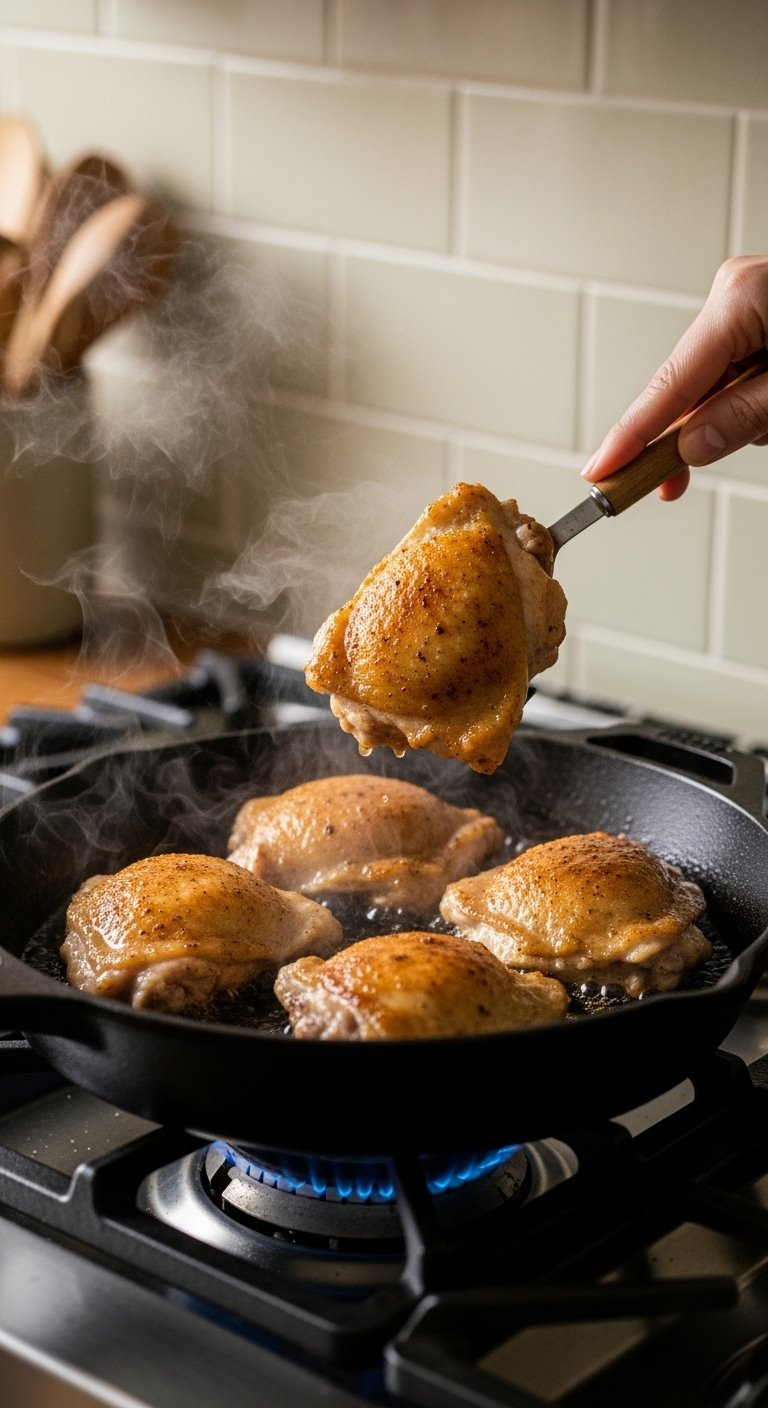
A perfect pan-seared chicken begins with the right searing technique. The goal is to create a deep, golden and crispy crust on the skin, which not only adds incredible texture but also builds a foundation of flavor in the pan. The best tool for this job is a cast iron skillet because it retains heat exceptionally well, ensuring a consistent and powerful sear. The key is to get the pan sufficiently hot before the chicken even touches it and to give the skin enough time to render its fat and brown deeply without moving it.
Tools Required
- A 12-inch cast iron skillet or other heavy-bottomed, oven-safe pan
- Tongs
Process
- Preheat the Pan: Place the skillet over medium-high heat for 3-5 minutes. The pan is ready when a drop of water sizzles and evaporates instantly.
- Add Fat: Add 1 tablespoon of olive oil or avocado oil to the hot pan.
- Sear Skin-Side Down: Carefully place the chicken thighs skin-side down in the skillet. You should hear a strong sizzle. Do not overcrowd the pan.
- Do Not Touch: Sear for 5-7 minutes without moving the chicken. This allows a deep, golden crust to form.
- Flip and Sear: Flip the chicken and sear the other side for another 2-3 minutes. The chicken will not be fully cooked at this point.
Pro-Tip: The browning you see on the chicken skin is the Maillard reaction, a chemical reaction that creates hundreds of new flavor compounds. The browned bits left in the pan are called fond, and they are pure gold for building your pan sauce later.

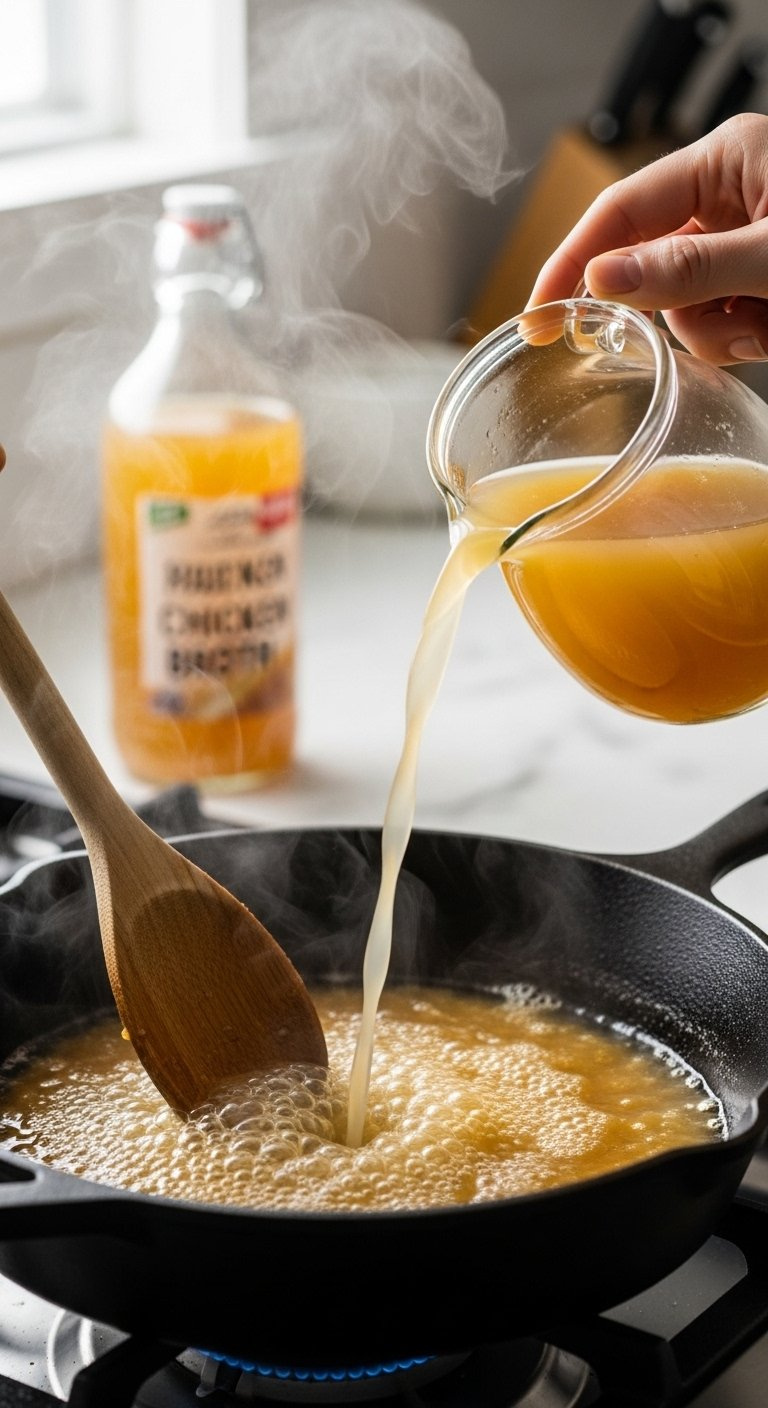
4. Build a Flavorful Pan Sauce by Deglazing
Never waste flavor again! Pin this tutorial on how to deglaze a pan for the best sauces.
After searing the chicken, don’t even think about cleaning that pan. Those browned bits stuck to the bottom, known as fond, are concentrated flavor. The technique of deglazing the pan is the secret to transforming that fond into a simple pan sauce. By adding a liquid like chicken broth or white wine to the hot pan, you can easily scrape up the fond, which then dissolves into the liquid to create a deeply savory base. This process is the cornerstone of creating a restaurant-quality sauce in minutes.
Supplies Needed
- 1/2 cup chicken broth or dry white wine
- Wooden spoon or spatula
Step-by-Step Directions
- Remove Chicken: After searing, temporarily remove the chicken from the pan and set it on a plate.
- Reduce Heat: Lower the heat to medium. If there is excessive fat, pour some off, leaving about 1-2 tablespoons.
- Sauté Aromatics: Add another tablespoon of minced garlic and sauté for 30 seconds until fragrant, being careful not to burn it to avoid burnt garlic.
- Deglaze: Pour in the chicken broth. As it bubbles, use a wooden spoon to scrape all the browned bits (fond) from the bottom of the pan. This is where all the flavor is.
- Simmer: Let the liquid simmer and reduce by about half, which concentrates the flavor. Now you have the base for your Creamy Garlic Sauce.
Pro-Tip: For a creamy sauce, stir in 1/4 cup of heavy cream or Boursin cheese after the broth has reduced. This creates a luxurious emulsification, resulting in a velvety sauce that perfectly coats the chicken.

5. Cook to Temperature, Not Time: The 165°F Rule

This is the #1 tip to prevent dry chicken. Pin it now!
If you remember only one tip, let it be this: cook to temperature, not to time. Recipe timings are estimates, but an instant-read meat thermometer provides certainty. According to FDA guidelines, chicken is safe to eat when it reaches an internal temperature of 165°F. Pulling your chicken from the heat at precisely this moment is the single most effective way to ensure it’s perfectly cooked—moist and juicy, never dry or rubbery. This practice eliminates guesswork and is the hallmark of confident cooking, guaranteeing both food safety and delicious results.
Tools Needed
- An instant-read meat thermometer
Steps
- Return Chicken to Pan: After creating the sauce, return the seared chicken thighs to the skillet, skin-side up.
- Finish Cooking: Place the entire oven-safe skillet in a preheated 400°F oven, or continue to cook on the stovetop over medium-low heat. Cook for 10-15 minutes.
- Check Temperature: Insert the meat thermometer into the thickest part of the thigh, avoiding the bone.
- Remove from Heat: Once the thermometer reads 165 degrees Fahrenheit, immediately remove the chicken from the heat source.
Pro-Tip: For extra-juicy results, you can pull the chicken from the oven when it hits 160-162°F. The residual heat will cause carryover cooking, and the temperature will continue to rise to the safe 165°F as the chicken rests.

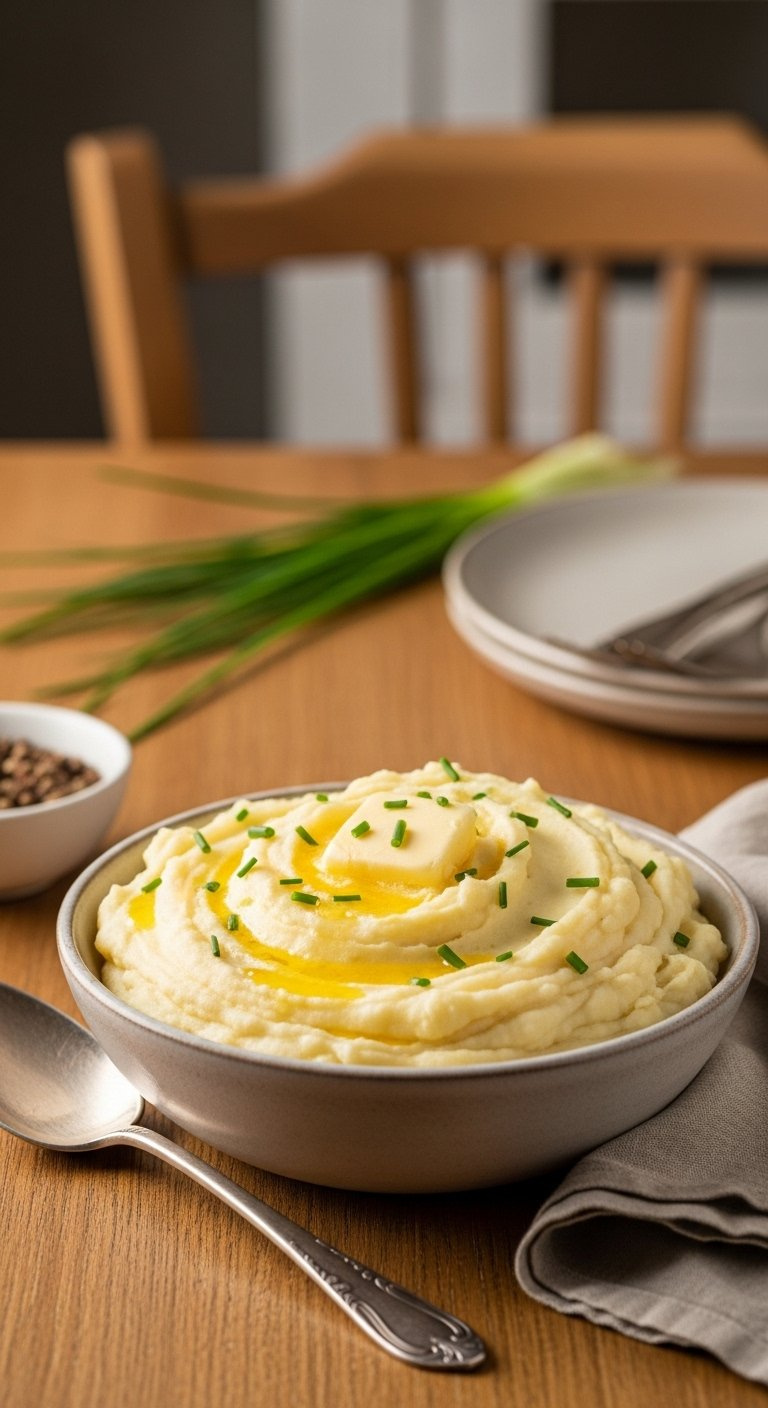
6. Master the Side Dish: Creamy Mashed Potatoes
The perfect pairing! Pin this recipe for the creamiest mashed potatoes ever.
The classic pairing of chicken and potatoes is a comfort food institution for a reason. Fluffy, creamy mashed potatoes are the perfect vehicle for soaking up every last drop of the savory garlic herb pan sauce. The key to exceptionally smooth mashed potatoes is selecting the right potato. Starchy varieties like Russet or buttery Yukon Gold potatoes break down beautifully, resulting in a light and fluffy texture. This simple, classic side dish turns your garlic herb chicken into a complete and satisfying meal.
Ingredients
- 2 lbs Russet or Yukon Gold potatoes, peeled and quartered
- 1/2 cup heavy cream or whole milk, warmed
- 4 tablespoons butter
- Salt and pepper to taste
Instructions
- Boil Potatoes: Place the potatoes in a large pot and cover with cold, salted water. Bring to a boil and cook for 15-20 minutes, or until fork-tender.
- Drain and Dry: Drain the potatoes well and return them to the hot pot for 1 minute to cook off any excess moisture.
- Mash: Mash the potatoes using a potato masher or a ricer. Do not use a food processor, as it will make them gummy.
- Add Dairy: Stir in the warm cream and butter until the potatoes are smooth and creamy.
- Season: Season generously with salt and pepper to taste.
Pro-Tip: Using a potato ricer instead of a standard masher is the secret to the smoothest, fluffiest, lump-free mashed potatoes. It presses the potatoes through small holes, creating a light and even texture.

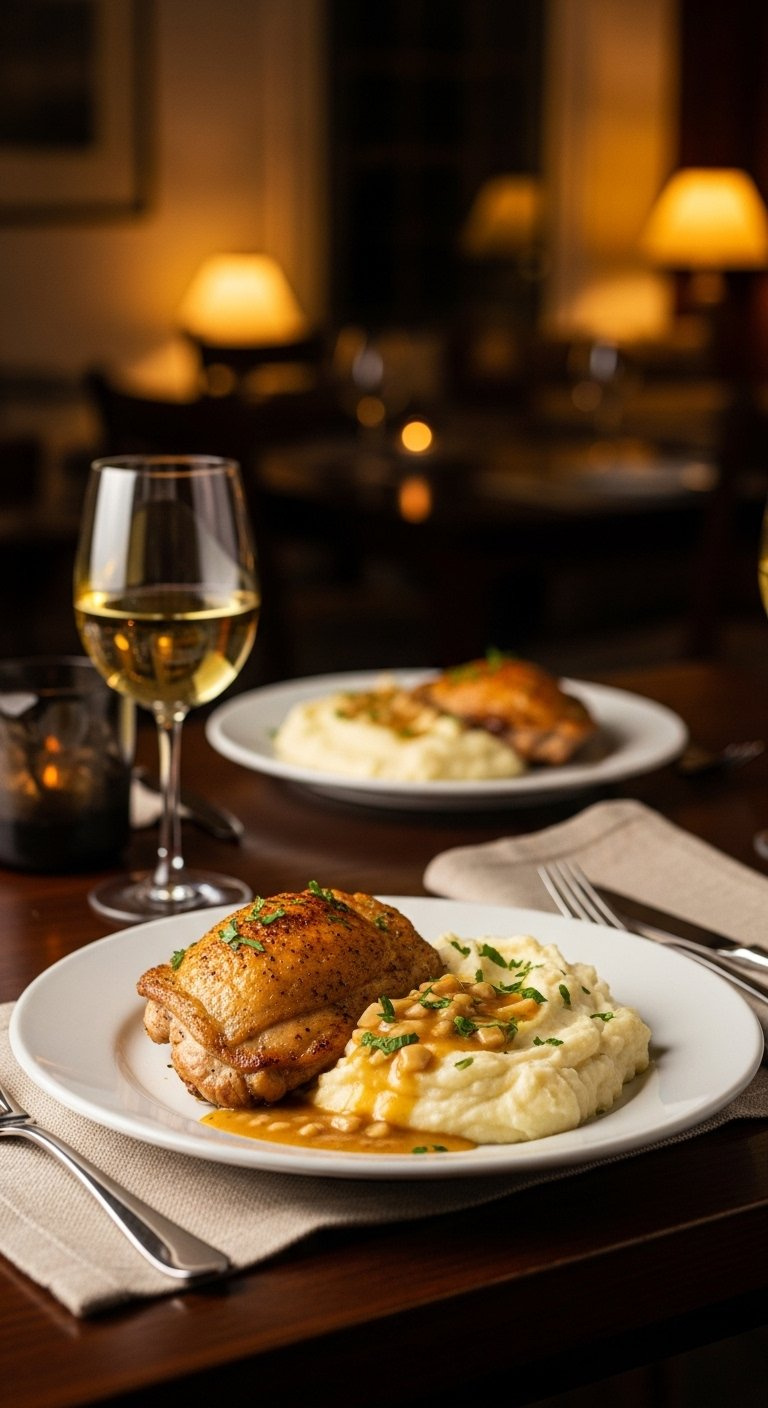
7. The Final Touch: Let it Rest and Garnish
The perfect family dinner is served. Pin this for your next meal plan!
The final secret to an incredibly flavorful and juicy chicken dinner is patience. You must rest the chicken for 5-10 minutes after it comes out of the oven. During cooking, the muscle fibers in the meat tighten and push the juices toward the center. Resting allows the fibers to relax and reabsorb those juices. If you slice into it immediately, all that flavorful liquid will spill onto your cutting board, leaving you with dry chicken. This simple pause is a non-negotiable step for a perfect result, making the meal truly family friendly.
Supplies Needed
- Cutting board
- Fresh parsley or chives, chopped
Final Steps
- Rest the Chicken: Transfer the cooked chicken to a clean cutting board and let it rest for 5-10 minutes before slicing or serving.
- Why Rest? This allows the juices, which have been driven to the center of the meat by the heat, to redistribute throughout the thigh. Slicing too early causes all that flavor to run out onto the board, resulting in dry chicken.
- Plate: Serve a chicken thigh alongside a generous scoop of the creamy mashed potatoes.
- Sauce and Garnish: Spoon the warm garlic herb pan sauce over the chicken and potatoes. Garnish with a sprinkle of fresh, chopped parsley for a touch of color and freshness.
Pro-Tip: A cutting board with a “juice groove” is perfect for resting meats like chicken. It will catch any juices that do escape, and you can pour them right back into your pan sauce for an extra flavor boost.

Key Takeaways: Your Quick Guide to Perfect Garlic Herb Chicken
- Thighs Over Breasts for Juiciness: Bone-in, skin-on chicken thighs are more forgiving and flavorful than breasts, making them the superior choice for preventing dry chicken.
- Dry Skin is Key to Crispy Skin: Always pat chicken skin completely dry with paper towels before seasoning and searing. This is non-negotiable for a golden, crispy result.
- Cook to 165°F, Not to Time: The only way to guarantee perfectly cooked, juicy, and food-safe chicken is by using an instant-read meat thermometer. Remove from heat at 165 degrees Fahrenheit.
- Don’t Waste the Fond: The browned bits in the pan after searing are flavor gold. Deglaze the pan with chicken broth to create an intensely flavorful pan sauce.
- Resting is a Non-Negotiable Step: Always rest your cooked chicken for 5-10 minutes before slicing. This allows the juices to redistribute, ensuring a juicy and tender bite every time.
FAQs About Garlic Herb Chicken
What sides go with garlic and herb chicken?
The best sides for garlic herb chicken complement its savory flavor without overpowering it. Creamy mashed potatoes are classic for soaking up the pan sauce. Other great options include roasted vegetables like green beans, asparagus, or broccoli, a simple rice pilaf, or a fresh, crisp green salad with a light vinaigrette.
Can I use dried herbs instead of fresh?
Yes, you can substitute dried herbs for fresh, but you need to adjust the quantity. The general rule is to use one-third the amount of dried herbs as you would fresh. For this recipe, you could use 1 teaspoon of dried thyme instead of 1 tablespoon of fresh. Add dried herbs along with the garlic to help them bloom in the fat.
How do I keep the chicken breast juicy?
To keep chicken breast juicy, pound it to an even thickness, avoid overcooking, and let it rest. Pounding ensures it cooks evenly. Most importantly, use a meat thermometer and pull the chicken from the heat the moment it hits 165°F. Letting it rest for 5 minutes before slicing is also critical for retaining juices.
Is garlic herb chicken healthy?
Garlic herb chicken can absolutely be a healthy meal, depending on the ingredients and cooking method. Using skinless chicken breast, olive oil instead of excessive butter, and limiting heavy cream in the sauce makes it a lean, high-protein option. When served with plenty of vegetables, it’s a fantastic healthy dinner.
Why is my garlic chicken bitter?
Your garlic chicken is likely bitter because the garlic burned. Minced garlic has a high sugar content and cooks very quickly. To prevent this, add garlic to the pan later in the cooking process, reduce the heat before adding it, and sauté for only 30-60 seconds until fragrant, not deeply browned.
How to store and reheat leftover garlic herb chicken?
Store leftovers in an airtight container in the refrigerator for up to 3-4 days. To reheat, place the chicken and sauce in an oven-safe dish, cover with foil, and warm in a 325°F oven for 10-15 minutes until heated through. Reheating gently in the oven prevents the chicken from becoming rubbery.
What is the best herb for chicken?
Thyme and rosemary are arguably the best and most classic herbs for chicken. Thyme provides an earthy, slightly minty flavor, while rosemary adds a piney, robust aroma. Parsley is excellent for adding a fresh, clean finish when used as a garnish. A blend of these three creates a perfect fresh herb blend.
Can I make this recipe in an air fryer?
Yes, an air fryer is great for making garlic herb chicken. Season the chicken and place it in the air fryer basket. Cook at 380°F for 18-22 minutes, flipping halfway through, until the internal temperature reaches 165°F. You can prepare the pan sauce separately on the stovetop while the chicken cooks.
How many calories in garlic herb chicken?
The calorie count can vary widely based on the cut of chicken and sauce ingredients. A serving made with a skinless chicken breast and a light sauce might be around 300-400 calories. A version with a bone-in thigh and a heavy cream sauce could be 500-600 calories or more. For an accurate count, use a recipe nutrition calculator.
Can I freeze garlic herb chicken?
Yes, you can freeze the cooked chicken, but cream-based sauces can sometimes separate upon thawing. For best results, freeze the chicken without the sauce. Store it in an airtight container or freezer bag for up to 3 months. Thaw in the refrigerator overnight and reheat. The pan sauce can be made fresh when you’re ready to serve.
Final Thoughts on Your New Favorite Family Dinner
Mastering Garlic Herb Chicken isn’t about having a secret, complicated recipe; it’s about understanding a few key techniques. By choosing the right cut of chicken, creating a flavorful compound butter, mastering the sear, and—most importantly—cooking to an internal temperature of 165°F, you’ve moved beyond simply following instructions and into the realm of truly understanding how to cook.
You now have a kitchen-tested recipe that will not only produce juicy, flavorful chicken every time but also give you a delicious pan sauce and perfectly creamy mashed potatoes to create a complete, family-friendly meal. This is more than just a weeknight dinner idea; it’s a foundational technique you can use for years to come.
What will you be serving with your perfect Garlic Herb Chicken? Let us know your favorite pairings in the comments below.
Last update on 2026-06-11 at 07:06 / Affiliate links / Images from Amazon Product Advertising API
