As an Amazon Associate BakingBakewareSets.com earns from qualifying purchases.
Spicy Korean Chicken Katsu: Irresistible & Easy Flavor-Packed Recipe
Ever wonder how restaurants get that impossibly crispy crunch on their chicken katsu? You try it at home, but you’re left with a soggy crust or a bland sauce. Achieving that perfect balance of a shatteringly crisp coating, a juicy interior, and a flavor-packed glaze can feel out of reach.
This Spicy Korean Chicken Katsu recipe combines a juicy, tenderized chicken cutlet with an extra-crispy panko breading and a fiery, sweet, and savory gochujang glaze. It’s an easy, flavor-packed dish designed for a perfect crunch and rich Korean-inspired flavor, making it an impressive homemade meal.
Drawing from a proven method refined for the home cook, this guide will walk you through every essential step. We’ll focus on the science behind perfect breading adhesion and oil temperature control. Get ready to master a dish that’s guaranteed to be irresistible.
☰ Table of Contents ▼
show
Why is This the Ultimate Spicy Korean Chicken Katsu Recipe?
This isn’t just another recipe; it’s a complete guide to mastering Spicy Korean Chicken Katsu in your own kitchen. We’ve developed and tested this process to address the most common challenges home cooks face, from achieving a super crispy Panko crust that actually stays on the chicken to mixing a perfectly balanced sweet and spicy Gochujang glaze. Forget soggy, underwhelming results. This Korean Chicken Katsu Recipe is built on chef tips and a proven method that guarantees a juicy interior and a flavor-packed, irresistible crunch every single time. We’ll show you how to manage your oil temperature like a pro and get that signature golden brown finish, turning a simple meal into a show-stopping centerpiece.
7 Essential Steps for an Irresistible Spicy Korean Chicken Katsu
Making restaurant-quality Spicy Korean Chicken Katsu at home might seem intimidating, but it’s all about breaking it down into clear, manageable stages. This section guides you through a 7-step process, turning complex culinary techniques into a simple, follow-along plan. From properly tenderizing the chicken to create a juicy interior to whisking together the ultimate Gochujang glaze, each step is designed for success. By following this step by step chicken katsu breading station and frying guide, you’ll see how easy it is to achieve that irresistible crunch and flavor that makes this dish so famous.
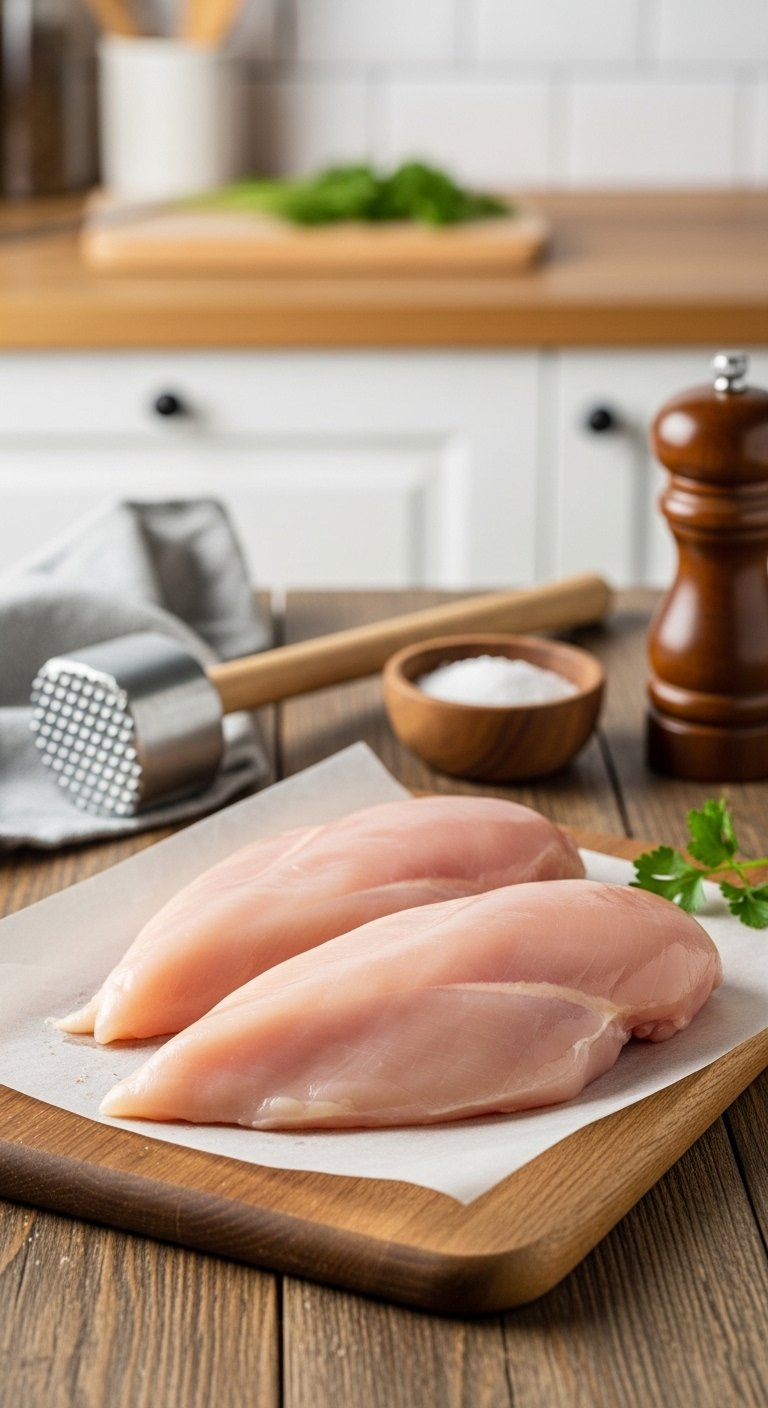
1. Tenderize & Season the Chicken for a Juicy Interior
Pin this essential first step to your ‘Dinner Recipes’ board!
The foundation of incredible katsu isn’t the crust—it’s the chicken itself. Pounding the chicken isn’t just about making it thinner; it’s a crucial tenderizing technique that breaks down tough muscle fibers. More importantly, it creates a uniform ½-inch thickness. This ensures the chicken cooks quickly and evenly, so the inside becomes perfectly juicy and tender in the same amount of time it takes for the outside to become super crispy and golden brown.
What You Need
- 2 large chicken breast halves (about 8oz / 225g each), skinless and boneless
- 1/2 teaspoon fine sea salt
- 1/4 teaspoon black pepper
- 1/4 teaspoon garlic powder
- Plastic wrap or a large zip-top bag
Instructions
- Place one chicken breast inside a large zip-top bag or between two sheets of plastic wrap.
- Using a meat mallet, rolling pin, or heavy-bottomed pan, begin pounding the chicken, starting from the center and working your way out.
- Continue tenderizing until the cutlet is an even ½-inch thickness. This is crucial for a juicy interior and fast cooking.
- Repeat with the second chicken breast.
- Season both sides of each cutlet generously with salt and pepper and garlic powder.
Pro-Tip: Using chicken thighs (boneless, skinless) is a great alternative for an even more juicy interior due to their higher fat content. The choice of thigh vs breast meat often comes down to personal preference, but both work beautifully with this tested recipe.

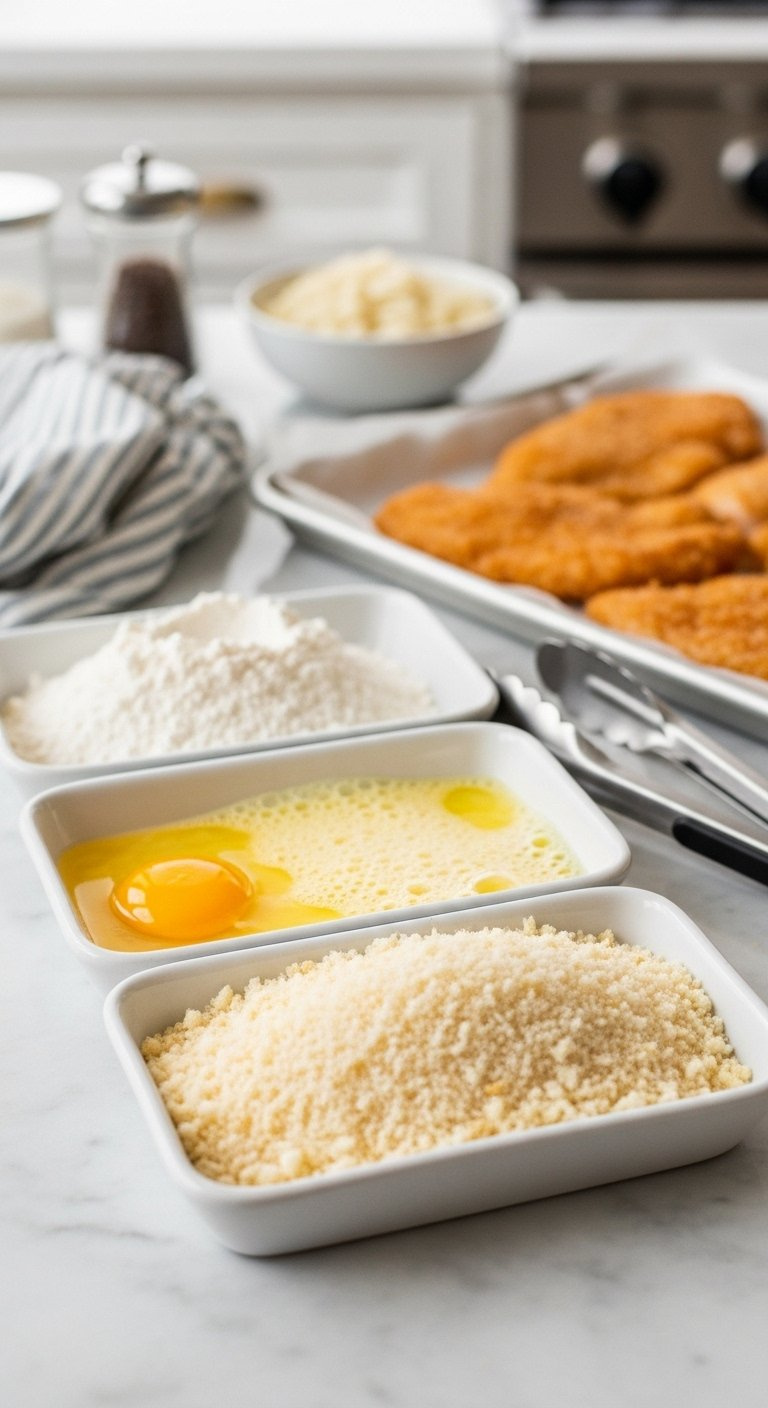
2. Set Up the Ultimate 3-Stage Breading Station
Save this tip for achieving the perfect crispy coating every time!
The secret to a crust that won’t fall off lies in the classic three-stage breading station. Each step has a specific purpose: a light coating of all-purpose flour gives the egg something to cling to, the beaten eggs act as the essential binder, and a final coating of Panko breadcrumbs delivers that signature light, airy, and extra crunchy texture. This methodical process enhances breading adhesion, which is the key to solving the common problem of the breading falling off fix.
What You Need
- 1 cup all-purpose flour
- 2 large beaten eggs
- 2 cups Panko breadcrumbs (Japanese-style breadcrumbs are essential for the texture)
- Three shallow dishes or trays
Instructions
- Arrange your three shallow dishes in an assembly line.
- Add the flour to the first dish. Add the beaten eggs to the second dish and whisk lightly. Add the Panko breadcrumbs to the third dish.
- Taking one seasoned chicken cutlet, begin the breading process by dredging it completely in the flour, shaking off any excess.
- Next, transfer the floured chicken to the egg mixture, ensuring it is fully coated on both sides.
- Finally, press the chicken firmly into the Panko breadcrumbs, making sure the entire surface is covered. This firm pressure is key to a good coating. Place the breaded cutlet on a wire rack.
Pro-Tip: For an even more robust crust (a double-dredge technique), you can repeat the egg and panko steps. However, for katsu, a single, well-adhered layer is the traditional technique. The science behind perfect breading adhesion lies in the dry flour layer giving the wet egg something to cling to.

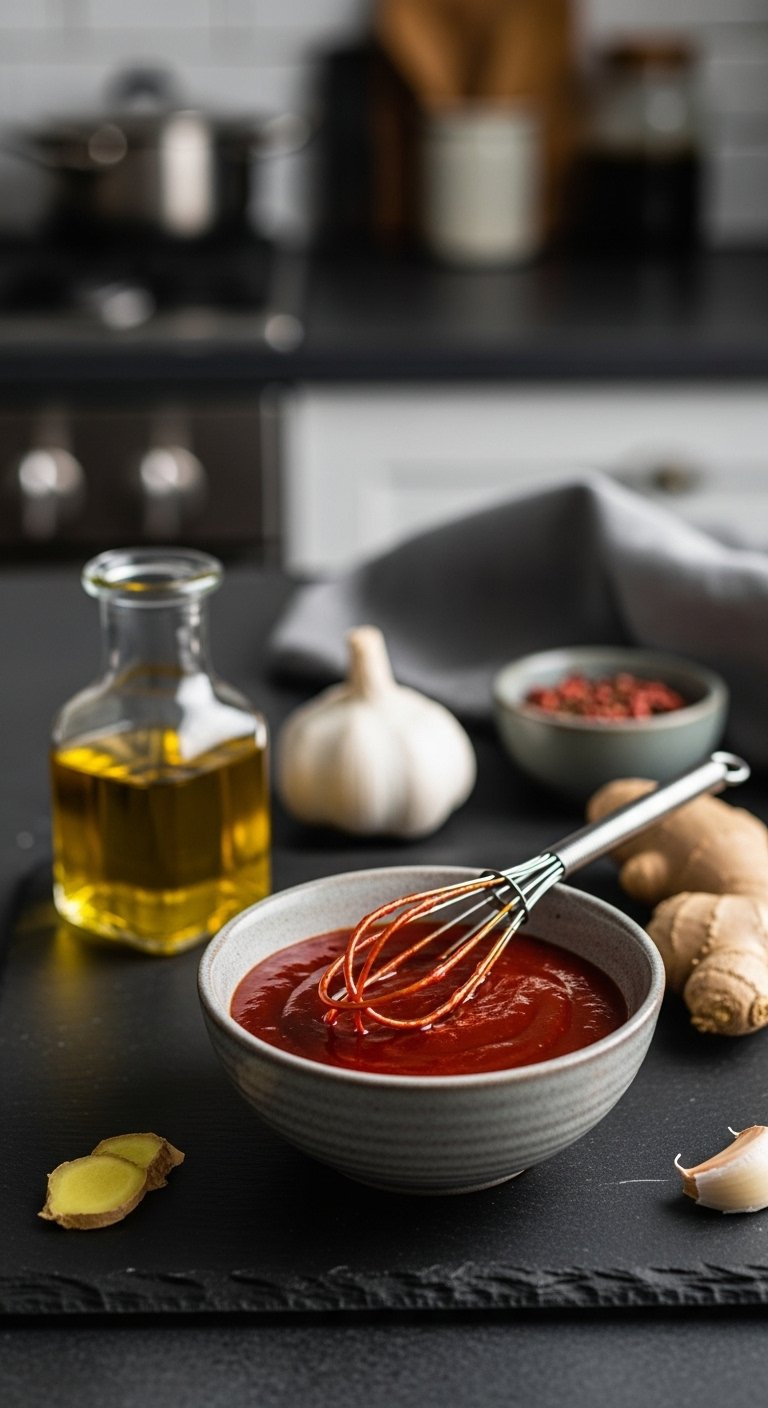
3. Whisk Together the Perfect Sweet & Spicy Gochujang Glaze
Pin this incredible Spicy Red Sauce recipe for later!
This is where the “Korean” in Spicy Korean Chicken Katsu truly shines. The Gochujang glaze is a masterful balance of flavors: the fiery, fermented funk from the Gochujang (Korean chili paste), the sweetness from honey, the savory umami-rich depth from soy sauce, and a tangy kick from rice vinegar. Whisking these ingredients together creates an emulsification that results in a smooth, glossy Spicy Red Sauce perfect for drizzling. This simple sauce is the soul of the dish.
Ingredients
- 1/4 cup Gochujang (Korean chili paste)
- 2 tablespoons honey (or maple syrup)
- 2 tablespoons soy sauce
- 1 tablespoon rice vinegar
- 1 tablespoon toasted sesame oil
- 2 cloves garlic, minced
- 1 teaspoon ginger, freshly grated
- 2-4 tablespoons water, to adjust viscosity
Instructions
- In a small bowl, combine the Gochujang, honey, soy sauce, rice vinegar, sesame oil, minced garlic, and grated ginger.
- Whisking vigorously until the sauce is smooth and fully combined.
- Add 2 tablespoons of water and whisk again. Continue adding water, one tablespoon at a time, until the sauce reaches your desired consistency for drizzling.
- For a deeper flavor, you can gently heat the sauce in a small saucepan over low heat for 2-3 minutes while whisking, but do not boil.
Pro-Tip: The fermentation profile of your Gochujang brand will affect the final taste. Some are sweeter, some are saltier. Always taste and adjust your sauce! Adding a teaspoon of Gochugaru (Korean chili flakes) can boost the heat without adding much more liquid.
![Gochujang – Premium Korean Red Chili Paste [ Medium | 1.1 Lb (500G) ] – 0 Fat/ 0 Cholesterol / (40 Calories/Serving) | Spicy & Sweet Savory Fermented Sauce | Great For Bibimbap, Marinades, Stews & Bbq - O’food](https://m.media-amazon.com/images/I/410i4jhhvxL._SL160_.jpg)
4. Master the Deep-Frying Technique for Golden Perfection

The secret to that perfect crunch? It’s all in the fry. Pin this now!
Deep-frying is what transforms the panko coating into a golden brown, shatteringly crisp shell. The key is managing oil temperature. Using a neutral oil with a high smoke point, like vegetable oil, and heating it to precisely 350°F (175°C) over medium heat is critical. This temperature is hot enough to trigger the Maillard reaction for that beautiful color and crunch, but not so hot that it results in avoiding burnt panko before the chicken inside is cooked. Most importantly, always adhere to deep frying safety protocols.
What You Need
- 3-4 cups neutral-flavored oil with a high smoke point (e.g., canola, grapeseed, or vegetable oil)
- A heavy-bottomed pot or Dutch oven
- A kitchen thermometer
Instructions
- Pour the oil into your pot until it is about 1.5 inches deep. Heat over medium heat until a thermometer reads 350°F (175°C). Managing oil temperature is the key to crispiness.
- Carefully lower one breaded chicken cutlet into the hot oil. Do not overcrowd the pan; fry one at a time.
- Begin deep-frying for 3-4 minutes per side, flipping once, until the crust is a deep golden brown and the chicken is cooked through.
- The proper internal temperature for chicken is 165°F (74°C). Use an instant-read thermometer to check for doneness if unsure.
- Carefully remove the katsu from the oil using tongs or a spider strainer.
Pro-Tip: If your panko is browning too quickly, your oil is too hot. If the katsu seems greasy, your oil is too cold. A thermometer is the best tool for avoiding burnt panko and soggy results. This is a core principle of this proven method.

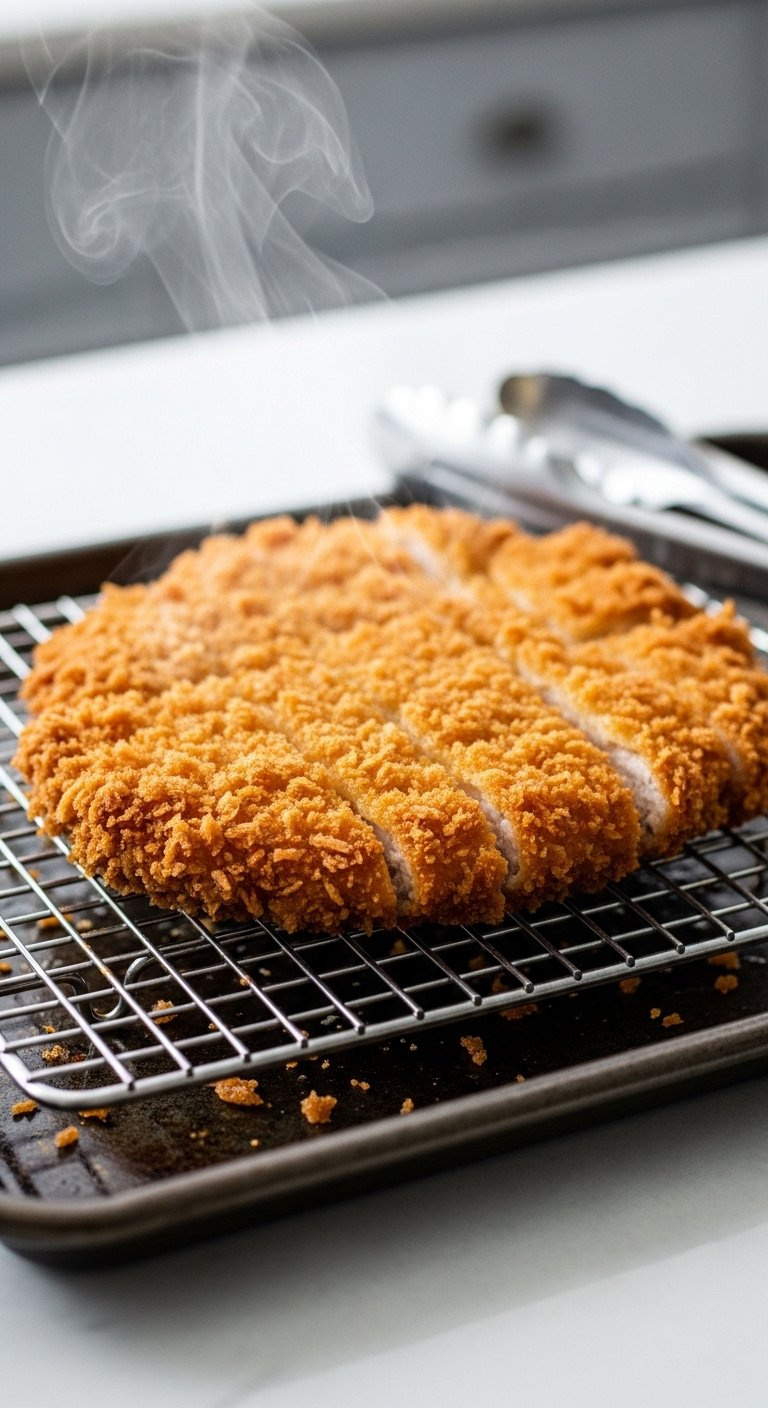
5. Rest the Katsu to Lock in Juiciness and Crispiness
Don’t skip this step! Pin this tip for perfectly crispy, juicy chicken every time.
This simple step is the ultimate answer to “How do you keep Katsu crispy?” and the most effective way of preventing soggy breading. Placing freshly fried food directly onto a plate or paper towels traps steam, which instantly softens that super crispy crust you worked so hard to create. Resting and draining the katsu on a wire rack allows air to circulate underneath, wicking away moisture and ensuring the panko stays perfectly crunchy. This also allows the juices in the chicken to redistribute, guaranteeing a juicy interior.
What You Need
- A wire cooling rack
- A baking sheet (optional, to place under the rack)
Instructions
- Immediately transfer the hot, freshly fried chicken katsu from the oil to a wire cooling rack.
- Do NOT place it on paper towels. While this absorbs surface oil, it also traps steam and is the primary cause of soggy breading.
- Allow the katsu to rest for at least 3-5 minutes before slicing. This allows the juices inside the chicken to redistribute, ensuring a juicy interior.
- This resting and draining step is the most important secret to keeping katsu crispy.
Pro-Tip: If you are cooking for a crowd, you can hold the finished katsu in a single layer on a wire rack in an oven set to 200°F (95°C) to keep them warm and crispy while you fry the remaining batches.

6. Slice, Drizzle, and Serve Like a Pro
The grand finale! Pin this stunning meal for your next dinner party inspiration.
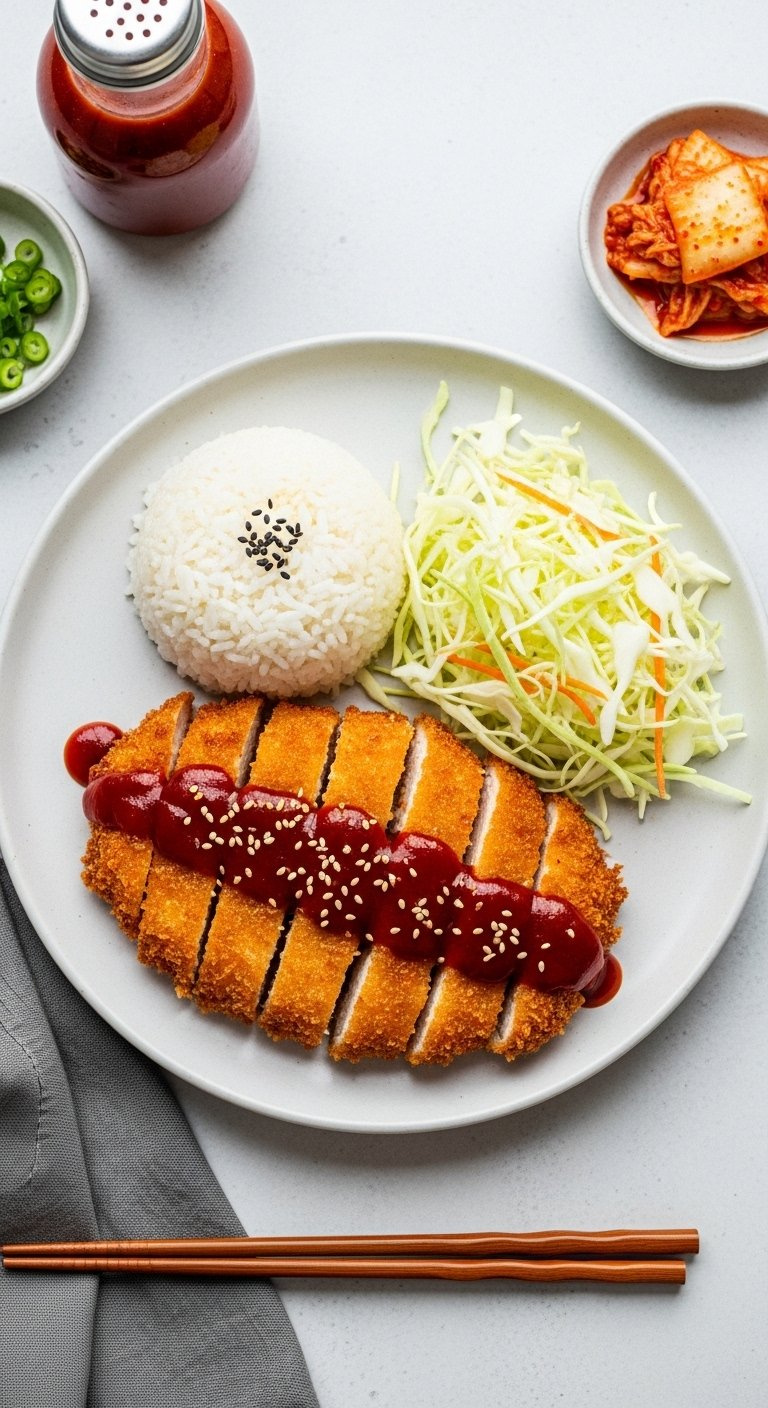
Presentation is key to making your homemade katsu feel like a restaurant-quality meal. Slicing the rested cutlet into strips before serving is traditional and makes it easy to eat with chopsticks. After arranging the slices, the katsu is drizzled with the vibrant Gochujang glaze. For a complete and authentic experience, it is traditionally served with fluffy steamed rice to soak up the sauce and a pile of thinly shredded cabbage. The crisp, cool cabbage offers a refreshing contrast that perfectly balances the richness of the fried chicken.
What You Need
- The rested chicken katsu
- The prepared Gochujang glaze
- A sharp knife
- Serving plates
- Optional sides: steamed rice, thinly shredded cabbage, kimchi
Instructions
- Place the rested katsu on a clean cutting board.
- Using a very sharp knife, begin slicing the katsu into 1-inch wide strips. A sharp knife prevents you from crushing the crispy breading.
- Arrange the sliced katsu on a plate.
- Generously drizzle the Gochujang glaze over the top of the sliced chicken.
- The katsu is best served with a side of fluffy steamed rice and a mound of fresh, thinly shredded cabbage.
Pro-Tip: For presentation, don’t drench the entire katsu in sauce. A generous drizzle allows some of the extra crunchy panko to remain uncovered, providing a fantastic textural contrast in every bite. This is a key plating technique.

7. Garnish for the Finishing Touch of Flavor and Flair
The final flourish! Don’t forget to pin this easy garnish idea.
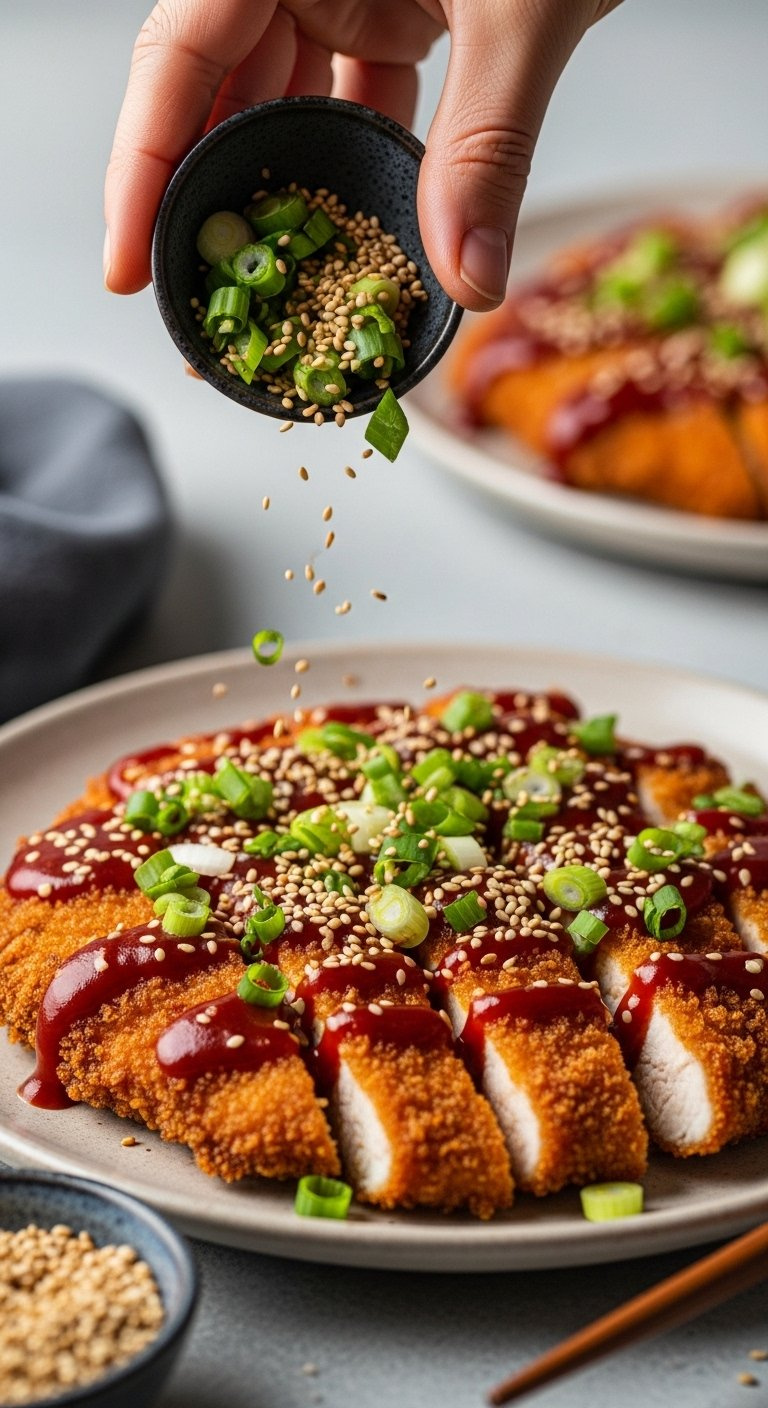
The final step, garnishing, is what makes the dish visually stunning and adds a final layer of flavor. The plated katsu is topped with toasted sesame seeds and finely chopped green onions. This simple act enhances the dish with the nutty aroma from the sesame seeds and a fresh, sharp bite from the green onions, providing a beautiful color contrast against the red glaze and golden-brown crust.
What You Need
- 1 tablespoon toasted sesame seeds
- 1 tablespoon finely chopped green onions (scallions)
Instructions
- For the final step, garnishing, sprinkle the toasted sesame seeds all over the sauce-drizzled katsu.
- Follow with a scattering of the fresh, finely chopped green onions.
- Serve immediately while the katsu is hot and the breading is at its super crispy peak.
Pro-Tip: Toasting your own sesame seeds in a dry pan for 1-2 minutes over medium heat until fragrant makes a world of difference in flavor compared to using them straight from the jar. It’s a small step that adds a huge amount of nutty, aromatic base flavor.
Air Fryer vs. Deep Fryer: A Quick Comparison for Your Katsu
A common question we receive is, “Can I air fry Korean Katsu?” Many home cooks are looking for a healthier air fried version of their favorite dishes. While the traditional deep-frying method provides the most authentic, super crispy texture, the air fryer offers a fantastic alternative with significantly less oil and easier cleanup. This section directly compares the Air fryer vs Deep fryer methods to help you decide which is best for your kitchen and lifestyle. Both can yield delicious results, but understanding the trade-offs in crispiness, cook time, and flavor is key.
| Feature | Deep Fryer (Traditional Method) | Air Fryer (Healthier Alternative) |
|---|---|---|
| Crispiness | ⭐⭐⭐⭐⭐ (Super Crispy, Golden Brown) | ⭐⭐⭐⭐☆ (Crispy, but less even browning) |
| Oil Usage | High (3-4 cups) | Very Low (1-2 tbsp spray) |
| Authenticity | The most authentic texture and flavor. | A modern, lighter interpretation. |
| Cook Time | Fast (6-8 minutes per cutlet) | Moderate (12-15 minutes per cutlet) |
| Cleanup | More involved (oil disposal) | Quick and easy |
| Instructions | Follow Step 4 above. Fry at 350°F (175°C) for 3-4 mins per side. | Preheat to 400°F (200°C). Spray basket and katsu with oil. Cook 12-15 mins, flipping halfway. |
Key Takeaways: Your Quick Guide to Perfect Spicy Korean Chicken Katsu
To ensure your Spicy Korean Chicken Katsu is a stunning success every time, focus on these five critical points. They are the core of this proven method and the difference between a good meal and a great one.
- Even Thickness is Non-Negotiable: – Pounding the chicken to a uniform ½-inch thickness is the most important step for ensuring it cooks quickly and evenly, resulting in a juicy interior.
- Panko is Essential for Crispiness: – For that signature super crispy texture, you must use Japanese Panko breadcrumbs. Regular breadcrumbs will not produce the same light, airy crunch.
- Control Your Oil Temperature: – The secret to golden brown, non-greasy katsu is maintaining an oil temperature of 350°F (175°C). Use a thermometer for a proven method and guaranteed results.
- Rest on a Wire Rack, Not Paper: – To prevent a soggy bottom, always let your fried katsu rest on a wire rack. This allows air to circulate and is the ultimate fix for preventing soggy breading.
- Balance the Gochujang Glaze: – The perfect Spicy Red Sauce is a balance of Gochujang + Honey. Taste and adjust the sweet and spicy elements to match your preference and the specific Korean chili paste you’re using.
People Also Ask About Spicy Korean Chicken Katsu
How do you keep Katsu crispy?
The secret to keeping katsu crispy is to let it rest on a wire rack after frying. Do not place it on paper towels, as this traps steam and creates a soggy bottom. A wire rack allows air to circulate all around the cutlet, preserving its extra crunchy texture.
What is Korean Katsu sauce made of?
A typical Korean Katsu sauce, or Gochujang glaze, is made from a base of Gochujang (Korean chili paste), soy sauce, and a sweetener like honey or sugar. It often includes other aromatic ingredients like minced garlic, ginger, rice vinegar, and toasted sesame oil to create a complex sweet and spicy flavor profile.
Is Chicken Katsu Japanese or Korean?
Chicken Katsu itself is originally a Japanese dish (“katsu” is Japanese for cutlet). However, this Spicy Korean Chicken Katsu is a popular fusion dish that combines the Japanese technique of panko-frying a cutlet with a classic Korean-style sweet and spicy Gochujang glaze, similar to what’s used on Korean Fried Chicken.
Why is my Katsu breading falling off?
Breading typically falls off because the chicken wasn’t properly prepared in the 3-stage breading station. Ensure you first coat the chicken in a thin layer of flour, then dip it in egg, and finally, press it firmly into the panko. The flour gives the egg something to grip, solving the breading falling off fix.
What is the best chicken part for Katsu?
Both chicken breast and chicken thighs are excellent for katsu. Chicken breast is leaner and gives you a larger, more uniform cutlet, while boneless, skinless chicken thighs are naturally more flavorful and result in an even more juicy interior due to their higher fat content. The choice between thigh vs breast meat is a matter of personal preference.
How long do you fry chicken katsu?
At the correct oil temperature of 350°F (175°C), you should fry chicken katsu for about 3-4 minutes per side. The total time is 6-8 minutes, or until the crust is deep golden brown and the chicken’s proper internal temperature reaches 165°F (74°C).
Can I bake this katsu instead of frying?
Yes, you can bake it for a healthier version, though it will be less crispy than the deep-fried original. Place the breaded chicken on a wire rack set on a baking sheet. Spray generously with oil and bake at 425°F (220°C) for 15-20 minutes, flipping halfway through, until golden and cooked through.
What goes well with Korean Chicken Katsu?
Spicy Korean Chicken Katsu is traditionally served with fluffy steamed rice and a side of fresh, thinly shredded cabbage. The plain rice complements the rich flavors, and the crisp cabbage provides a refreshing crunch that cuts through the richness of the fried chicken. Kimchi is also a classic and delicious side dish.
How do I make the gochujang sauce less spicy?
To lower the heat level of the sauce, you can either reduce the amount of Gochujang or increase the amount of honey and soy sauce. Some brands of Gochujang have different heat levels (often labeled “mild” or “medium hot”). Starting with a mild version is a great way to control the spice.
How do I reheat leftover chicken katsu?
The best way to reheat katsu and keep it crispy is in an air fryer or oven. Place the leftover katsu in an air fryer at 375°F (190°C) for 3-5 minutes or in an oven at 400°F (200°C) for 5-7 minutes, until hot and re-crisped. Avoid the microwave, which will make the breading soggy.
Final Thoughts on Your Homemade Spicy Korean Chicken Katsu
You are now fully equipped to create a truly irresistible and flavor-packed Spicy Korean Chicken Katsu at home. By following these chef tips—from pounding the chicken for a juicy interior to resting it on a wire rack for that super crispy finish—you’ve unlocked the secrets to a restaurant-quality meal. The real magic lies in the relationship between the crispy Panko-crusted chicken and the perfectly balanced sweet and spicy Gochujang glaze. This Korean Chicken Katsu Recipe is more than just instructions; it’s a proven method for success.
What has been your experience making katsu at home? Which tip will you try first?
Last update on 2026-06-06 at 14:05 / Affiliate links / Images from Amazon Product Advertising API
