As an Amazon Associate BakingBakewareSets.com earns from qualifying purchases.
Chewy Brown Butter Chocolate Chip Cookies: Best Homemade Recipe for Crisp & Gooey Perfection
Tired of making chocolate chip cookies that turn out flat, one-note, and underwhelming? You’re searching for that truly perfect, bakery-quality treat with a depth of flavor that standard recipes just can’t deliver. You want the secret to making the ultimate Brown Butter Chocolate Chip Cookies right in your own kitchen.
Browning butter for cookies unlocks a deep, nutty, and caramelized flavor through the Maillard reaction, a process that toasts the milk solids in the butter. This simple step transforms a standard chocolate chip cookie into a gourmet treat with unparalleled richness, a chewier texture, and irresistible toffee and butterscotch notes that standard melted or creamed butter cannot replicate.
Drawing from the established food science behind perfect cookies and proven baking methodologies, this guide will walk you through every critical step. You’ll discover the techniques to create a cookie that is the perfect balance of crisp edges and a soft, gooey center. Get ready to master the recipe that will become your new signature dessert.
☰ Table of Contents ▼
show
The secret to what makes best brown butter chocolate chip cookies so much better than their traditional counterparts lies in one transformative step: browning the butter. This isn’t just about melting; it’s a culinary technique that creates incredible flavor complexity. When you gently cook butter, the milk solids toast and undergo the Maillard reaction, the same chemical process responsible for the delicious browning on seared steak and toasted bread. This reaction unlocks a mesmerizingly nutty aroma and a deep, rich caramel notes with a toffee like flavor that you simply cannot achieve with softened or melted butter. This one step elevates a simple homemade treat into a gourmet chocolate chip cookies taste experience, creating a cookie with a more sophisticated and memorable flavor profile that will have everyone asking for your secret.
Now that you understand why brown butter is the key to an elevated cookie, it’s time to learn how to execute it perfectly. Achieving that ideal thick and chewy texture with crispy edges and a gooey center isn’t about luck; it’s about a series of intentional techniques. This guide breaks down the entire process into nine essential secrets. Each step in this proven brown butter chocolate chip cookie recipe is designed to build upon the last, ensuring you avoid common pitfalls like cookies spreading too much. From mastering the art of browning butter to the final sprinkle of salt, following these expert tips will guarantee baking success tips brown butter and give you the confidence to produce consistently perfect cookies every single time.
1. Brown Your Butter Like a Pro for a Rich, Nutty Flavor
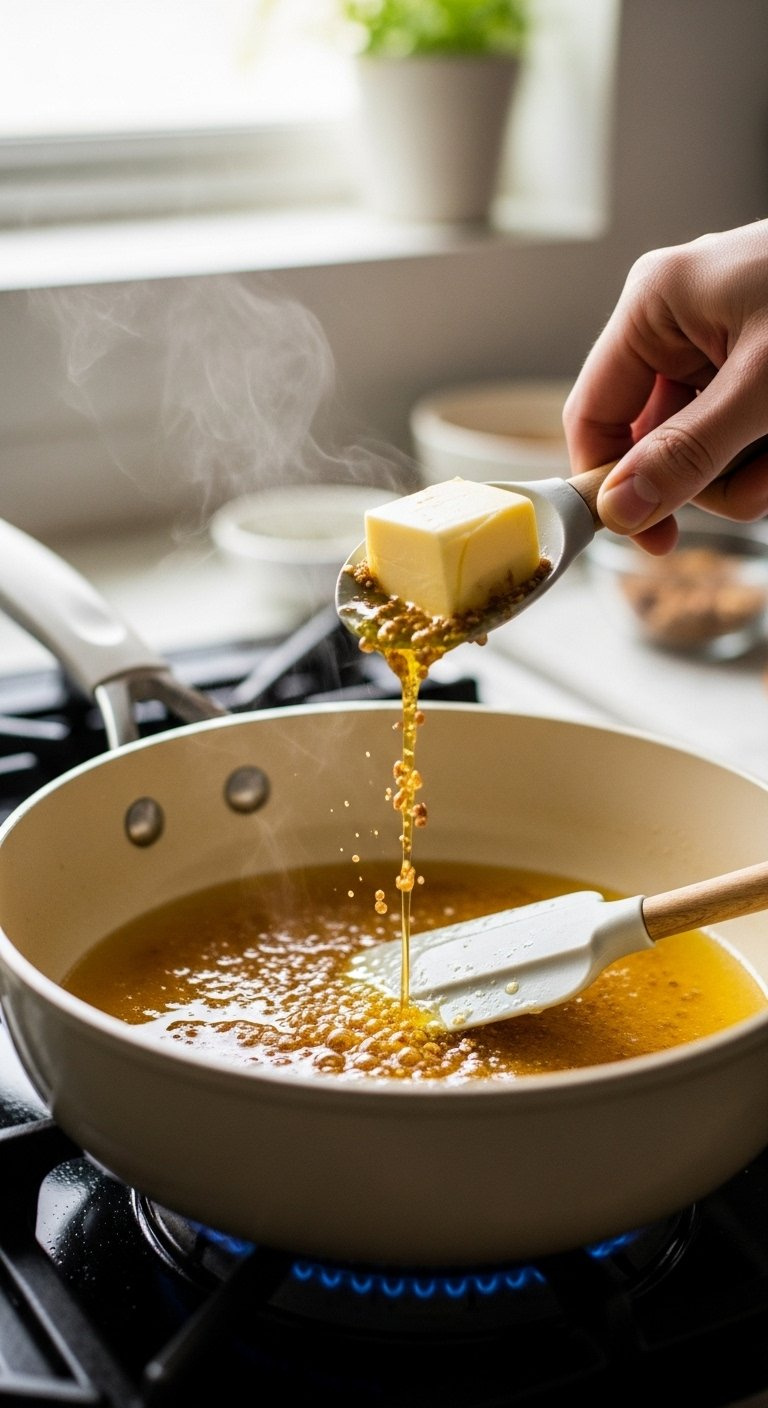
Pin this essential technique to your ‘Baking Tips’ board!
What You Need
- 1 cup (226g) unsalted butter, cut into tablespoon-sized pieces for even melting.
- A light-colored, heavy-bottomed saucepan to clearly see the color change and prevent burning.
- A silicone spatula for scraping the flavorful brown bits.
Steps
- Place the butter pieces in the cold, light-colored saucepan over medium heat.
- Stir or swirl the pan constantly as the butter melts. It will foam up, which is normal.
- Continue stirring for 5-8 minutes as the foam subsides. You will see light brown specks forming at the bottom and smell a rich, nutty aroma.
- Once the butter is a beautiful amber color and smells nutty, immediately remove it from the heat and pour it into a large, heatproof bowl, scraping all the brown bits from the pan. The butter can go from brown to burnt in seconds, so act quickly.
Pro-Tip: The browning process is a chemical change called the Maillard reaction. You are toasting the milk solids in the butter, which creates that incredible depth of flavor. Don’t walk away from the pan, as this process happens very quickly at the end!
2. Combine All-Purpose and Bread Flour for Ultimate Chewiness
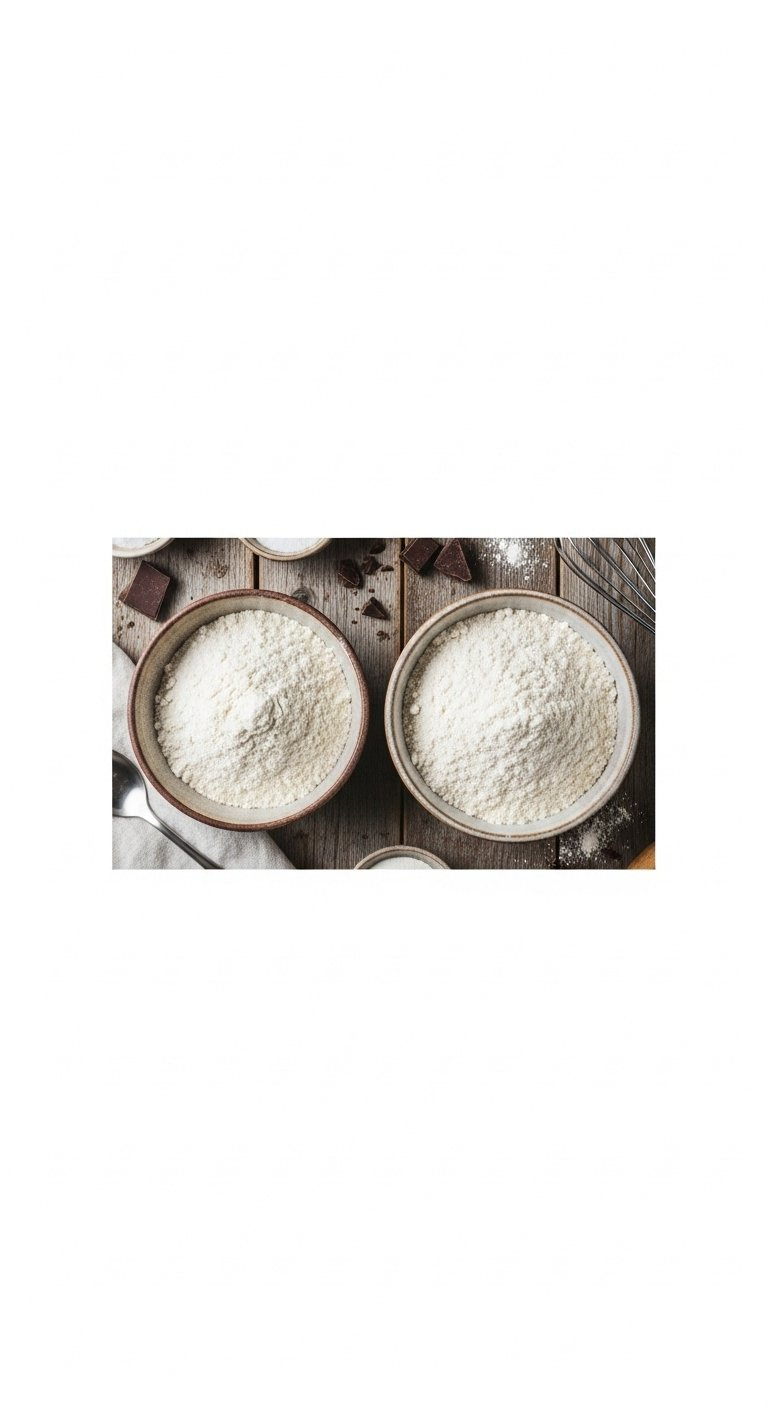
Save this secret for perfectly chewy cookies every time!
What You Need
- 1 ½ cups (190g) all-purpose flour.
- 1 cup (127g) bread flour.
- A kitchen scale for accurate measurement.
Steps
- For the best results, measure your flours by weight using a kitchen scale. This is far more accurate than using measuring cups and prevents dry, dense cookies.
- In a medium bowl, whisk together the all-purpose flour and bread flour. Using a combination gives you the perfect balance: the bread flour provides superior chewiness due to its higher protein content, while the all-purpose flour keeps the cookies tender.
Pro-Tip: The higher protein in bread flour absorbs more moisture and develops more gluten, which is the secret to that coveted dense and chewy texture found in bakery style brown butter chocolate chip cookies.

3. Use More Brown Sugar Than White for Softness and Flavor
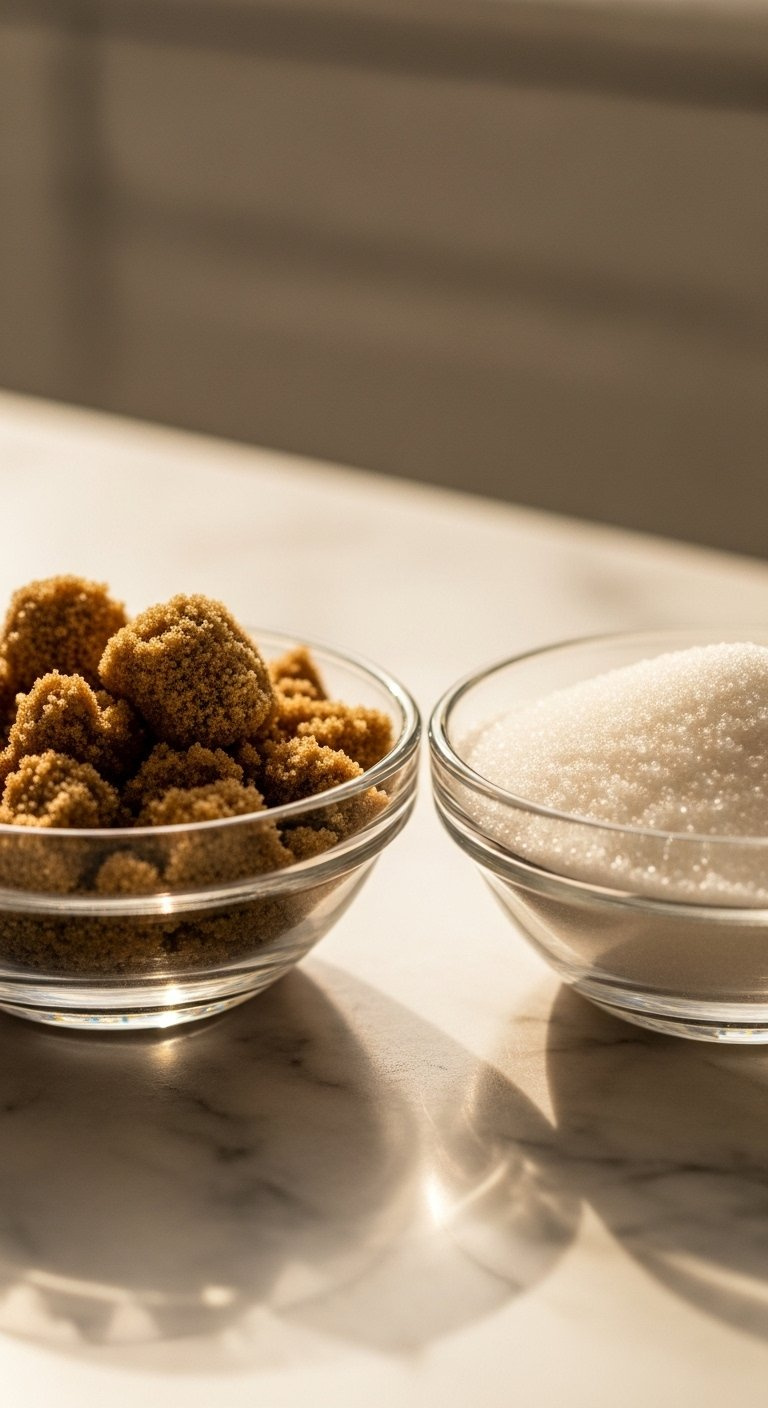
Pin this sugar secret for the softest, chewiest cookies!
What You Need
- 1 ¼ cups (250g) packed dark brown sugar.
- ½ cup (100 grams) granulated sugar.
Steps
- In the large bowl with your cooled brown butter, whisk in the dark brown sugar and granulated sugar until fully combined. The mixture will look like wet sand.
- Using a higher ratio of brown sugar to white sugar is crucial. The molasses in the brown sugar adds moisture and a slight acidity, which leads to a softer, chewier cookie with a deeper caramel flavor.
- The granulated sugar’s role is to help the cookies spread just enough and to create those delightful crispy edges.
Pro-Tip: For an even richer, more complex toffee flavor, use dark brown sugar instead of light brown. It contains more molasses, which perfectly complements the nutty toffee like flavor of the brown butter.

4. Add an Extra Egg Yolk for Unbeatable Richness and Chew
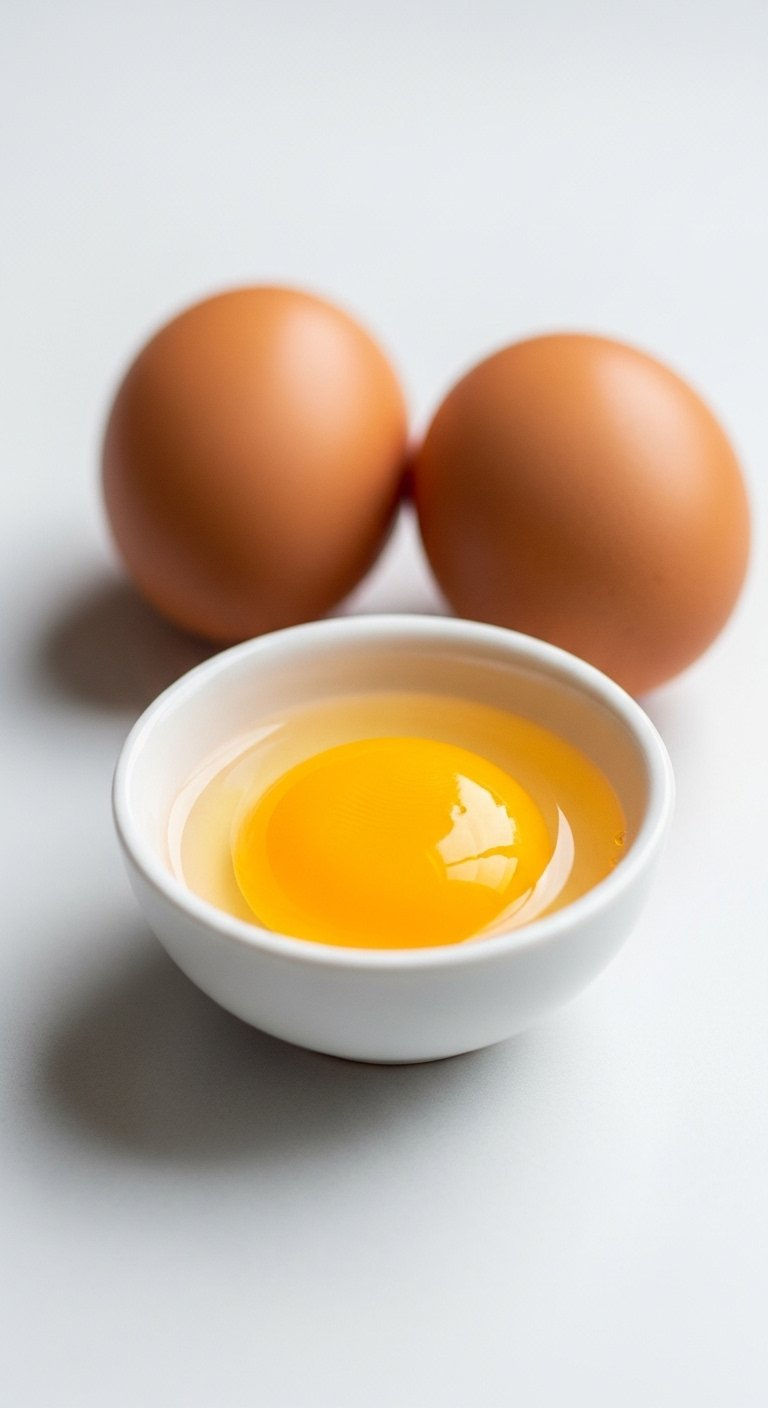
Want richer, chewier cookies? Don’t forget this egg trick!
What You Need
- 2 large eggs, at room temperature.
- 1 large egg yolk, at room temperature.
- An egg separator (optional).
Steps
- Ensure your eggs and egg yolk are at room temperature. This helps them incorporate smoothly into the batter for a more uniform texture.
- To the butter and sugar mixture, add the 2 whole eggs and 1 extra egg yolk. Whisk until the mixture is smooth and combined.
- The additional egg yolk adds extra fat to the dough. This is the secret to an ultra-rich flavor and a wonderfully dense and chewy texture that stays soft for days.
Pro-Tip: Don’t throw away the extra egg white! You can save it in an airtight container in the fridge for up to two days and use it for an egg-white omelet or to make meringues.

5. Use Chopped Chocolate Bars for Epic Melty Puddles
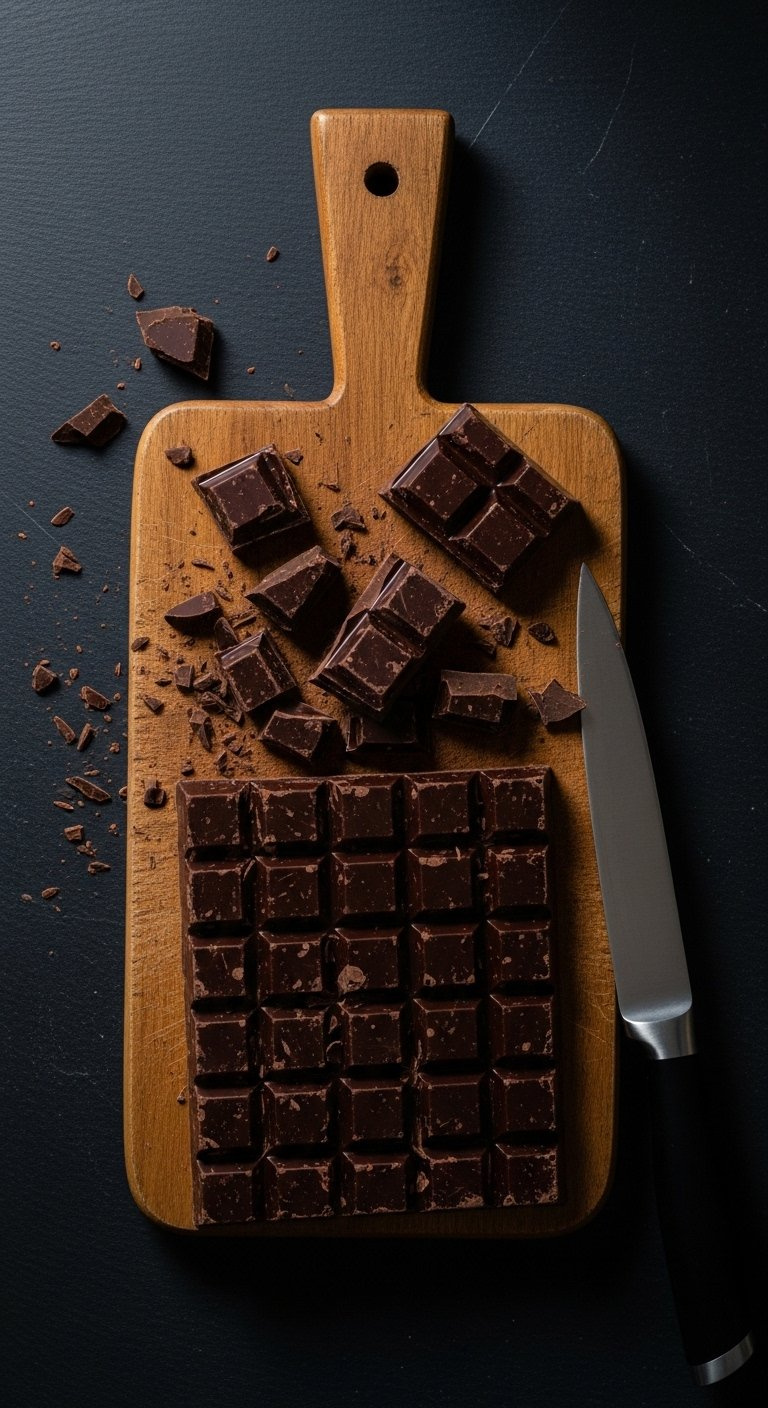
For bakery-style results, chop your own chocolate! Pin this tip!
What You Need
- 1 ½ cups (255g) semisweet chocolate chips.
- 1 cup (140g) semisweet or bittersweet chocolate baking wafers or a high-quality chocolate bar, coarsely chopped.
Steps
- For the best texture, use a mix of standard chocolate chips and chopped chocolate from a bar or high-quality baking wafers (fèves).
- The chocolate chips will hold their shape, providing a classic bite, while the chopped chocolate, with its varied sizes and different melting properties, will create those incredible gooey chocolate puddles throughout the cookie.
- Gently fold the chocolate into the dough with a rubber spatula until just combined. Be careful not to overmix.
Pro-Tip: I highly recommend using a quality chocolate bar with 60-70% cacao. Brands like Guittard, Scharffen Berger, or Valrhona offer a less sweet, more complex chocolate flavor that perfectly balances the sweet, nutty cookie dough.

6. Chill The Dough to Deepen Flavor and Prevent Spread
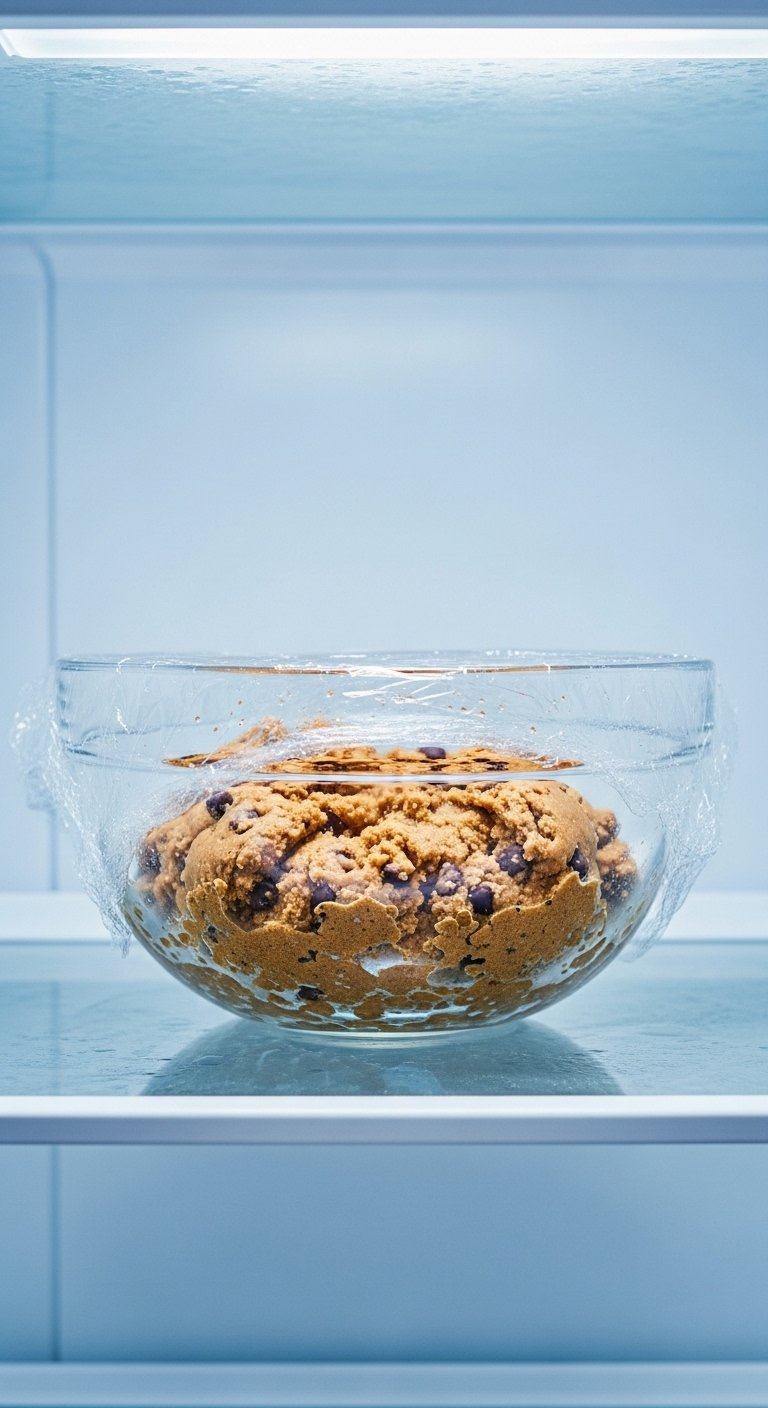
Don’t skip this step! Chilling your dough is a game-changer.
What You Need
- The prepared bowl of browned butter cookie dough.
- Plastic wrap or a reusable bowl cover.
- Space in your refrigerator.
Steps
- Cover the bowl of cookie dough tightly with plastic wrap, pressing it directly onto the surface of the dough to prevent a skin from forming.
- Chill the dough for at least 2 hours, but preferably overnight (up to 72 hours). This is the most important step for developing a deep, complex flavor and preventing the cookies from spreading too thin.
- Chilling solidifies the fat (the brown butter). When you bake the cookies, the cold fat takes longer to melt, which means the cookies spread much less, resulting in thicker, chewier centers.
Pro-Tip: While you can bake these cookies after a minimum 30-minute chill, a longer rest of 24 hours will yield a significantly more pronounced butterscotch and rich caramel notes as the flour fully absorbs the liquid and the flavors meld.
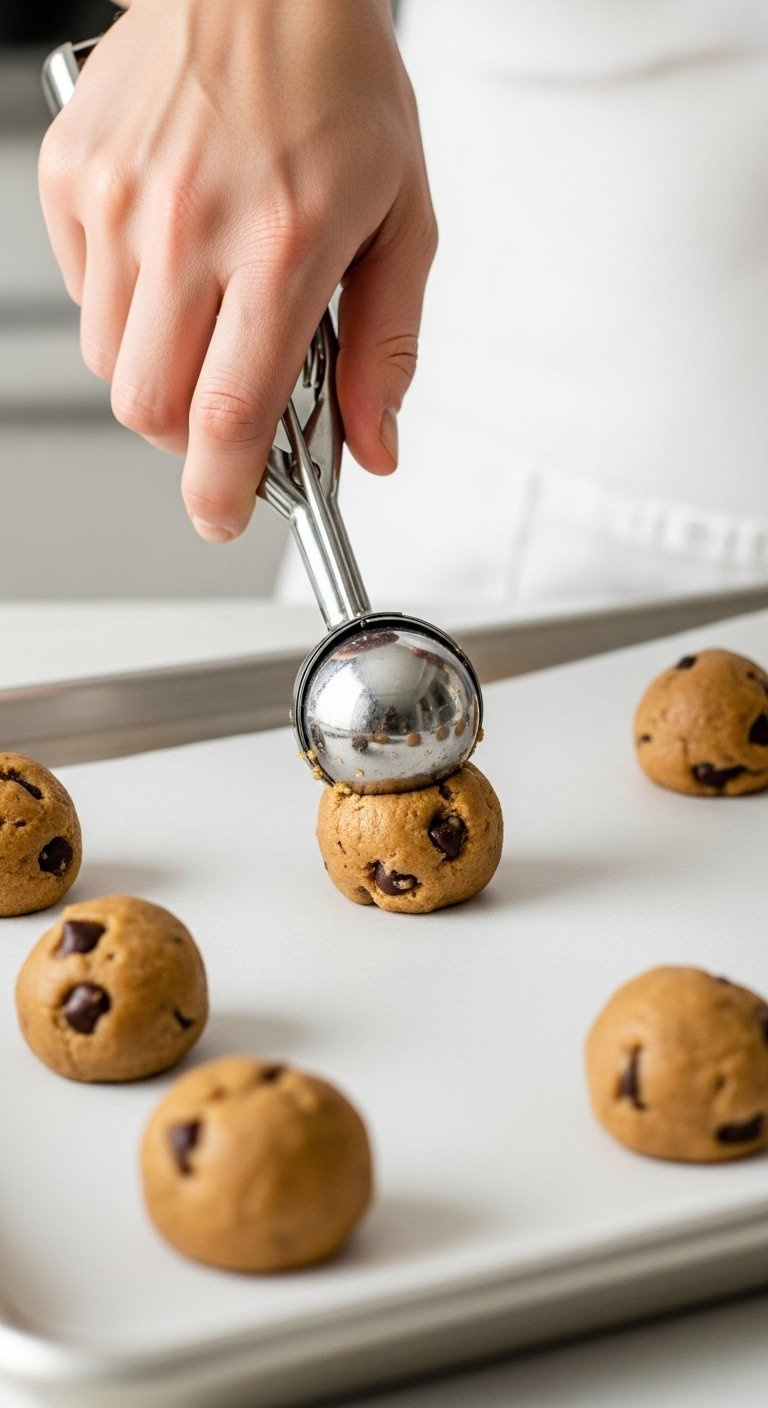
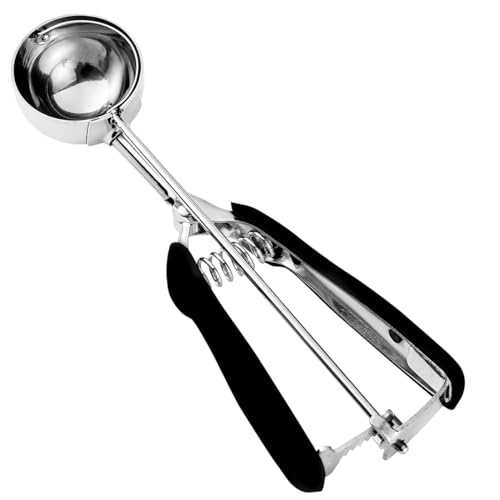
The secret to perfectly uniform cookies? A cookie scoop!
What You Need
- Chilled brown butter chocolate chip cookie dough.
- A 3-Tablespoon (#24) cookie scoop.
- Baking sheets lined with parchment paper.
Steps
- Preheat your oven to 350°F (175°C) and line two baking sheets with parchment paper.
- Let the chilled dough sit at room temperature for about 10-15 minutes, just until it’s pliable enough to scoop.
- Use a 3-Tablespoon cookie scoop to portion the dough into uniform balls. Place them about 3 inches apart on the prepared baking sheets to allow room for spreading. Using a scoop ensures every cookie is the same size and will bake evenly.
Pro-Tip: For that thick bakery style look, don’t flatten the dough balls. Baking them as tall mounds helps them stay thick and ensures a gooey center. If you like, press a few extra chocolate chunks on top of each dough ball before baking.
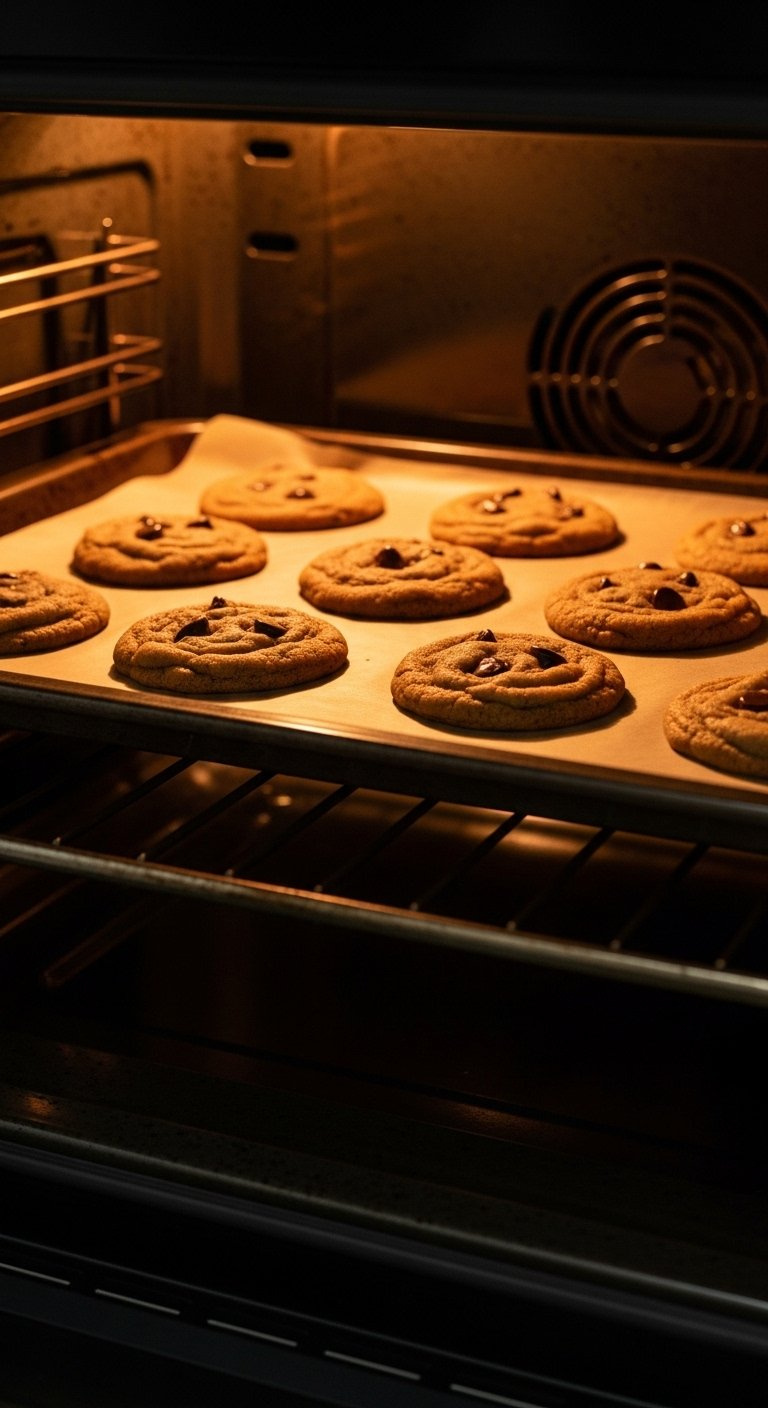
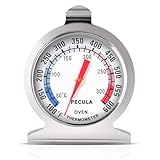
8. Bake at the Right Temperature for Crisp Edges and Soft Centers
Perfect texture comes from perfect baking. Pin these baking time tips!
What You Need
- A reliable oven thermometer to ensure accurate temperature.
- The scooped cookie dough on parchment-lined baking sheets.
- A cooling rack.
Steps
- Bake the cookies at 350°F (175°C) for 11-13 minutes. Ovens vary, so an oven thermometer is your best friend for accuracy.
- The cookies are done when the edges are set and golden brown, but the centers still look soft and slightly underbaked. They will continue to cook on the hot baking sheet after you remove them from the oven.
- Let the cookies cool on the baking sheet for 5-10 minutes before transferring them to a wire rack to cool completely. This allows the centers to set up perfectly.
Pro-Tip: For extra crinkly tops and a great chewy texture, firmly tap the baking sheet on the counter once or twice halfway through the baking time. This causes the puffed-up centers to fall slightly, creating delicious ridges and a denser chew.
9. Finish with Flaky Sea Salt to Make Flavors Pop
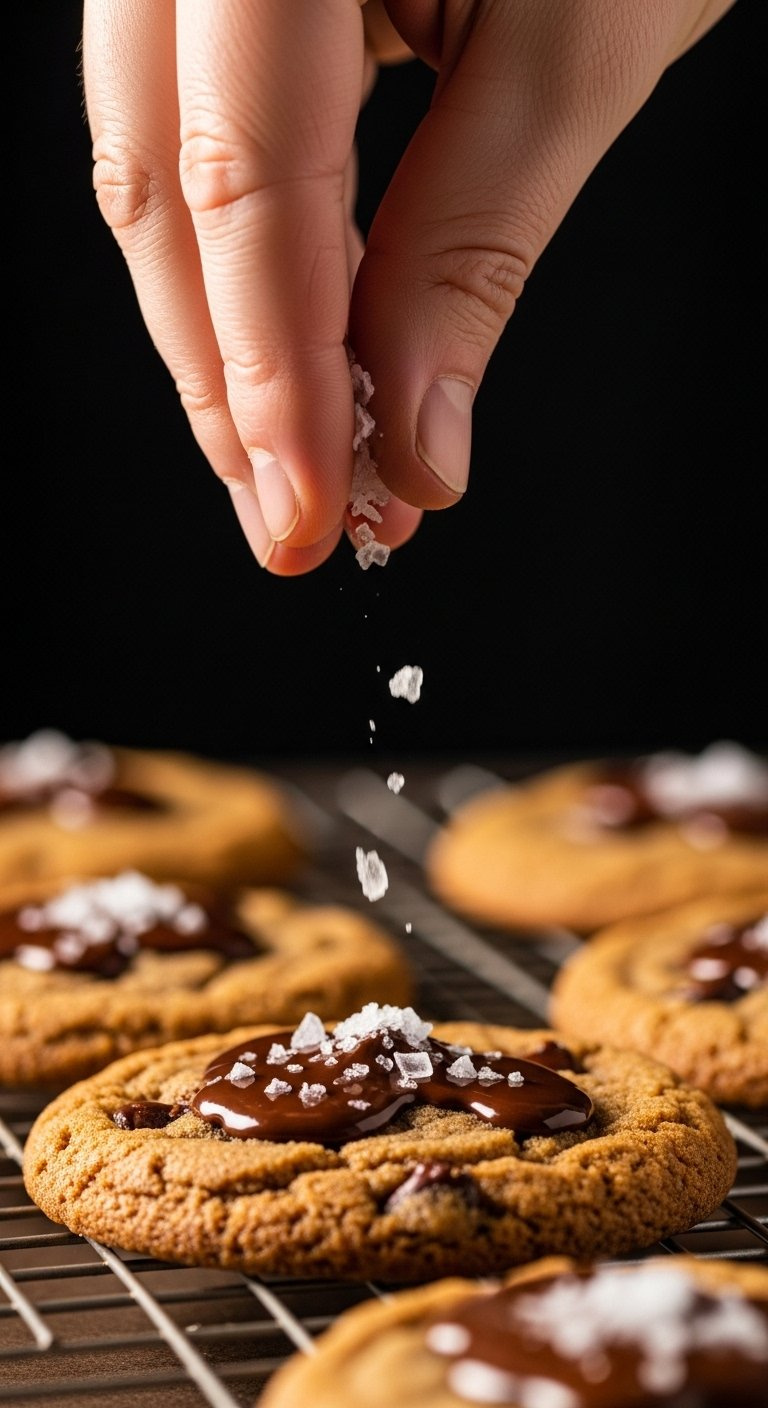
The perfect finish! A sprinkle of sea salt makes all the difference.
What You Need
- Freshly baked, warm brown butter chocolate chip cookies.
- Flaky sea salt, such as Maldon.
Steps
- As soon as the cookies come out of the oven, while they are still warm and the chocolate is melty, sprinkle a small amount of flaky sea salt over the top of each one.
- The salt will adhere to the warm surface and slightly melt into the chocolate puddles.
- This final step doesn’t just add saltiness; it intensifies the chocolate flavor, balances the sweetness of the sugars, and enhances the nutty notes of the brown butter, creating a truly irresistible sweet and salty flavor combination.
Pro-Tip: Use a finishing salt with a pyramid-like crystal structure, like Maldon sea salt. Its delicate crunch and clean, briny flavor are far superior to fine table salt for this purpose.

Key Takeaways
- Brown the Butter Properly: The most critical step is to cook your butter until it’s amber-colored with nutty-smelling brown specks to develop that signature nutty toffee like flavor. Don’t rush it, and don’t burn it.
- Use a Flour Combination: A mix of all-purpose flour and bread flour is the secret to achieving the perfect thick and chewy texture, thanks to the higher protein in bread flour.
- Chill the Dough (Don’t Skip It!): Chilling the dough for at least two hours is non-negotiable. It prevents your cookies from becoming flat, deepens the flavor, and creates a much better texture.
- Chop Your Own Chocolate: For those beautiful, melty gooey chocolate puddles, use a high-quality chopped chocolate bar or baking wafers in addition to regular chips.
- An Extra Egg Yolk is Key: Adding one extra egg yolk to your dough introduces more fat, resulting in a richer, softer, and chewier cookie that stays fresh longer.
- Finish with Flaky Sea Salt: A sprinkle of flaky sea salt on the warm cookies right out of the oven balances the sweetness and makes all the complex flavors pop.
Brown butter infuses cookies with a deep, complex flavor profile of nuts, toffee, and caramel that regular butter cannot provide. The process, known as the Maillard reaction, toasts the milk solids, creating a richer taste. It also results in a slightly denser and chewier cookie because some water content from the butter is cooked off.
The most common cause of flat cookies is dough that is too warm or soft, which often happens if the brown butter isn’t cooled sufficiently before mixing. Chilling the dough for at least 2 hours is the best way to prevent this. Other causes can include using too little flour (measure by weight for accuracy) or an oven that is not hot enough.
Yes, chilling is a critical step for the best results. Chilling the dough solidifies the fat, which significantly reduces cookie spread, leading to thicker, chewier cookies. It also allows the flour to hydrate fully, which deepens the caramel and toffee flavors, making the cookies taste much richer. Even a short 30-minute chill is better than none.
Brown butter offers a huge flavor advantage, adding nutty and toffee-like notes, whereas melted butter just provides a buttery taste. While both create a chewier, denser cookie compared to creamed butter, browned butter has less moisture, which can lead to an even chewier final texture. The flavor difference is the primary reason for using brown butter.
How do I know when the butter is perfectly browned and not burnt?
Use a light-colored pan and your senses. The butter is perfectly browned when it turns a medium amber color, gives off a distinctly nutty aroma, and you see toasted brown specks at the bottom of the pan. This happens quickly after the foaming subsides. If it smells burnt or is dark brown/black, it has gone too far.
Absolutely! This is a great recipe to make without a stand mixer. Since you are starting with melted (browned) butter, all the ingredients can be easily combined by hand with a whisk and a rubber spatula in a large bowl. No creaming of solid butter is required.
A combination of chocolate types yields the best texture and flavor. Use high-quality semi-sweet or bittersweet chocolate with a cacao percentage between 60-70% to balance the cookie’s sweetness. For the best “melty puddles,” use chopped chocolate from a baking bar or large wafers alongside traditional chips.
To ensure thick cookies, chill the dough thoroughly (at least 2 hours), use a combination of bread flour and all-purpose flour, and don’t flatten the dough balls before baking. Using an extra egg yolk also adds structure and richness that contributes to a thicker, chewier cookie.
Yes, and it’s even recommended for better flavor. The cookie dough can be made and stored in an airtight container in the refrigerator for up to 3 days (72 hours). The flavor will continue to deepen as the dough rests. You can also scoop the dough into balls and freeze them for up to 3 months.
Is it better to use salted or unsalted butter for browning?
Unsalted butter is highly recommended for browning. It allows you to control the total amount of salt in the recipe. Salted butter also tends to foam more during the browning process, making it harder to see the color change of the milk solids and increasing the risk of burning them.
Mastering the art of the Brown Butter Chocolate Chip Cookie is a truly rewarding baking milestone. It’s about more than just following a recipe; it’s about understanding the science and technique that transform simple ingredients into something extraordinary. By learning to properly brown your butter, appreciating the role of different flours and sugars, and embracing the crucial step of chilling the dough, you have unlocked the secrets to controlling both flavor and texture. You are no longer just baking cookies—you are crafting an experience. Now that you have these baking success tips, which secret will you be most excited to try first?
Last update on 2026-06-19 at 11:00 / Affiliate links / Images from Amazon Product Advertising API
