As an Amazon Associate BakingBakewareSets.com earns from qualifying purchases.
The Ultimate Juicy Thanksgiving Turkey Recipe And Carving Guide
Feeling the pressure to cook the perfect Thanksgiving turkey? You want that picture-perfect, golden-brown bird with incredibly juicy meat. The fear of serving a dry, flavorless turkey to your family is real.
This juicy Thanksgiving turkey recipe is a culinary process designed to be your foolproof guide. It eliminates the guesswork and stress of this high-stakes holiday meal. We will walk you through every step to ensure a succulent result.
The secret to a guaranteed juicy Thanksgiving turkey is a simple dry brine, using a meat thermometer for accuracy, and letting it rest properly before carving. This foolproof method ensures moist meat and crispy skin without any complicated steps. Let’s create a holiday centerpiece you’ll be proud of.
☰ Table of Contents ▼
show
Feeling the Pressure for a Perfect Thanksgiving Turkey?
The Thanksgiving turkey is the undisputed centerpiece of the holiday table, but it’s also the source of the most anxiety for home cooks. We’ve all heard the horror stories—or lived them—of a beautiful bird that ends up tragically dry and tough. The pressure to deliver a succulent, juicy turkey with perfect, golden-brown crispy skin is immense.
This guide is designed to be your trusted companion, a foolproof thanksgiving turkey recipe that removes the fear and replaces it with confidence. We’re not using complicated techniques or fancy equipment. Instead, we’re focusing on a few simple, proven steps that guarantee success. This is more than just a recipe; it’s a complete game plan to help you impress your guests and, most importantly, enjoy the process.
Your 7-Step Foolproof Guide to the Juiciest Thanksgiving Turkey
Cooking a perfect holiday turkey isn’t about one single secret; it’s about following a sequence of simple, crucial steps. We’ve broken down the entire journey into a master checklist that covers everything from the moment you bring the bird home to the final, triumphant presentation at the dinner table. This step by step turkey recipe removes all the guesswork.
Here is your complete guide to a flawless Thanksgiving turkey:
1. Thaw Your Turkey Safely
2. Apply the Simple Dry Brine
3. Prep for the Oven
4. Roast to Perfection
5. Let the Turkey Rest
6. Make Perfect Pan Gravy
7. Carve Like a Pro
1. Step 1: Thaw Your Turkey Safely & Correctly

Pin this essential food safety tip to your ‘Thanksgiving Prep’ board!
Properly thawing a frozen turkey is the first and most critical step for food safety and even cooking. A partially frozen bird will cook unevenly, leaving some parts dry while others are undercooked.
What You Need:
- Your frozen turkey (still in its original wrapping)
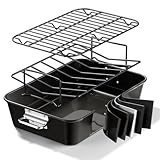
- A high-sided roasting pan or a large sheet pan to catch any drips
- A clear spot on the bottom shelf of your refrigerator
Step-by-Step Directions:
- Calculate the Time: The golden rule is to allow 24 hours of thawing time for every 4-5 pounds of turkey. For a 15-pound turkey, you need to start thawing at least 3-4 days before Thanksgiving.
- Contain the Turkey: Place the wrapped frozen turkey in your roasting pan or on a sheet pan. This is critical to prevent raw turkey juices from dripping onto other food in your fridge.
- Position in Fridge: Place the pan on the lowest possible shelf in your refrigerator. This prevents any accidental drips from contaminating food below it.
- Wait Patiently: Leave the turkey to thaw completely. Do not unwrap it during this time. Once thawed, it can be kept in the fridge for another 1-2 days before you need to cook it.
My first year, I underestimated the thawing time and ended up with a partially frozen bird on Thanksgiving morning. Trust the math and give yourself at least one extra buffer day to be safe.
2. Step 2: Apply the Simple, High-Impact Dry Brine

Save this secret for the juiciest turkey ever!
Forget messy buckets of salt water. A dry brine for turkey is a simple turkey seasoning rub that uses salt and herbs to achieve two things: deep flavor penetration and incredible moisture retention. This is the easiest and most effective way to guarantee a juicy bird and crispy skin.
Dry Brine Ingredients:
- 1 cup Diamond Crystal kosher salt (or ½ cup Morton kosher salt)
- 2 tablespoons black pepper, freshly cracked
- 2 tablespoons dried sage
- 1 tablespoon dried thyme
- 1 tablespoon dried rosemary
- 1 tablespoon smoked paprika
Step-by-Step Directions:
- Unwrap and Dry: Remove the thawed turkey from its packaging. Remove the giblets and neck from the cavities (save them for gravy!). Thoroughly pat the entire turkey, inside and out, completely dry with paper towels. This is the #1 secret to crispy skin.
- Mix the Brine: In a small bowl, combine the kosher salt, pepper, sage, thyme, rosemary, and paprika. Mix well.
- Season Generously: Place the turkey on a rack inside a roasting pan. Gently separate the skin from the breast meat with your fingers. Rub about one-third of the brine mixture directly on the meat under the skin.
- Coat the Exterior: Sprinkle the remaining brine mixture evenly all over the outside of the turkey—covering the breast, legs, wings, and back.
- Refrigerate Uncovered: Place the seasoned turkey, still on the rack in the pan, into the refrigerator UNCOVERED for at least 24 hours and up to 72 hours. This dries out the skin for maximum crispiness.
Don’t be alarmed if the turkey looks a bit strange after a day in the fridge. The salt will initially draw out moisture, which then gets reabsorbed, creating a super juicy bird.

3. Step 3: Prep Your Turkey for the Oven
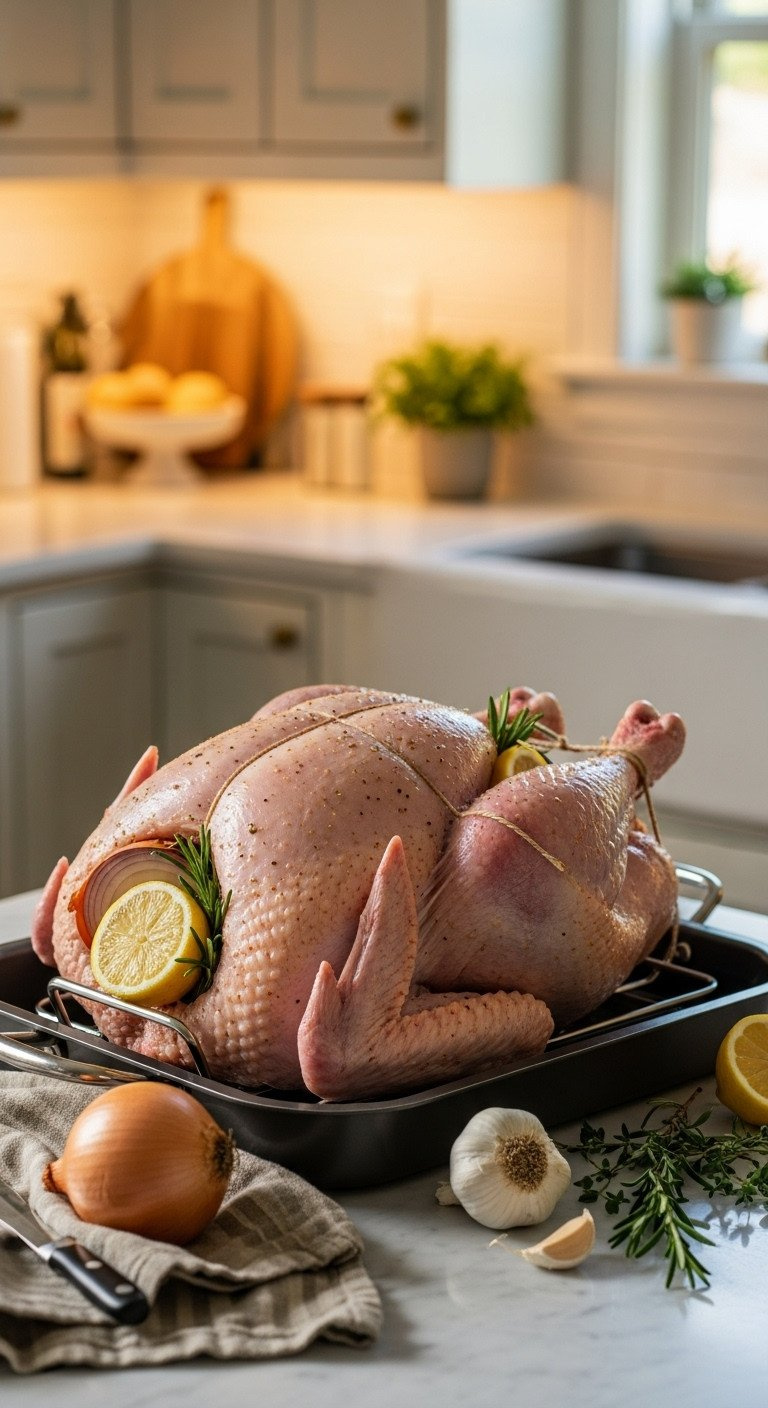
Pin this pre-roasting setup for a perfect turkey!
After its rest in the dry brine, your turkey is seasoned and ready for the final touches before it heads into the oven. These simple prep steps ensure even cooking and add another layer of aromatic flavor to your pan drippings.
Materials Needed:
- Your dry-brined turkey
- 1 large yellow onion, quartered
- 1 whole lemon, halved
- 1 head of garlic, sliced in half crosswise
- A few sprigs of fresh rosemary and thyme
- 4 tablespoons unsalted butter, softened
- Food-safe kitchen twine for trussing
Step-by-Step Directions:
- Bring to Room Temp: Remove the brined turkey from the refrigerator about 60-90 minutes before roasting. This helps it cook more evenly. Do NOT rinse the brine off.
- Add Aromatics: Loosely stuff the main turkey cavity with the quartered onion, halved lemon, garlic head, and fresh herb sprigs. This won’t flavor the meat, but it creates an incredible aroma and flavors the pan drippings for your gravy.
- Optional Butter: Rub the softened butter all over the exterior of the turkey skin. This helps with initial browning but is optional if you want to keep it simple.
- Truss the Legs: Tie the legs together with kitchen twine. This helps the turkey maintain a compact shape for more even cooking. Tuck the wing tips under the body.
- Ready the Pan: Make sure the turkey is sitting on a V-rack or flat roasting rack inside your roasting pan. This allows hot air to circulate underneath for even cooking.
Don’t pack the cavity too tightly with aromatics. You want air to be able to circulate inside to help the turkey cook evenly from the inside out.

4. Step 4: Roast to Golden-Brown Perfection

The most important turkey tip you’ll ever need. Pin it!
This is where the magic happens. The key to roasting is to ignore the clock and trust your thermometer. Cooking to the correct internal temperature is the only way to ensure your turkey is both perfectly cooked and safe to eat.
Tools Needed:
- A reliable digital instant-read meat thermometer
- Aluminum foil (in case you need to make a tent)
Step-by-Step Directions:
- Preheat Oven: Adjust your oven rack to the lowest position and preheat to 350°F (175°C).
- Start Roasting: Place the turkey in the preheated oven.
- Estimate Cooking Time: As a general guideline, plan for about 13-15 minutes per pound for an unstuffed turkey. For a 15-pound turkey, this is roughly 3.5 to 4 hours. This is only an estimate.
- Tent if Needed: If you notice the breast skin is getting too dark before the turkey is cooked, loosely tent the breast area with a piece of aluminum foil.
- Check for Doneness (The Right Way): About 30 minutes before your estimated time is up, start checking the internal temperature. Insert your meat thermometer into the thickest part of the thigh, without touching the bone.
- The Magic Number: The turkey is done and safe to eat when the thigh registers 165°F (74°C). The temperature may be higher in the breast. Don’t worry about clear juices or a pop-up timer; the thermometer is the only tool you can trust.
Trust your thermometer, not the clock. Ovens vary, and so do turkeys. Pulling the turkey out at exactly 165°F (and not a degree higher) is the key to preventing dry breast meat.

5. Step 5: The All-Important Rest (Don’t Skip This!)
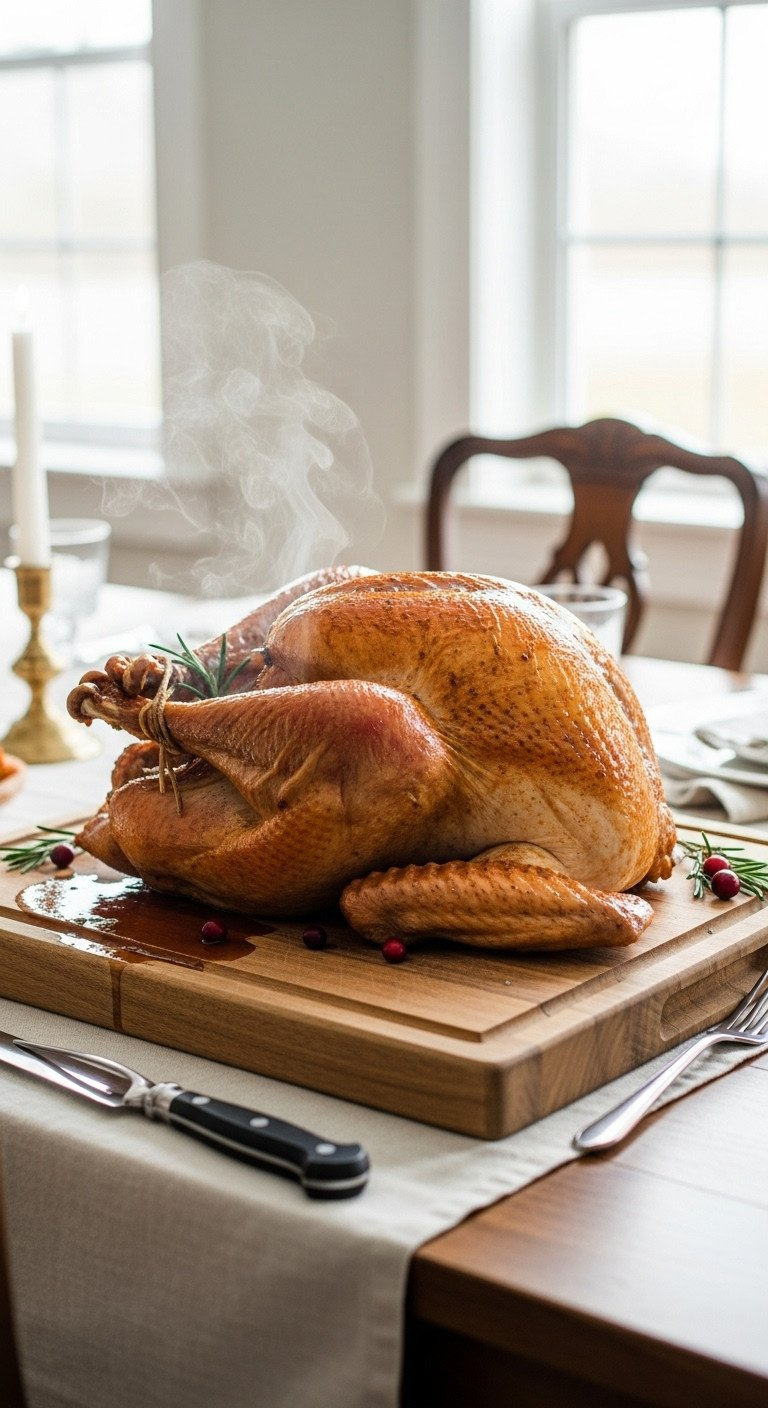
Save this tip! It’s the #1 secret to a juicy turkey.
This might be the hardest part of the entire recipe: doing nothing at all. The turkey resting time is non-negotiable. If you cut into the turkey immediately, all the juices you worked so hard to preserve will spill out onto the carving board, leaving you with dry meat.
What You Need:
- A large cutting board, preferably with a juice groove
- A bit of patience!
Step-by-Step Directions:
- Transfer the Turkey: As soon as the turkey hits 165°F in the thigh, carefully remove the entire roasting pan from the oven.
- Move to a Board: Using turkey lifters or sturdy tongs, transfer the whole turkey from the roasting pan to a large carving board.
- Let It Be: Let the turkey rest, completely uncovered, for at least 30 minutes (and up to 45 minutes for a very large bird) before you even think about carving.
- Why It’s Crucial: While resting, two things happen. First, carryover cooking will cause the internal temperature to rise another 5-10 degrees, ensuring it’s perfectly cooked. Second, the muscle fibers relax and reabsorb all those delicious juices. If you cut into it too soon, the juices will flood the cutting board, leaving you with dry meat.
Do NOT tent the turkey with foil while it rests. The trapped steam will soften that beautiful, crispy skin you worked so hard to create. A 30-minute rest will not make your turkey cold; it will still be perfectly hot for serving.

6. Step 6: Make Rich, Flavorful Pan Gravy
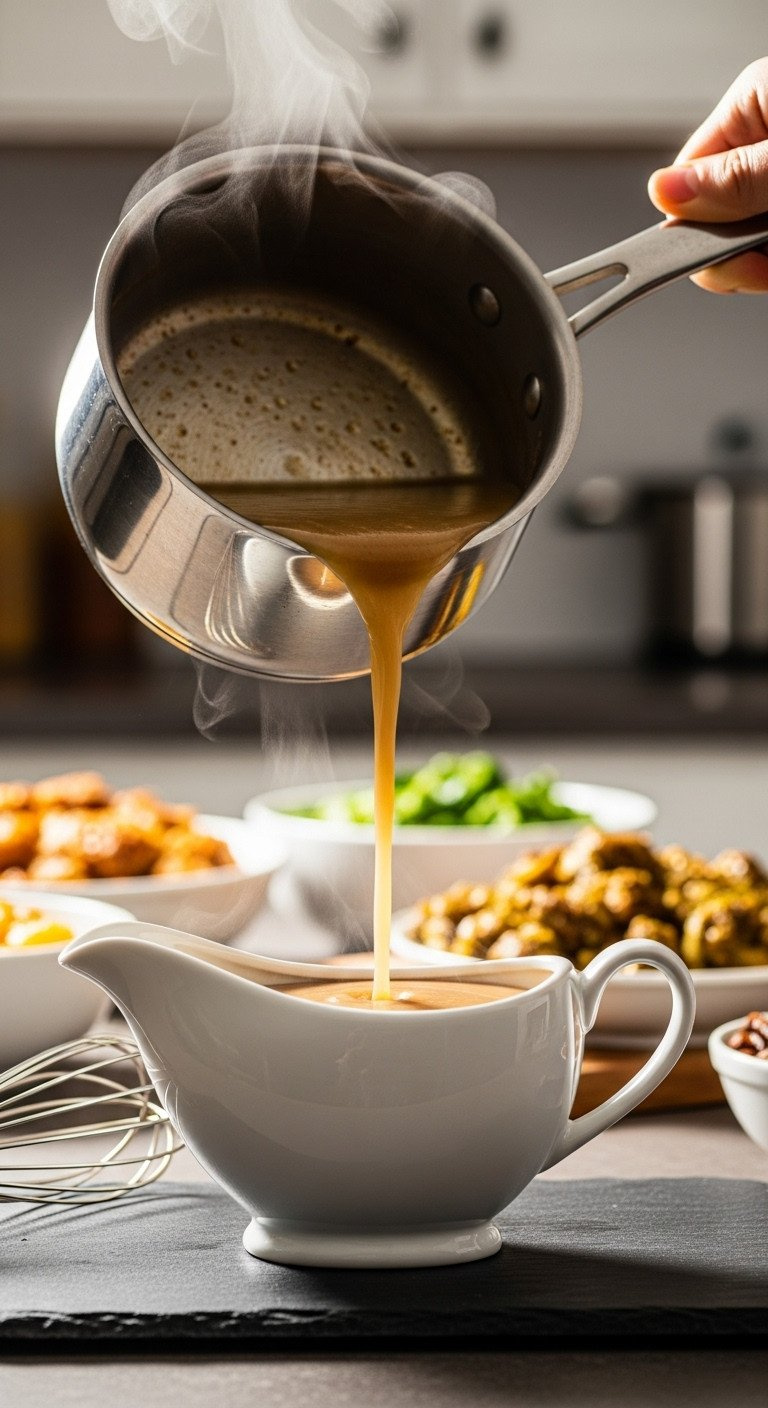
Never buy store-bought again! Pin this easy gravy recipe.
While your turkey rests, it’s the perfect time to make the best turkey gravy from drippings you’ve ever had. Those brown, caramelized bits and flavorful juices in the bottom of the roasting pan are liquid gold.
Ingredients Needed:
- Pan drippings from your roasted turkey
- ¼ cup all-purpose flour
- 4 cups low-sodium chicken or turkey broth, warmed
- Salt and freshly ground black pepper, to taste
Step-by-Step Directions:
- Separate the Fat: While the turkey is resting, pour all the drippings from the roasting pan into a fat separator. Let it sit for a few minutes for the fat to rise to the top.
- Make the Roux: Pour about ¼ cup of the separated fat back into the roasting pan (or a separate saucepan) and place it over medium heat. Whisk in the ¼ cup of flour and cook, whisking constantly, for 1-2 minutes until it forms a smooth paste (a roux).
- Add the Liquids: Slowly pour the reserved turkey juices (the dark liquid at the bottom of the fat separator) into the pan while whisking constantly. Then, slowly stream in the warm broth, whisking the entire time to prevent lumps.
- Simmer and Thicken: Bring the gravy to a simmer and let it cook for 5-10 minutes, until it has thickened to your desired consistency.
- Season and Serve: Taste the gravy and season with salt and pepper as needed. Pour into a gravy boat and serve hot.
Using a fat separator is a game-changer. It allows you to use the intensely flavorful juices without making your gravy greasy. It’s the one tool that guarantees perfect gravy every time.

7. Step 7: Carve the Turkey Like a Pro
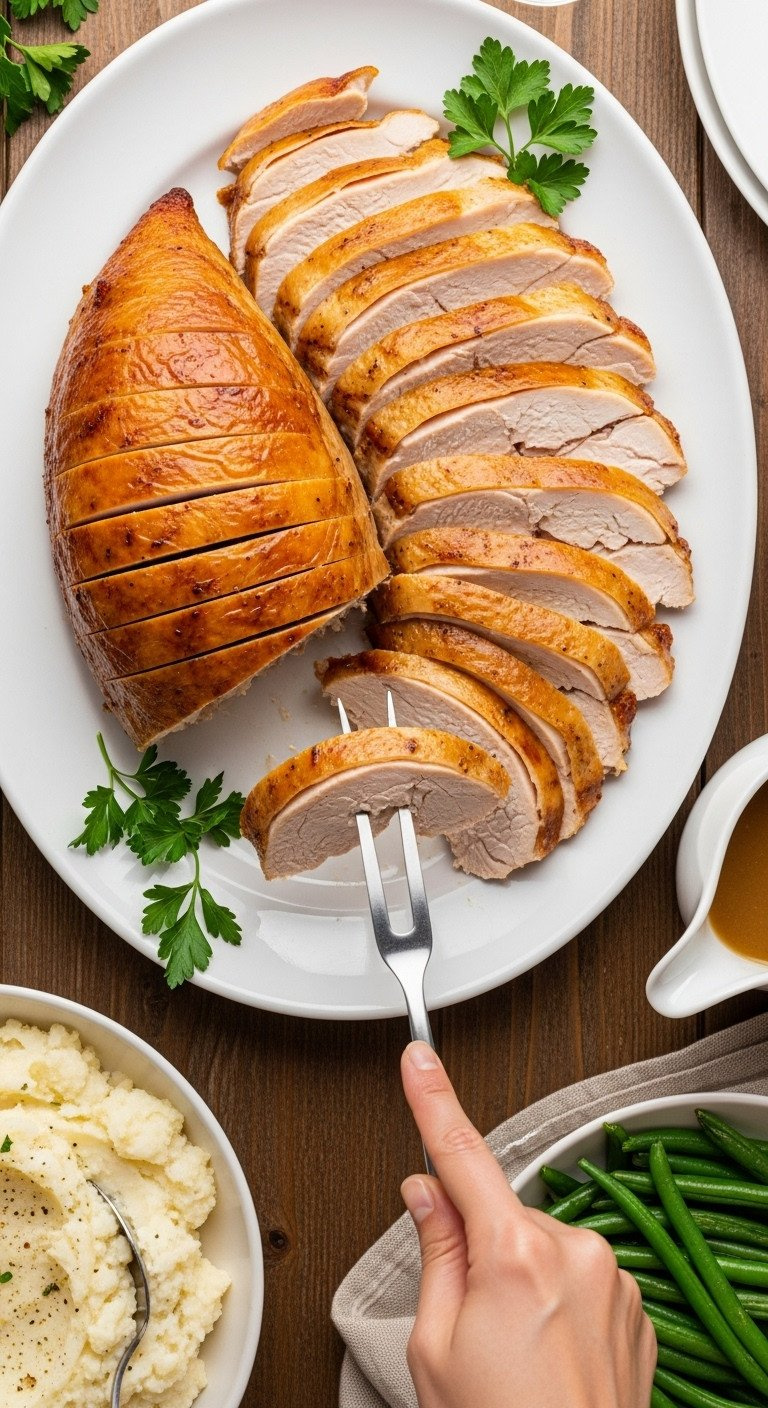
Save this simple carving guide for Thanksgiving day!
The final step is carving a turkey for a beautiful presentation. Don’t be intimidated; with a sharp knife and a simple plan, you can easily create a platter of perfectly sliced meat.
Tools Needed:
- Your rested turkey
- A very sharp carving knife or a good quality electric knife
- A carving fork to hold the turkey steady
- A large platter for serving
Step-by-Step Directions:
- Remove the Legs: Place the turkey on your cutting board. Pull one leg away from the body and slice through the skin connecting it to the breast. Pop the joint out of its socket and cut through to remove the entire leg and thigh piece. Repeat on the other side.
- Separate Drumstick and Thigh: Place the leg/thigh piece skin-side down and cut through the joint to separate the drumstick from the thigh.
- Carve the Breast Meat: Find the breastbone running down the center of the turkey. Make a deep cut along one side of the breastbone, from front to back. Then, starting from the outside, slice downward toward the bone, releasing the entire breast half in one piece.
- Slice the Breast: Place the whole breast half on the cutting board and slice it against the grain into ½-inch thick slices. This ensures each piece is tender. Repeat on the other side.
- Arrange on Platter: Arrange the drumsticks, thigh meat, and beautiful slices of breast meat on a large platter for serving.
An electric carving knife can make you feel like a superhero. It glides through the meat and makes getting even, beautiful slices incredibly easy, especially if you’re nervous about carving.

Key Takeaways: Your Quick Guide to a Perfect Turkey
Feeling overwhelmed? Just remember these crucial points. If you get these right, you’re guaranteed to have a delicious, juicy Thanksgiving turkey.
- Dry Brine is a Must: Seasoning with salt for at least 24 hours is the easiest way to guarantee a juicy and flavorful bird.
- Trust the Thermometer, Not the Clock: The only way to know your turkey is safely cooked and not overdone is to use a digital thermometer. The magic number is 165°F in the thigh.
- Rest is Not Optional: Letting the turkey rest for 30 minutes before carving is the single most important step for ensuring the meat stays moist. Do not skip it!
- Save the Drippings: The flavorful bits at the bottom of the pan are liquid gold for making the most delicious homemade gravy.
People Also Ask About Juicy Thanksgiving Turkey
How big of a turkey do I need for my guests?
A good rule of thumb is to plan for 1.5 pounds of turkey per person. This generous calculation accounts for the weight of the bones and ensures you’ll have plenty of meat for dinner and for coveted leftovers. For 10 guests, a 15-pound turkey is a perfect choice.
Is a dry brine better than a wet brine?
For most home cooks, a dry brine is better because it’s easier, less messy, and produces incredibly crispy skin. While both methods result in a juicy turkey, a wet brine requires a huge container and can sometimes make the skin rubbery. A dry brine gives you the best of both worlds: moist meat and shatteringly crisp skin.
What do I do if my turkey is done an hour early?
Don’t panic, this is a great problem to have! Let the turkey rest for the full 30-40 minutes on the counter. Then, you can loosely tent it with foil and keep it in a warm spot. If it’s more than an hour, you can carve it, place the meat in an oven-safe dish with a splash of chicken broth, cover with foil, and keep it warm in a 200°F oven.
Can I stuff my turkey?
For food safety and the best quality meat, it’s strongly recommended to cook your stuffing in a separate baking dish. Stuffing inside a turkey cooks very slowly. By the time the stuffing reaches a safe temperature of 165°F, the delicate breast meat is often severely overcooked and dry.
Final Thoughts
Cooking a Thanksgiving turkey doesn’t have to be a source of stress. By focusing on a few key techniques—a simple dry brine, precise temperature control with a meat thermometer, and a proper resting period—you have all the tools you need. You can absolutely create a stunning, juicy, and flavorful turkey that will be the highlight of your holiday meal.
This recipe is more than a set of instructions; it’s a roadmap to a confident and successful Thanksgiving. You’ve got this.
What’s your favorite Thanksgiving side dish to serve with the perfect turkey? Let us know in the comments below
Last update on 2026-06-13 at 20:00 / Affiliate links / Images from Amazon Product Advertising API
