As an Amazon Associate BakingBakewareSets.com earns from qualifying purchases.
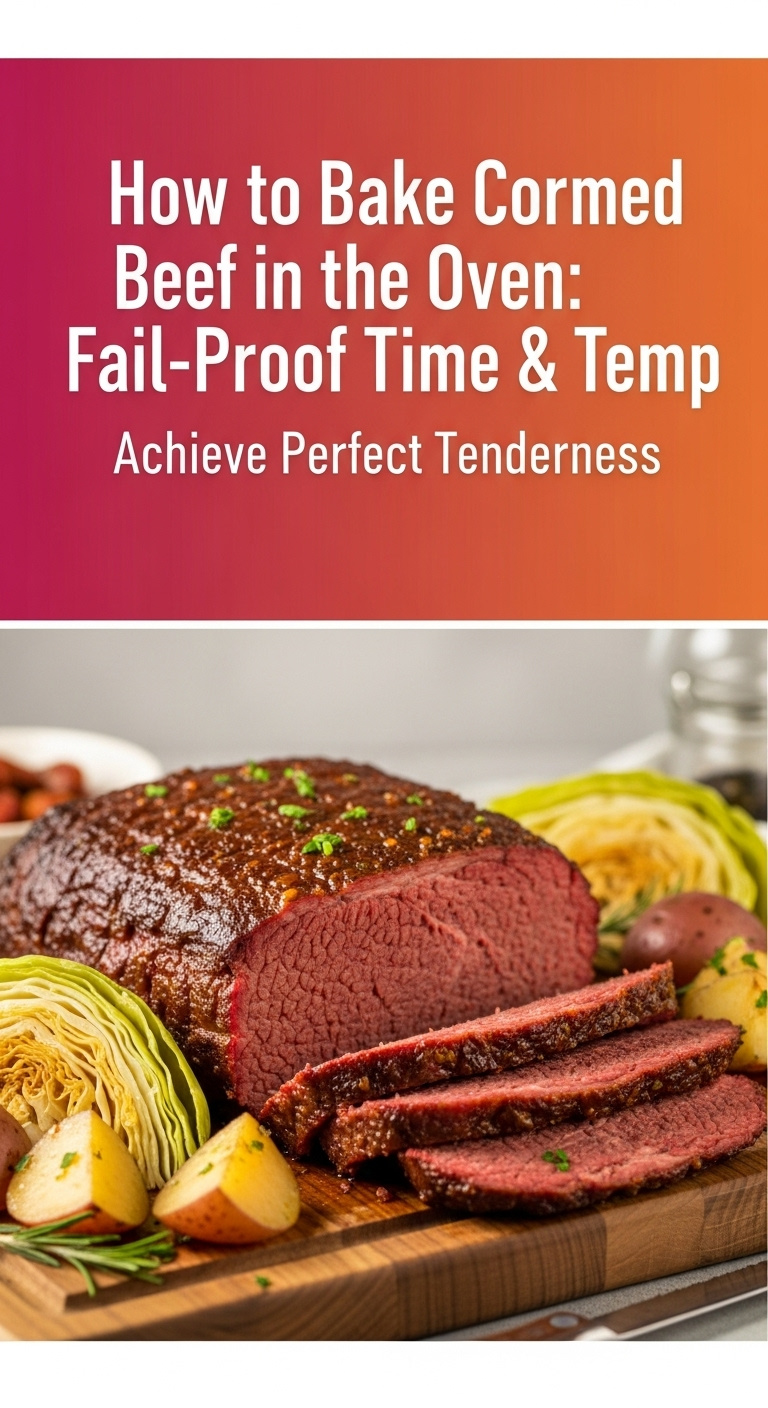
How to Bake Corned Beef in the Oven: Fail-Proof Time & Temp
Tired of tough, disappointing corned beef that doesn’t live up to your expectations? The secret to a perfectly tender, juicy, and flavorful brisket isn’t luck; it’s about mastering the method. You’re likely wondering about the ideal oven temperature, the exact cooking time per pound, and the simple steps that separate a culinary triumph from a dry, chewy failure. This guide eliminates the guesswork, providing a fail-proof blueprint to bake corned beef perfectly every single time.
The key to baking exceptionally tender corned beef is cooking it low and slow in a covered pan at 325°F to 350°F. Plan for about 1 hour of baking time per pound, but rely on an internal temperature of 195°F to 205°F for guaranteed fork-tender results.
Leveraging a deep analysis of established culinary patterns and data, this guide unpacks the proven science behind a perfect bake. We’ll walk you through the critical preparation steps, the science of achieving tenderness, and how to slice the final product for the best possible texture. You will learn not just the “how,” but the “why” behind each step, empowering you to bake corned beef with complete confidence.
☰ Table of Contents ▼
show
The Fail-Proof Guide: Ideal Time & Temperature for Baked Corned Beef
Providing an immediate, actionable answer to your most urgent questions is key. As a general rule, you should bake corned beef at 350°F for approximately 1 hour per pound. For ultimate, melt-in-your-mouth tenderness, the real goal is to cook the brisket until its internal temperature reaches between 195°F and 205°F.
This chart synthesizes the data into a clear, easy-to-read reference for your specific needs.
| Brisket Weight | Oven Temperature | Estimated Baking Time | Target Internal Temp |
|---|---|---|---|
| 3 pounds | 325°F – 350°F | ~3 hours | 195°F – 205°F |
| 4 pounds | 325°F – 350°F | ~3.5 – 4 hours | 195°F – 205°F |
| 5 pounds | 325°F – 350°F | ~4 – 5 hours | 195°F – 205°F |
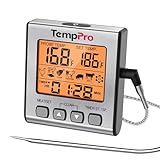
Pro Tip: Every brisket is different. We always recommend using a meat thermometer for guaranteed perfect results.
Step 1: Preparing the Corned Beef Brisket
Before any heat touches your corned beef brisket, a few essential preparation steps are necessary to control the final saltiness and ensure it cooks properly. Ever wonder why some corned beef tastes overly salty? This simple rinsing step is the secret to avoiding that.
- Rinse Thoroughly: First, remove the corned beef from its packaging. The liquid it’s packed in is the brining liquid that cured the meat. Rinse the entire brisket thoroughly under cold running water. This crucial action removes excess surface salt from the brine, giving you more control over the final saltiness of the dish.
- Pat Completely Dry: After rinsing, use paper towels to pat the brisket completely dry on all sides. A dry surface allows for better seasoning adherence and searing if you choose to add that step.
- Trim the Fat Cap (Optional): Your brisket will have a layer of fat on one side, known as the fat cap. If this layer is excessively thick, use a sharp knife to trim it down to about a 1/4-inch thickness. Leaving some fat is essential, as it will melt and baste the meat during cooking, adding incredible flavor and moisture.
Step 2: Seasoning the Meat & Setting Up the Pan
With the brisket prepped, the next step is building its flavor foundation and creating the perfect moist environment for it to bake in. This is where you can customize the taste to your liking.
Place the corned beef brisket into a large roasting pan or Dutch oven.
The most important rule here is to place it fat-side up. This allows the fat cap to render and continuously baste the meat as it cooks, which is a key contributor to a juicy, tender final product.
Once in the pan, it’s time to season. You have several delicious options:
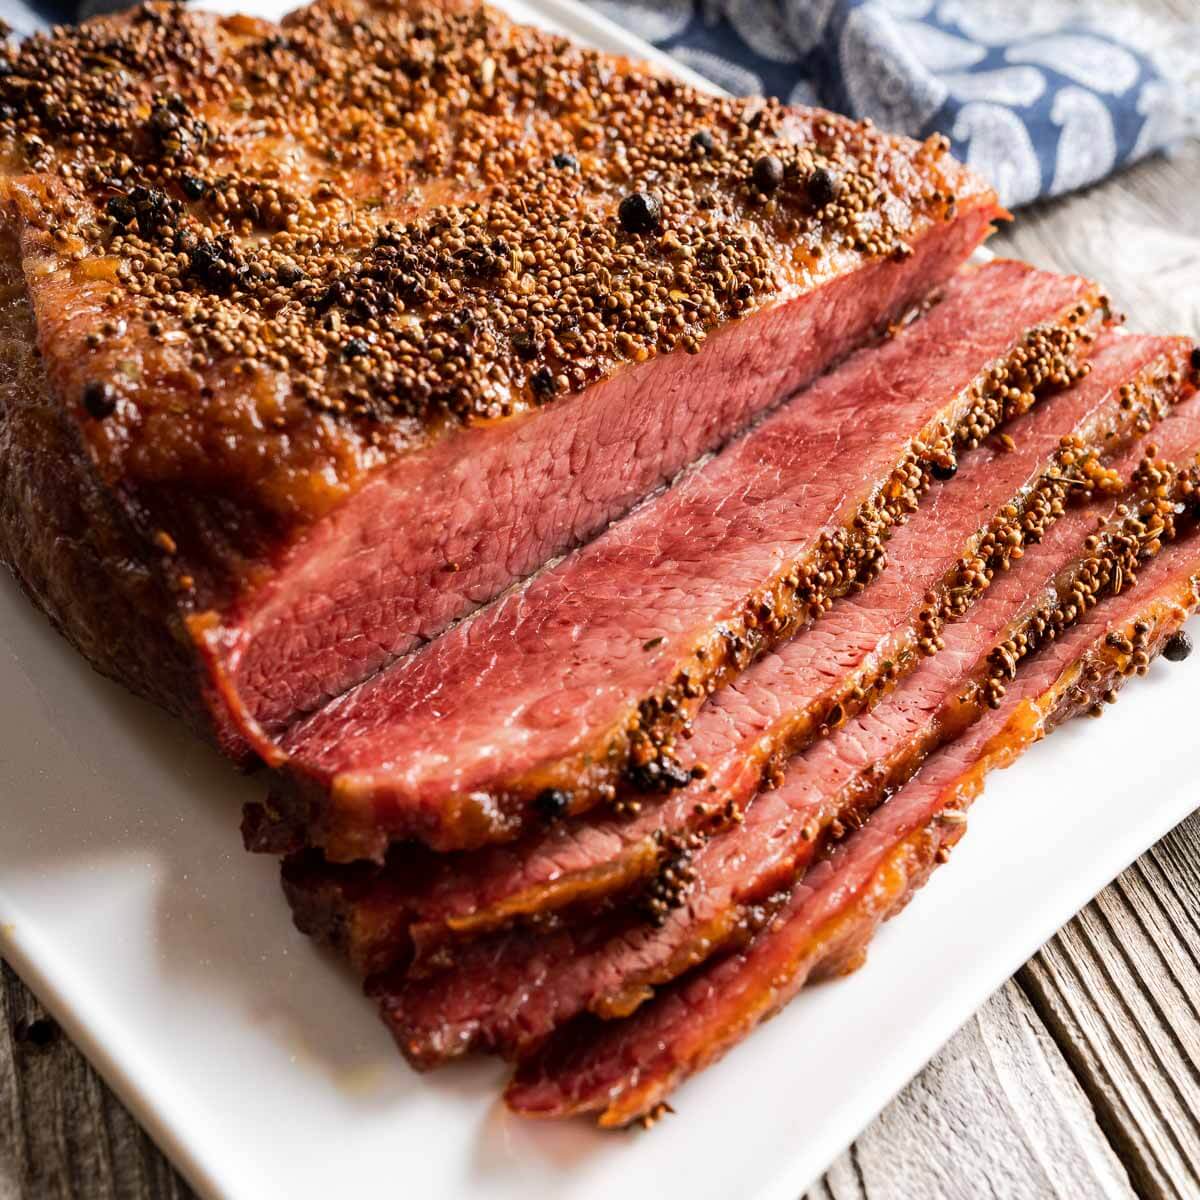
- Classic Spice Packet: Most store-bought corned beef comes with a small spice packet. Simply sprinkle these pickling spices evenly over the top of the fat cap.
- Mustard & Brown Sugar Glaze: For a fantastic sweet and savory crust, combine Dijon mustard with brown sugar and spread it generously over the fat cap.
- Simple & Savory: A generous coating of coarse black pepper and garlic powder can also create a wonderful flavor profile.
Finally, create the steamy environment for braising by adding liquid to the bottom of the pan. Pour enough liquid to come about 1/2 to 1 inch up the side of the meat.
- Water or Beef Broth: The most common and effective choices for adding moisture.
- Stout Beer: Quick Fact: Using a stout beer like Guinness instead of water can add a rich, malty depth of flavor to your corned beef.
Step 3: The Baking Process for Maximum Tenderness
This is the core of the cooking phase, where patience pays off. The goal is not merely to cook the corned beef but to transform it into something exceptionally tender. The key is to bake it in a preheated oven until the tough connective tissues have fully broken down. While time is a good guideline, the most accurate measure of doneness is internal temperature, which should reach between 180°F and 205°F for that perfect fork-tender texture. Using a meat thermometer is the best way to ensure accuracy and avoid over- or under-cooking.
Covering the Pan: The Secret to a Moist Braise
The single most critical technique during the baking process is ensuring the pan is covered tightly. Use a heavy-duty sheet of aluminum foil or a snug-fitting lid.
A tight seal is absolutely essential because it traps all the moisture from the liquid you added, creating a hot, steamy environment inside the pan. This process, known as braising, gently cooks the meat in moist heat, preventing it from drying out over the long cooking time.
Think of it like a mini-sauna for your brisket—the steam is what works the magic on tough muscle fibers.
Choosing Your Temperature: Low and Slow vs. Faster Roasting
You have two primary strategies for baking corned beef, each yielding a delicious result. The choice depends on your schedule and desired outcome.
- The Low and Slow Method (250°F – 275°F): This is the preferred method for guaranteed tenderness. Cooking at a lower temperature for a longer period gives the connective tissues more time to break down gently. A 4-pound brisket might take 5 to 6 hours using this method. Have a lazy Sunday? The 275°F ‘low and slow’ method will reward your patience.
- The Faster Roasting Method (350°F – 375°F): This method is more common and still produces a wonderfully tender brisket, just in less time. Following the “1 hour per pound” rule, a 4-pound brisket will take about 3.5 to 4 hours. In a hurry? 350°F is your friend.
Step 4: Resting & Slicing for Perfect Results
You’ve done the hard work, and the aroma is incredible. But don’t rush the final steps! What you do after the corned beef comes out of the oven is just as important as the baking process itself. Don’t skip this step! Slicing into the meat too soon is the quickest way to undo hours of patient cooking.
Let It Rest
Once the brisket is fork-tender, remove the entire pan from the oven and leave it covered. Let the corned beef rest for at least 10 to 20 minutes before you even think about slicing it. This resting period allows the muscle fibers to relax and reabsorb all the delicious juices. Slicing too early causes those juices to spill out onto the cutting board, resulting in drier meat.
Slice Against the Grain
After resting, transfer the brisket to a cutting board. To ensure every bite is as tender as possible, you must slice it correctly.
Look closely at the meat to identify the direction the muscle fibers are running. This is the “grain” of the meat. Position your carving knife so that you are cutting across those fibers, not parallel to them. This technique, known as slicing against the grain, shortens the muscle fibers, making the meat significantly more tender and easier to chew.
Slice the corned beef thinly for the best texture, especially for sandwiches.
Optional Finishes: Crispy Crusts & Roasted Vegetables
Want to take your baked corned beef to the next level? These optional steps can add incredible texture and turn your dish into a complete one-pan meal.
- For a Crispy, Caramelized Crust: Want that steakhouse-style crust? A few minutes under the broiler is your secret weapon. After the brisket is fully cooked and tender, remove the foil. Turn on your oven’s broiler and place the pan back in the oven for 5-15 minutes, watching it very carefully to prevent burning. This high, direct heat triggers the Maillard reaction, creating a beautifully browned and crispy top.
- For a One-Pan Meal with Vegetables: You can easily add vegetables to the roasting pan to cook alongside the meat. Hearty root vegetables like quartered potatoes, large chunks of carrots, and wedges of onion can be added during the last 1 to 1.5 hours of baking. For cabbage, cut it into wedges and add it during the final 45-60 minutes so it becomes tender but not mushy.
The Science of Tenderness: Why This Method Works
The magic of transforming a tough cut like brisket into a tender delicacy lies in food science. This baking method is a form of braising, a cooking technique that uses both moist and dry heat. The long, slow cooking time in the covered, steamy pan is the key.
Brisket is full of tough connective tissue called collagen. When this collagen is heated slowly in a moist environment, it undergoes a wonderful transformation: it breaks down and converts into rich, silky gelatin. This gelatin is what gives perfectly cooked corned beef its signature juicy, melt-in-your-mouth texture. If you were to cook the meat too quickly or in a dry environment, the collagen would simply tighten up, resulting in a tough and chewy piece of meat.
So, when you’re waiting for that brisket to finish, remember: you’re not just cooking, you’re performing a delicious science experiment!
To completely eliminate guesswork and guarantee your corned beef reaches that perfect fork-tender temperature, a reliable digital meat thermometer is an indispensable tool.


FAQs About Baking Corned Beef
What is the best method to cook corned beef: baking or boiling?
Baking is often preferred over boiling because it results in a more intense, roasted meat flavor and a better texture. While boiling is traditional, baking the corned beef as described in this guide braises the meat, which helps render the fat and create a more savory and less water-logged result.
Why did my baked corned beef turn out tough or dry?
The most common reasons for tough corned beef are cooking it for too short a time, at too high a temperature, or without enough moisture. The key is cooking it low and slow until the internal temperature reaches 195°-205°F, allowing the tough collagen to break down into tender gelatin. Also, ensure your pan is tightly covered to trap steam.
Do I have to use the spice packet that comes with the corned beef?
No, you do not have to use the included spice packet. While it provides a classic flavor, you can create your own rub using spices like black pepper, mustard seed, bay leaves, and coriander. A glaze made from Dijon mustard and brown sugar is also a popular and delicious alternative.
How do I store and reheat leftover corned beef?
Leftover corned beef can be stored in an airtight container in the refrigerator for 3-4 days. To reheat, it’s best to slice it cold and then gently warm the slices in a covered pan in the oven with a splash of broth or water to keep them moist and prevent them from drying out.
Can I prepare the corned beef in the roasting pan ahead of time?
Yes, you can prepare the corned beef ahead of time. You can rinse, trim, and place the brisket in the roasting pan with the seasonings and liquid. Cover it tightly and refrigerate it for up to 24 hours before you plan to bake it. This can save you some preparation time on the day of cooking.
Final Summary: Key Steps to Perfect Oven-Baked Corned Beef
You now possess the complete roadmap to baking the most tender, flavorful corned beef possible. The process isn’t complicated; it simply rewards attention to detail and an understanding of the science at play. By following these core principles, you can guarantee a perfect result every time.
To summarize, these are the non-negotiable steps for success:
- Proper Prep is Key: Always start by rinsing the brisket under cold water to remove excess surface salt, then pat it completely dry.
- Create a Moist Environment: Place the brisket fat-side up in a pan with about an inch of liquid and cover it tightly with foil to create a steam bath.
- Cook Low and Slow: Whether you choose 275°F or 350°F, the goal is a long, slow bake that allows the connective tissue to melt into tender gelatin.
- Temperature, Not Time: While time per pound is a great guideline, the true measure of doneness is an internal temperature of 195°-205°F, confirmed with a meat thermometer.
- Rest and Slice Correctly: Let the meat rest for at least 15 minutes before slicing it thinly against the grain to ensure maximum tenderness.
Now you have the science and the steps—go forth and bake the most tender, flavorful corned beef of your life
Last update on 2026-06-05 at 00:00 / Affiliate links / Images from Amazon Product Advertising API
