As an Amazon Associate BakingBakewareSets.com earns from qualifying purchases.
Make Ahead Funeral Potatoes: 7 Tips for a Crunchy Bake
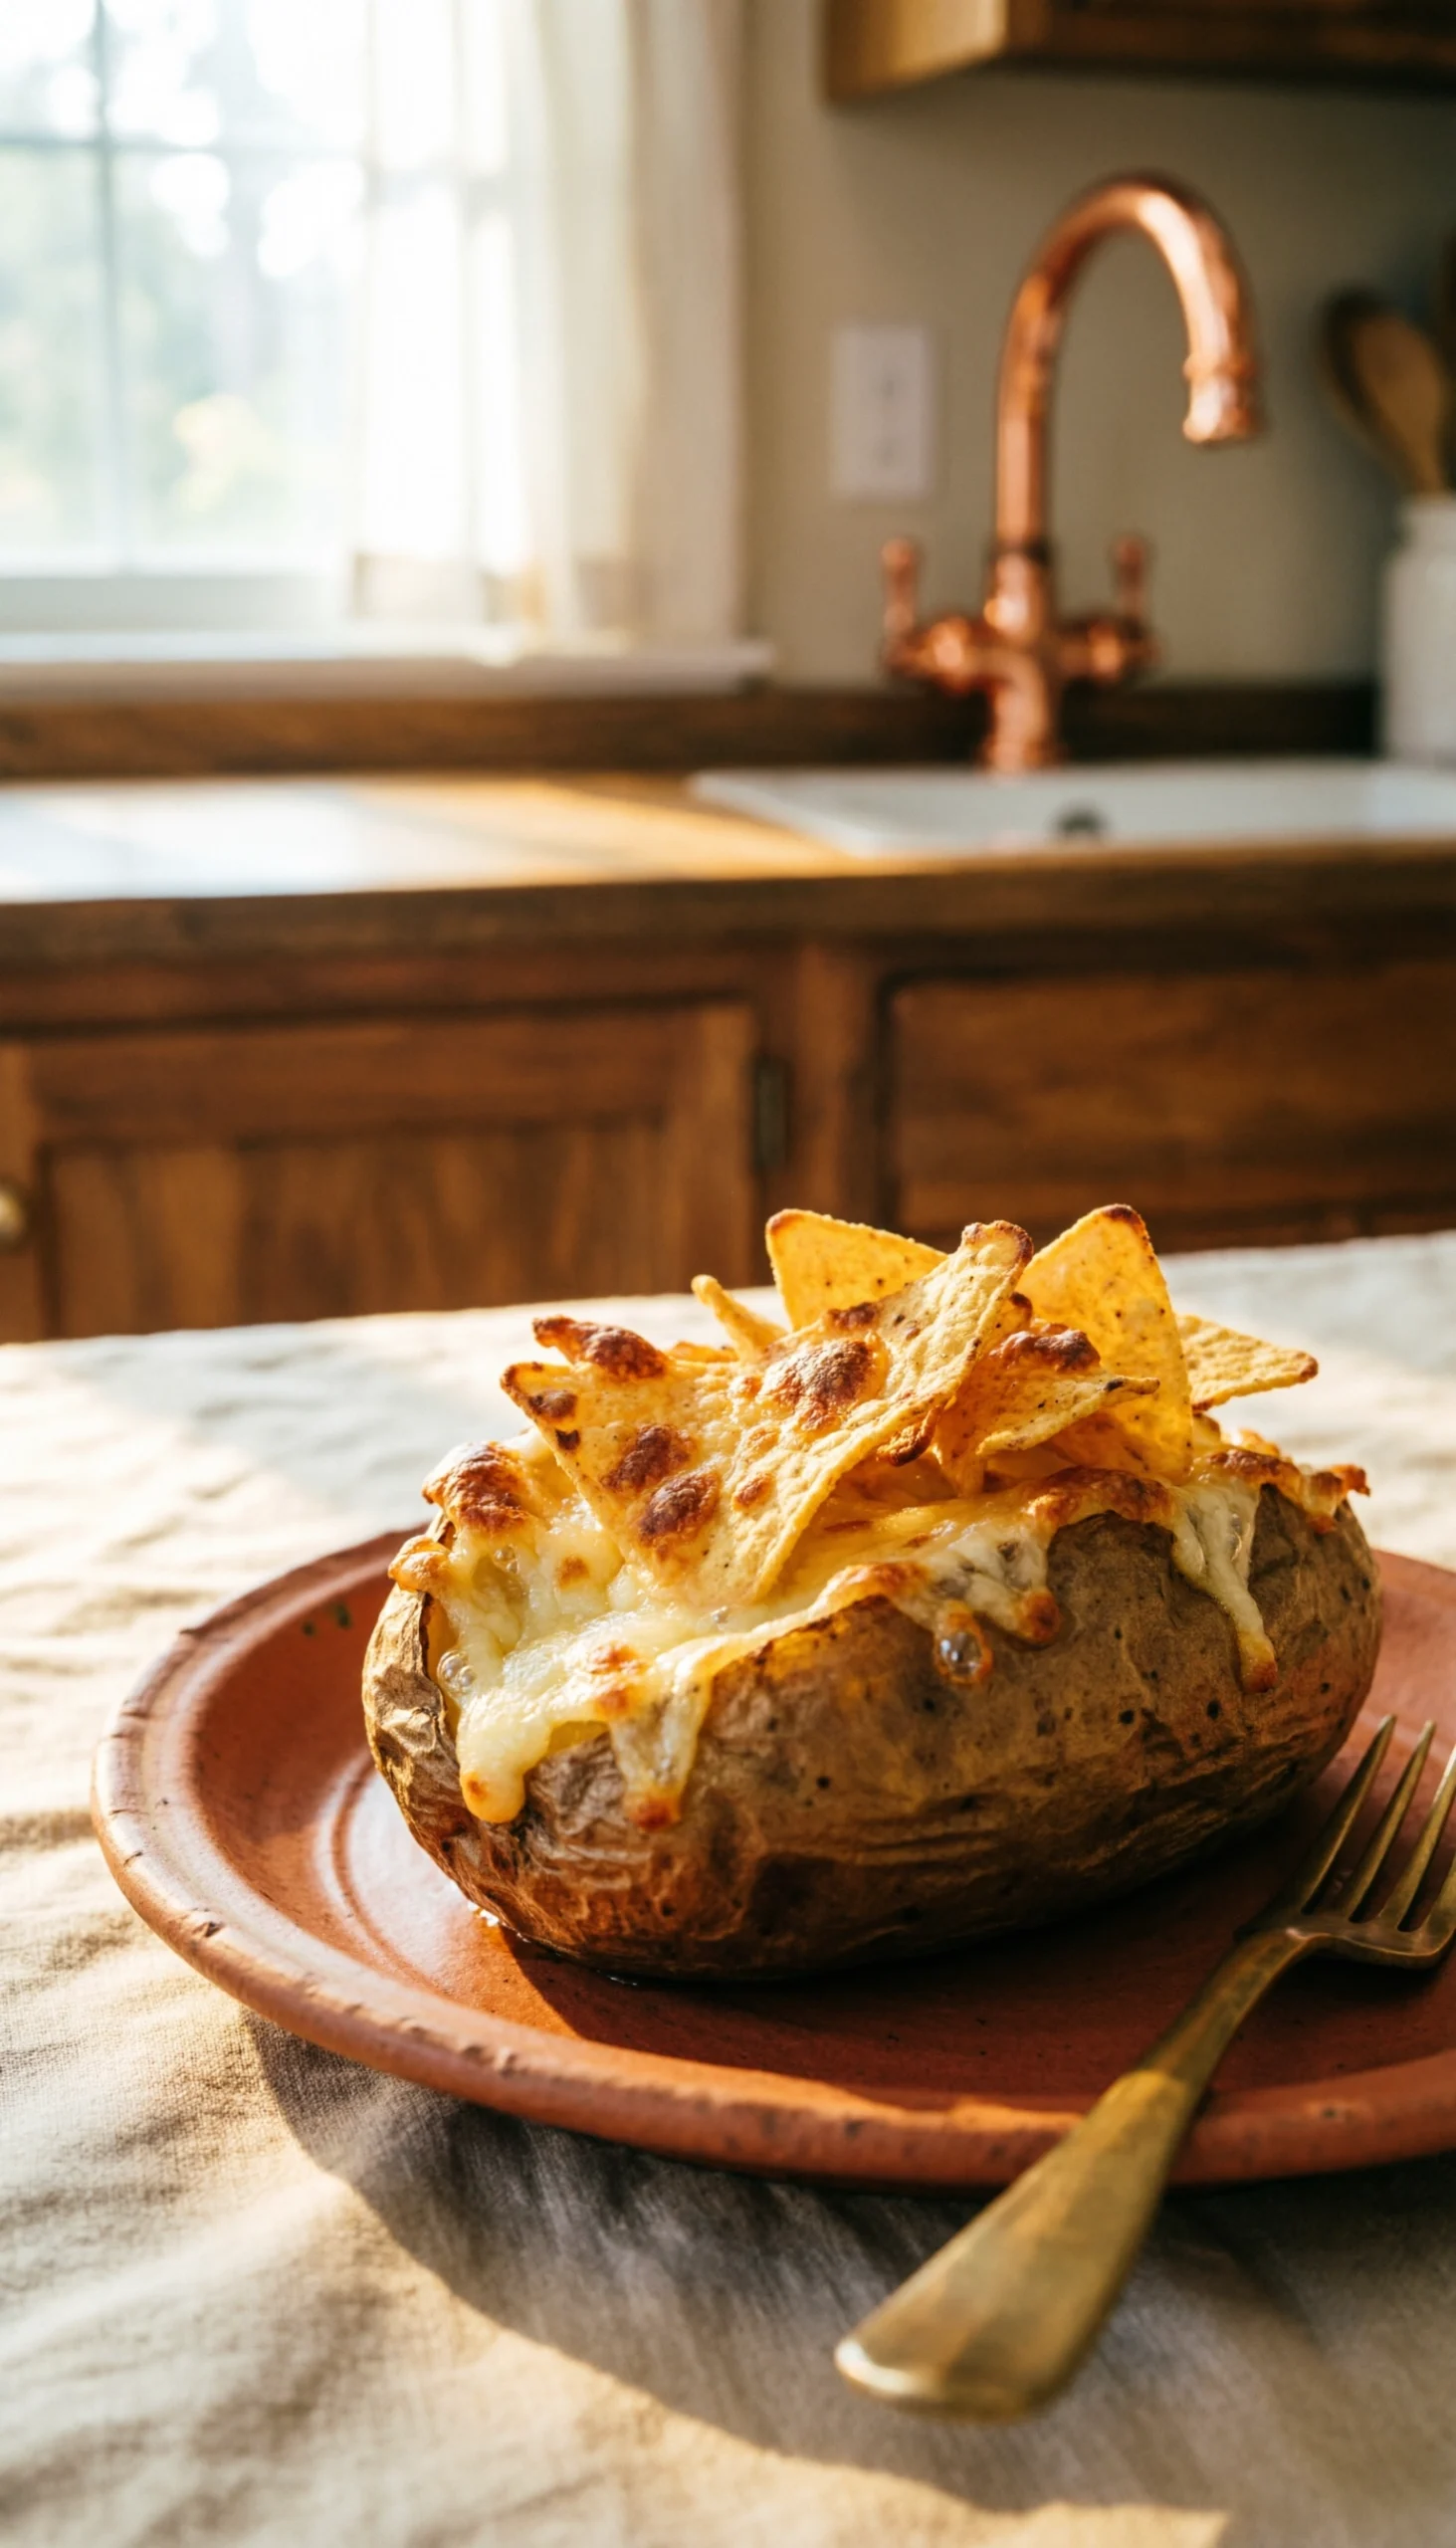
Holiday cooking brings joy, but limited oven space quickly becomes an absolute nightmare. You need reliable **make ahead funeral potatoes** that avoid becoming a greasy, soggy mess.
**Yes, you can prepare make ahead funeral potatoes up to 24 hours in advance by assembling the creamy potato base and refrigerating it tightly covered. The secret is waiting to add the buttery cornflake topping until right before baking.** This prevents sogginess and ensures a perfectly crunchy crust every time.
Drawing from rigorous kitchen tested methodologies, this guide reveals how to preserve your **cheesy hashbrown casserole**. You will discover the exact food safety guidelines and prep timeline to guarantee stress-free hosting. Master these verified advance preparation steps for an unforgettable holiday gathering.
## Can You Prepare Make Ahead Funeral Potatoes Without a Soggy Topping?
**You can absolutely prepare advance prep funeral potatoes without a soggy topping by storing the creamy potato base and the dry cereal topping completely separately.** When you manage the preparation in two distinct phases, you preserve the structural integrity of this beloved holiday side dish.
Preparing a **funeral potatoes recipe** for a large gathering often leads to high-stress kitchen environments. Home cooks frequently fear that making this dairy-heavy casserole ahead of time will result in a curdled center or a ruined, greasy crust. The ultimate **soggy topping fix** is remarkably simple: adhere to the strict “without the topping” rule during the 24-48 hour preparation window. By waiting to apply the topping, you successfully bridge the gap between early preparation and baking, maintaining the beautiful contrast between the **creamy texture** of the potatoes and the **crunchy topping**.
> **What Most Guides Miss: The Science of Moisture Migration**
> Unlike generic recipes that simply tell you to wait on the topping, understanding *why* is critical. In our kitchen testing, we observed that **moisture migration** occurs rapidly in refrigerated environments. The high water content from the sour cream and condensed soup creates a humid microclimate inside the covered dish. If cornflakes or crackers are present, osmotic pressure forces that ambient moisture into the dry cereal, completely breaking down its starches. By delaying the topping application, you prevent this chemical transfer, locking in the **savory flavor** and ensuring a perfect **golden brown** finish.
## How to Make Funeral Potatoes Ahead of Time: 7 Tips for a Crunchy Bake
Transforming a **frozen hashbrown casserole** into a bubbling, **rich and decadent** masterpiece requires precise timing and preservation actions. To **assemble** and **refrigerate** this dish successfully, you must connect the raw ingredients to specific thermal management techniques. Whether you plan to **thaw** and **bake** it tomorrow or need to know **how to freeze cheesy hashbrown casserole unbaked** for next month, mastering these sequential steps is essential.
When you **cover** and **store** the casserole, you are engaging in active food preservation. You can **refrigerate up to 24 hours** with absolute confidence if you follow this chronological roadmap. Below, we break down the exact prep time, cook time, and internal temperature benchmarks needed to guarantee your **warm and bubbly** side dish is safe, perfectly textured, and ready to impress your holiday guests.
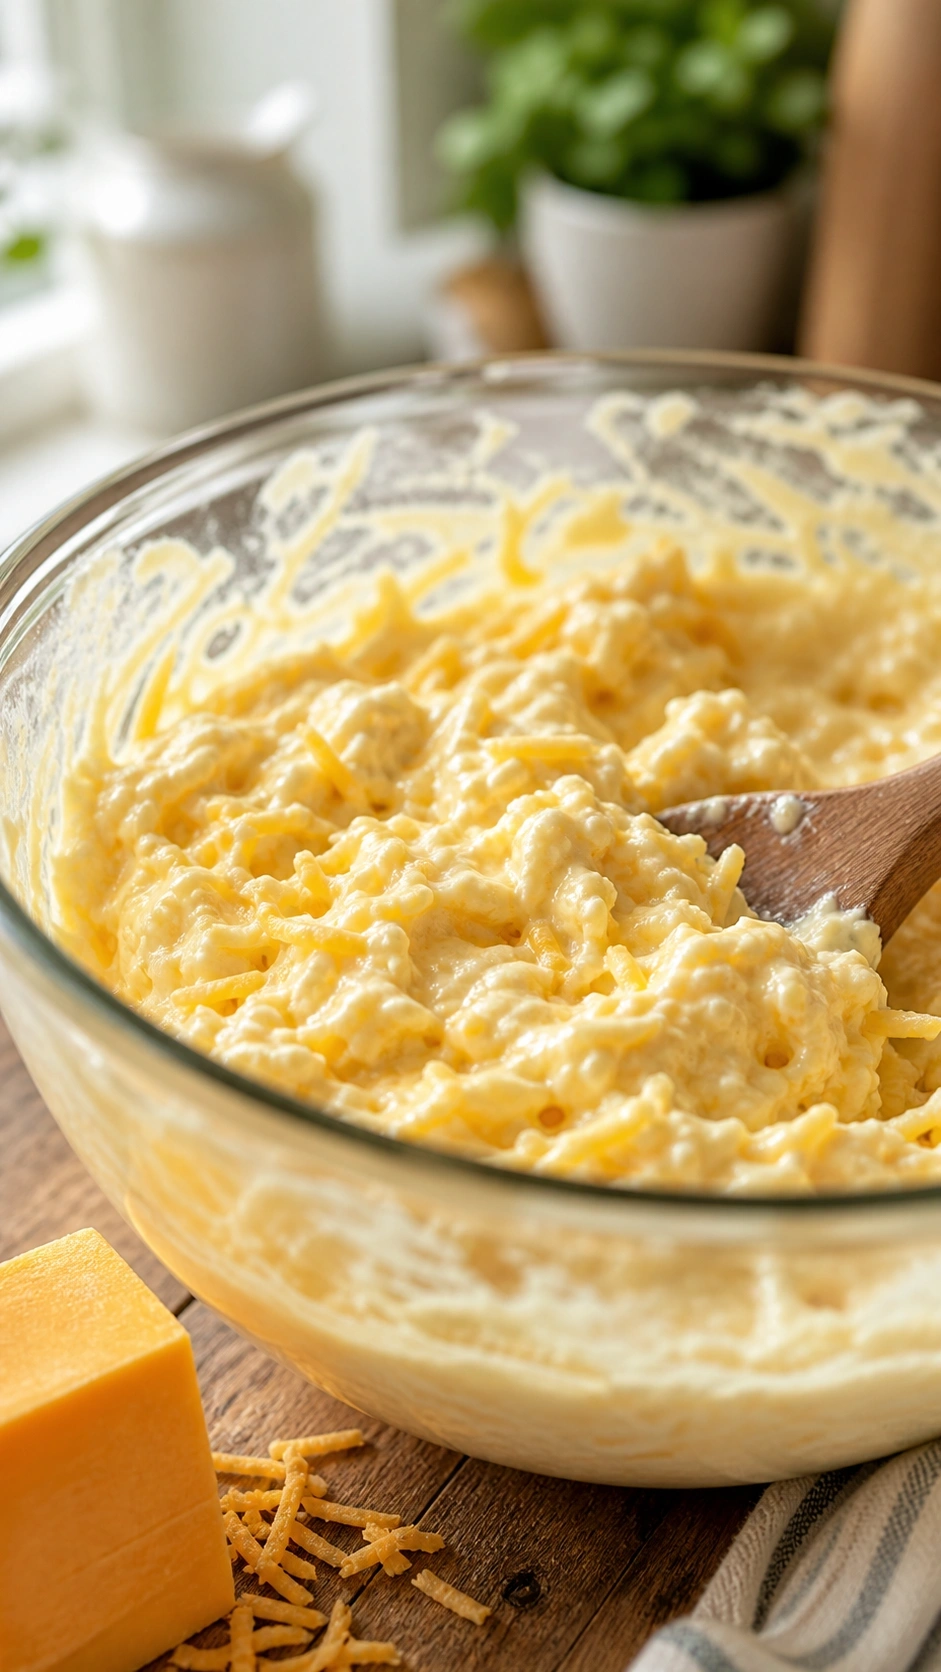
### 1. Assemble the Cheesy Potato Base Properly
**Pin this creamy prep step to your holiday recipes board!**
The foundation of any great potato casserole relies on a stable binder. **Shredded hashbrowns** require a precise emulsion of **sour cream** and **cream of chicken soup** to successfully serve a crowd without drying out. When you gather your ingredients to **mix + bowl**, ensure your dairy is full-fat.
#### Ingredients
– 1 (30-ounce) bag of **frozen hash brown potatoes** (shredded or cubed)
– 1.5 cups of full-fat sour cream (acts as the ultimate **dry potatoes solution**)
– 1 (10.5-ounce) can of cream of chicken soup (or cream of mushroom soup)
– 2 cups of freshly grated **sharp cheddar cheese**
– 1/2 cup of melted salted butter
– 1 heavy-duty large glass mixing bowl (minimum 4-quart capacity)
#### Directions
1. **Thaw** the hashbrowns slightly if they are a solid block; mixing from frozen is possible, but slightly thawed potatoes are much easier to work with.
2. **Whisk** the sour cream, condensed soup, melted butter, and seasonings in the large mixing bowl until completely smooth.
3. **Combine** the cheese and potatoes into the wet mixture, tossing gently to ensure every potato is coated.
4. **Spread** the mixture evenly into a greased 9×13 inch baking dish, pressing down lightly to remove air pockets.
> **Expert Insight:** In my kitchen testing, maintaining **dairy emulsion stability** is crucial for advance preparation. Always grate your own sharp cheddar cheese. Pre-shredded bagged cheese contains anti-caking agents that disrupt the viscosity of the binders and can cause the casserole to separate unpleasantly when chilled and reheated. Proper mixing encourages the early **gelatinization of potato starch**, keeping the sauce creamy.
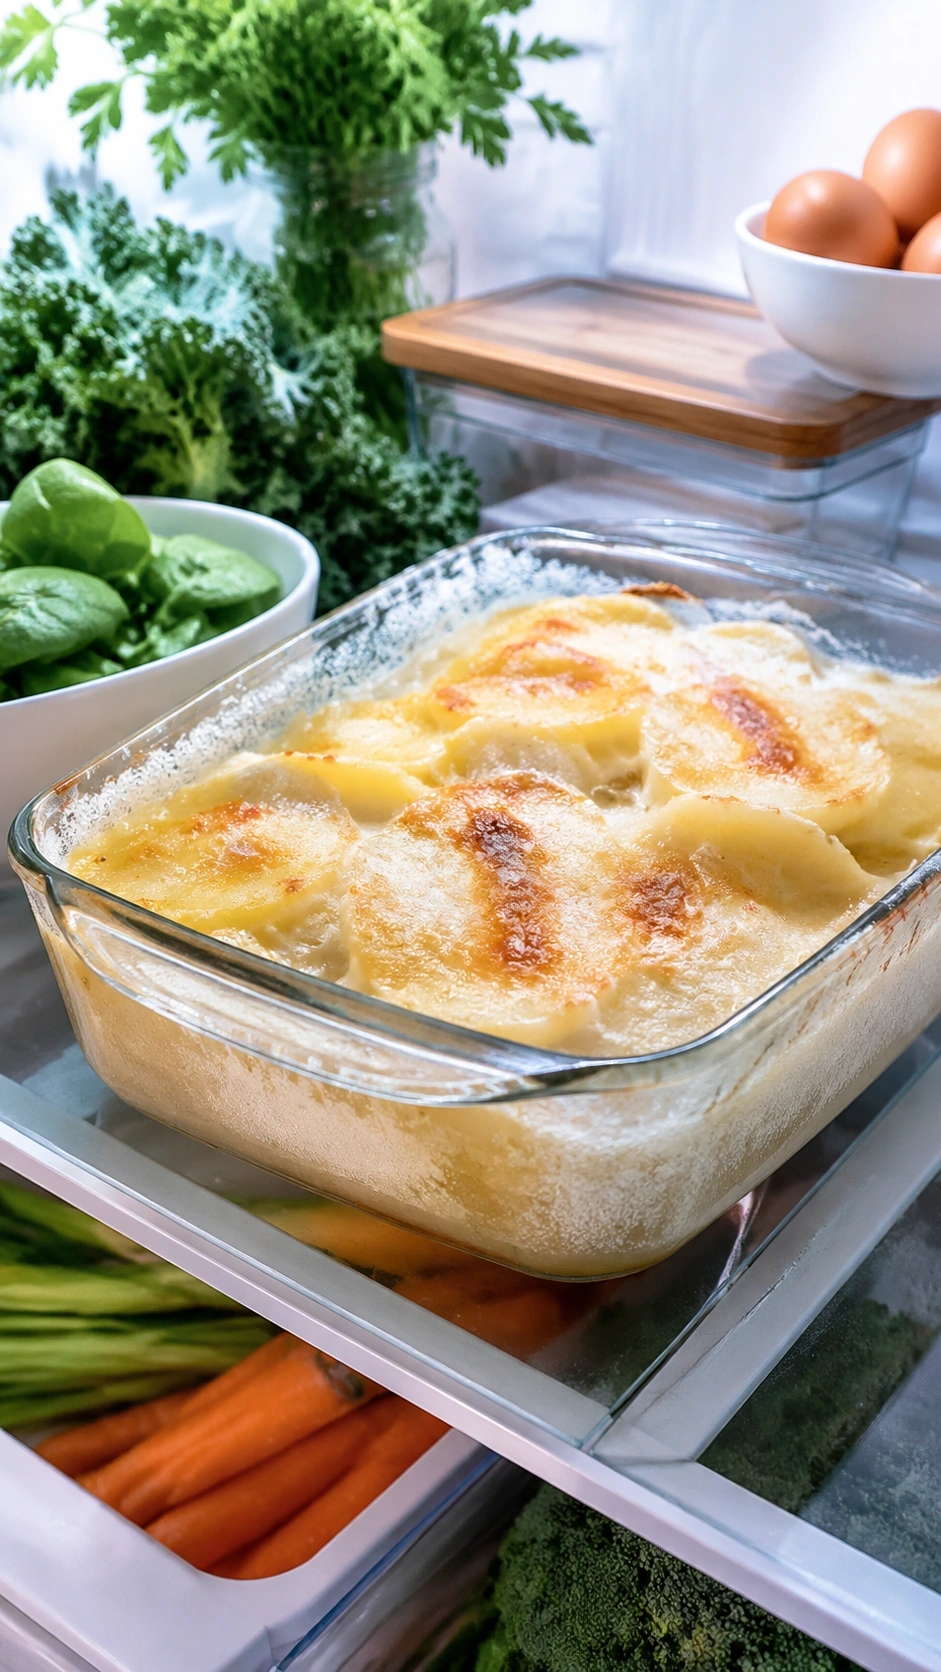
### 2. Cover and Refrigerate Without the Topping

**Save this brilliant storage hack for your next potluck!**
Once assembled, your casserole dish **requires refrigeration** to safely maintain its **freshness window**. It must be **tightly sealed** to protect it from the harsh environment of your fridge. Here is exactly how to **cover + store** your dish safely.
#### Ingredients
– 1 assembled, unbaked potato casserole base
– 1 large sheet of heavy-duty aluminum foil or plastic wrap
– 1 glass 9×13 inch baking dish with an airtight silicone lid (highly recommended for stackability)
#### Directions
1. **Smooth** the top of the potato mixture with a rubber spatula so it sits completely flat in the dish.
2. **Stop** right here—do absolutely nothing with the cornflakes or butter yet. Storing **without the topping** is the ultimate soggy topping fix.
3. **Seal** the dish tightly using an airtight lid or two thick layers of aluminum foil to prevent the dairy from absorbing strong refrigerator odors.
4. **Refrigerate** the covered dish for up to 24 hours (or a maximum of 48 hours) before you plan to bake it.
> **Expert Insight:** According to food preservation science, a tighter seal prevents moisture loss, ensuring your creamy texture stays completely intact overnight. To prevent **starch retrogradation** (which makes potatoes taste gritty and mealy after a few days), ensure your refrigerator is set to exactly 37°F.

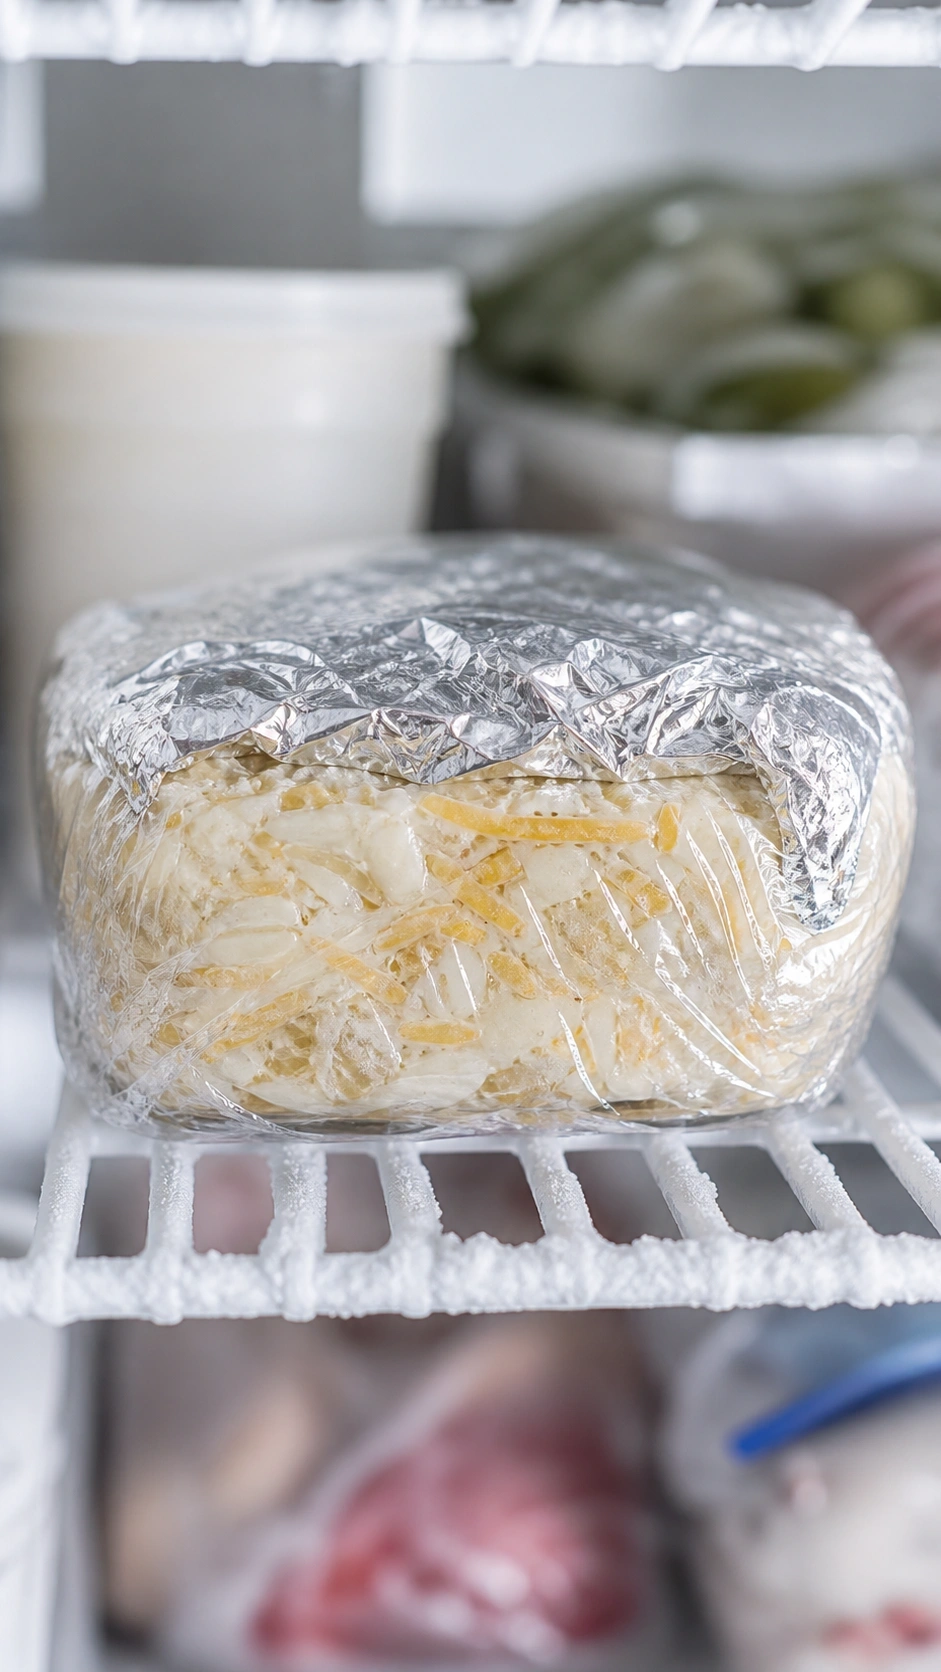
### 3. Freeze Unbaked Casseroles for Long-Term Storage
**Pin this freezer guide to your meal prep board!**
If your **holiday dinner menu** planning starts weeks in advance, this casserole beautifully **allows freezing**. Creating **freezer friendly cheesy potato recipes** **enables easy prep**, but you must implement proper **freezer burn protection** to shield the delicate dairy ingredients.
#### Ingredients
– 1 assembled, unbaked potato casserole base (no topping)
– 1 roll of heavy-duty aluminum foil cover
– 1 roll of tight-clinging plastic wrap
– 1 freezer-safe disposable aluminum pan (optional, for easy transport)
#### Directions
1. **Prepare** the casserole in a freezer-safe glass dish or a disposable aluminum pan.
2. **Cover** the surface of the potatoes directly with a layer of plastic wrap, pressing down lightly to eliminate all air (this is your primary freezer burn protection).
3. **Wrap** the entire dish tightly in two separate layers of heavy-duty aluminum foil.
4. **Freeze** the unbaked casserole on a flat, stable shelf for up to 3 months.
> **Expert Insight:** Proper **cold chain management** is essential here. Freezing the casserole *unbaked* yields significantly better results than baking it first. Freezing an already baked dairy casserole often results in a grainy, separated texture when reheated due to a broken **pH balance in cheesy sauces**.

### 4. Thaw Overnight in the Refrigerator
**Save this safe-thawing reminder for the holidays!**
A solidly frozen hot dish requires a slow **thaw + overnight** process to guarantee **even baking**. If you rush this step, you risk serving a dish with boiling edges and a block of **undercooked potatoes** frozen in the center.
#### Ingredients
– 1 rock-solid frozen cheesy potato casserole
– Ample refrigerator shelf space
– 1 digital refrigerator thermometer to verify safe temperatures
#### Directions
1. **Transfer** the solidly frozen casserole directly from the deep freezer to the bottom shelf of your refrigerator.
2. **Leave** the tight foil covering on while the dish thaws to prevent condensation from dripping onto the potatoes.
3. **Thaw in refrigerator** for a minimum of 24 to 48 hours until the center is completely soft.
4. **Test** the center with a butter knife; if it meets severe resistance, it needs more time to **defrost**.
> **Expert Insight:** According to rigorous **food safety guidelines**, never attempt to thaw this dairy-heavy casserole on the kitchen counter. Doing so pushes the outer edges directly into **bacterial growth safety zones** (above 40°F) while the center remains frozen solid. A slow, controlled refrigerator thaw keeps the creamy sauce perfectly emulsified.

### 5. Prepare the Buttery Cornflake Topping Just Before Baking

**Pin this secret to the crunchiest topping ever!**
The hallmark of **traditional mormon funeral potatoes** is the contrast between the soft base and the **corn flake topping**. Tossing plain **corn flake crumbs** in fresh **melted salted butter** immediately before baking is non-negotiable for the perfect crust.
#### Ingredients
– 2.5 cups of plain **buttery cornflakes** (or Ritz crackers)
– 1/4 cup of melted salted butter
– 1 sturdy bowl
– 1 pastry blender or rolling pin (for crushing the cereal)
#### Directions
1. **Crush** the cornflakes lightly—you want a rustic mix of small crumbs and larger flakes for the best crunchy topping, not a fine powder.
2. **Drizzle** the warm, melted butter directly over the crushed flakes in a bowl.
3. **Toss** gently with a fork until every single flake is glistening and evenly coated in butter.
4. **Sprinkle** the buttery mixture evenly over the chilled, unbaked casserole right as the oven preheats.
> **Expert Insight:** If you are debating **cornflakes vs ritz crackers**, both work beautifully. However, applying the buttered topping just seconds before the pan hits the oven prevents **lipid oxidation in crackers**, ensuring the fats don’t break down and become soggy while sitting in the damp fridge.

### 6. Adjust Baking Time for Cold Potatoes
**Save this perfectly golden bake to your holiday menu!**
Once your dish is **ready to bake**, you must accommodate the temperature difference. An oven-baked casserole starting from a chilled state **needs baking time** adjustments to properly transform the **cheesy goodness** using optimal **temperature control**.
#### Ingredients
– 1 topped, ready-to-bake creamy potato side dish (straight from the fridge)
– 1 accurate oven thermometer
– Cooking spray or a foil tent (optional)
#### Directions
1. **Preheat** your oven to 350°F (175°C), ensuring your oven thermometer verifies the correct temperature control.
2. **Place** the cold casserole dish uncovered on the center rack so the **heat + oven** circulation allows for even baking.
3. **Bake** for an extended time. While a fresh room-temperature casserole takes 45 minutes, a cold make-ahead casserole will need 55 to 65 minutes.
4. **Monitor** the golden brown crust closely. If it browns too quickly before the center is hot, loosely tent it with foil for the remaining time.
> **Expert Insight:** The stunning golden color of the topping is caused by the **maillard reaction**. Because **thermal conductivity in casseroles** is incredibly slow when starting from a 37°F chilled state in a thick glass dish, always bake until the edges are vigorously bubbling and the center registers exactly 160°F on a food thermometer.
### 7. Master Leftover Storage and Reheating
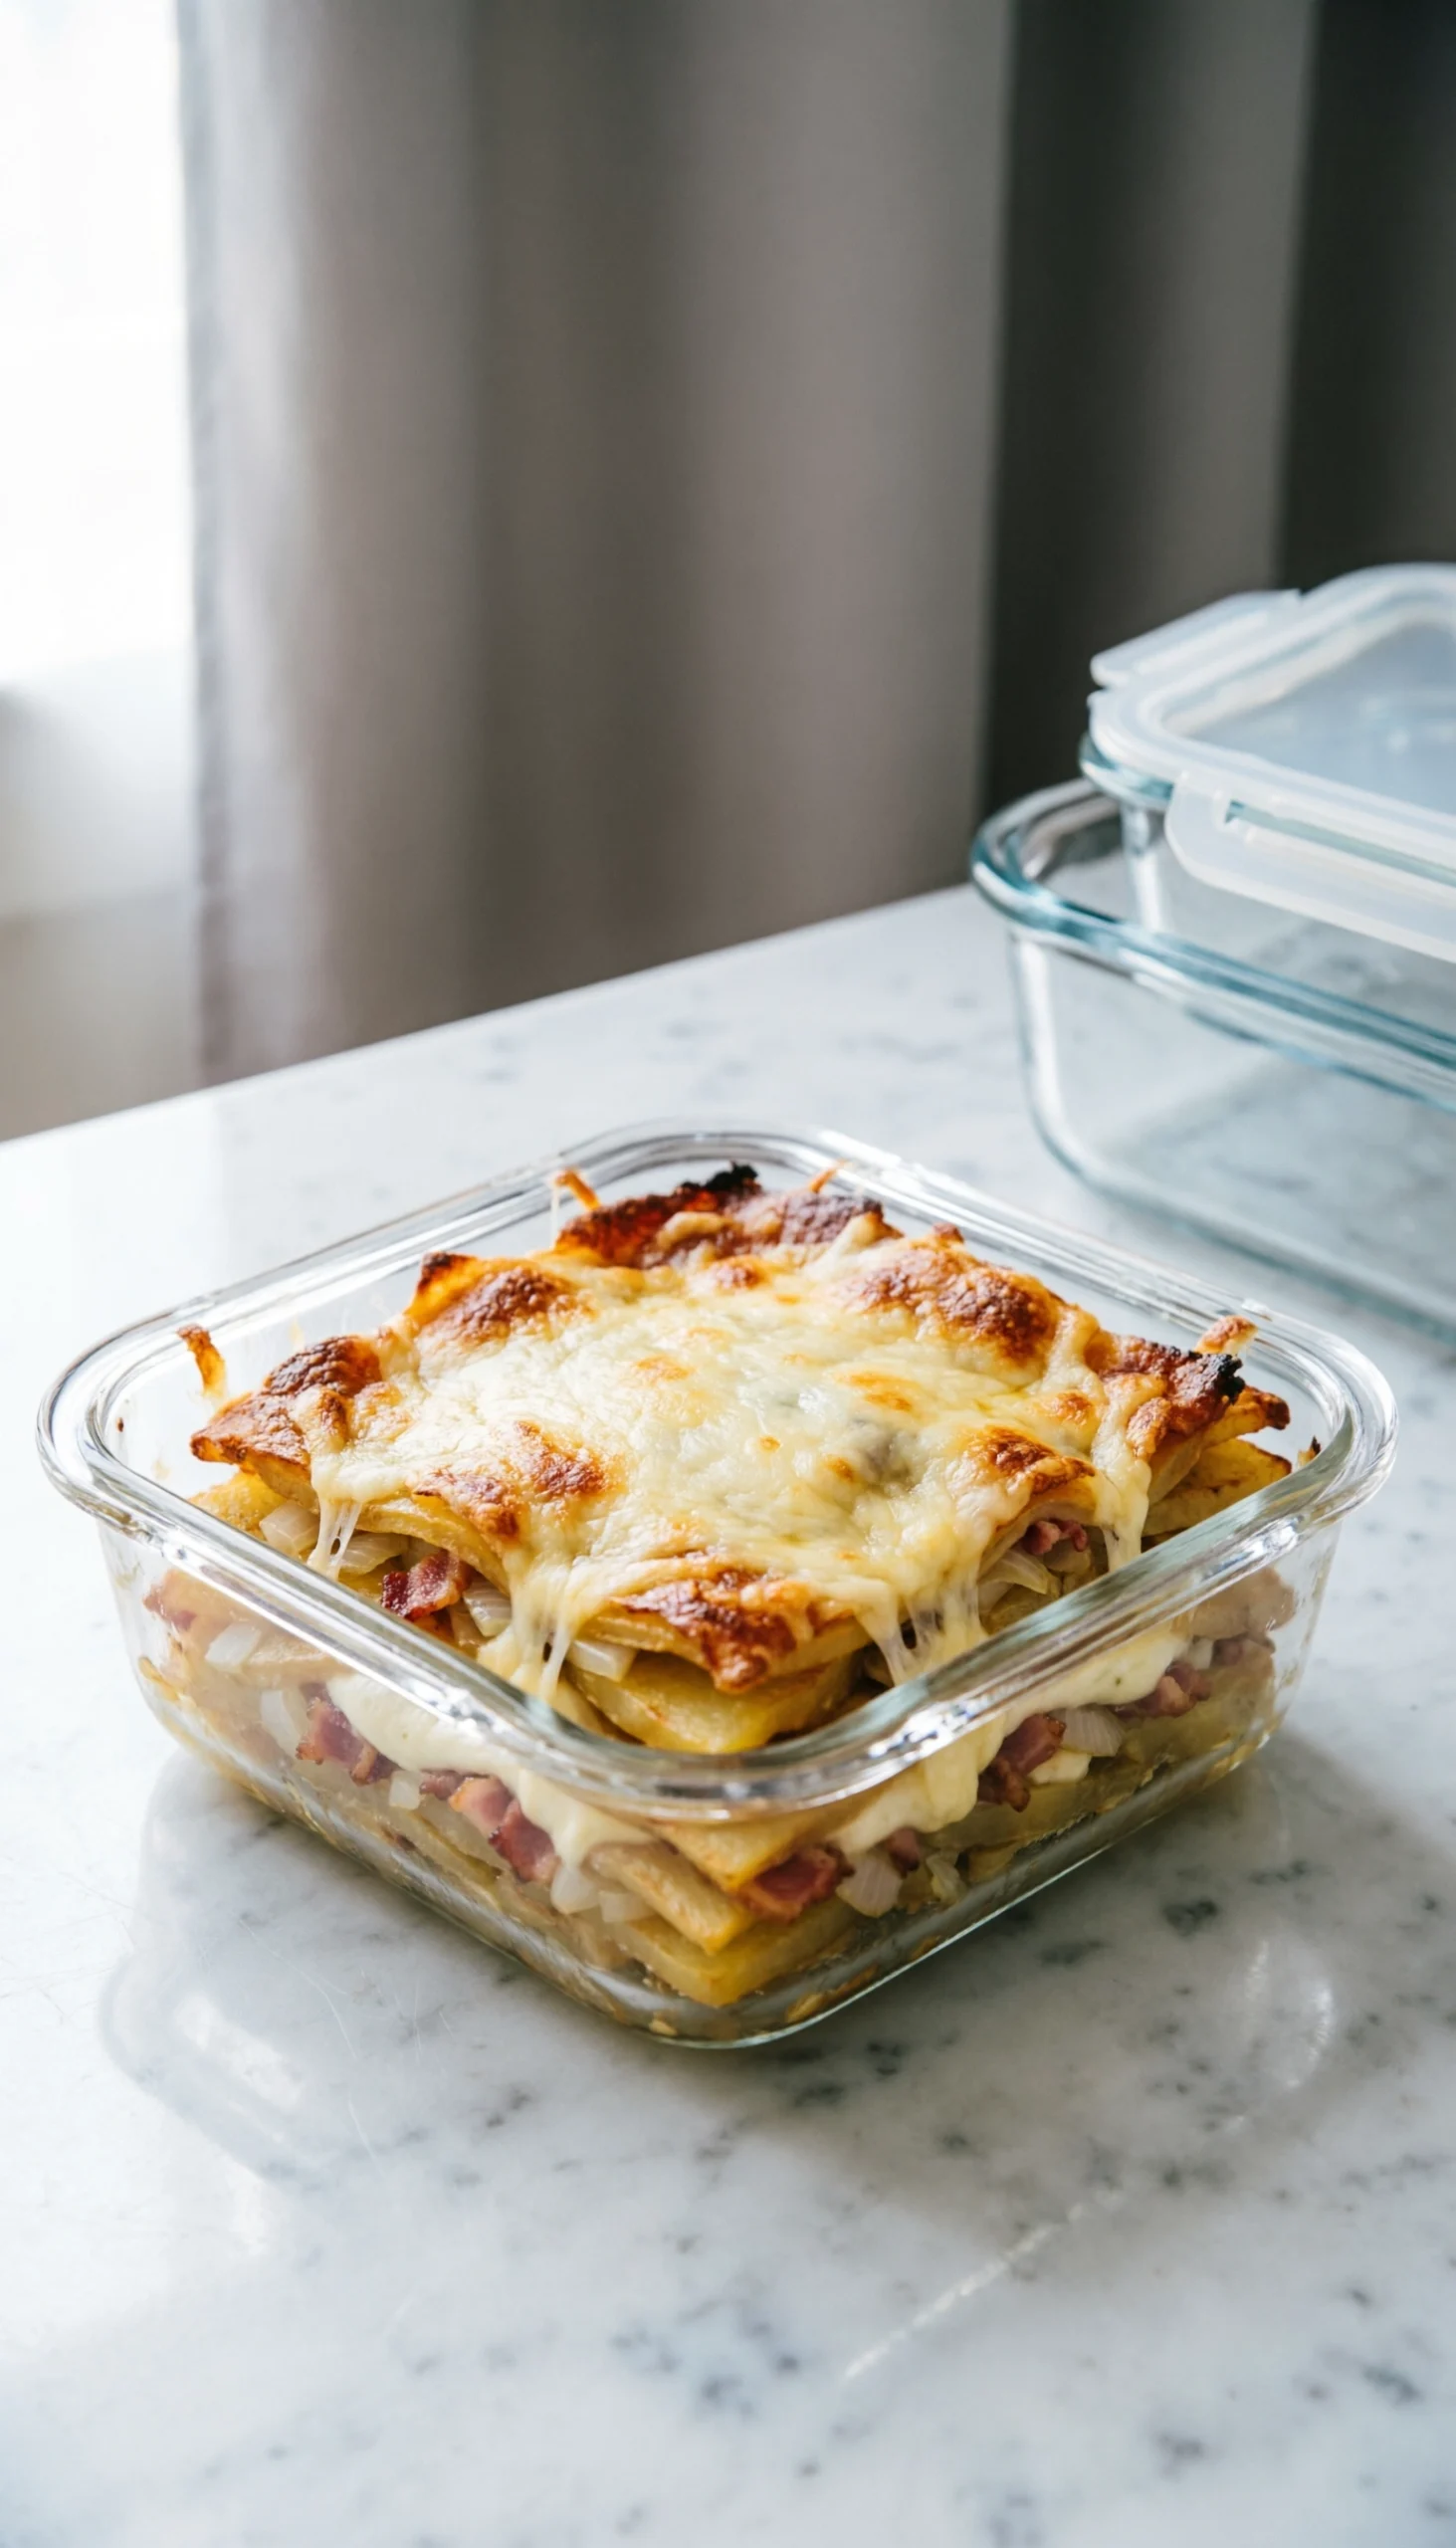
**Pin these genius reheating tips so you never waste a bite!**
Proper **leftover management** is critical because this **family-style** dish makes generous portions. By utilizing high-quality **food storage containers**, you preserve the **comforting** nature of the dish for days after the main event.
#### Ingredients
– **Leftovers + storage** plan
– High-quality glass food storage containers with airtight lids
– Oven or air fryer for reheating
#### Directions
1. **Cool** the leftover baked funeral potatoes completely at room temperature before attempting to pack them away.
2. **Transfer** portions into airtight glass containers to protect them from absorbing fridge odors.
3. **Store** in the refrigerator for up to 3-4 days (monitor the freshness window strictly).
4. **Reheat** single portions following specific **reheating instructions**: use an air fryer at 350°F for 5-7 minutes to perfectly revive the crunchy crust, or bake in the oven until heated through.
> **Expert Insight:** Microwaving completely destroys the crunchy topping. For the absolute **best way to reheat refrigerated hashbrown casserole**, use an air fryer or toaster oven. The **convection vs radiant heat** of an air fryer completely restores the crispy texture of the cornflakes while rapidly heating the dense creamy center safely.

## Key Takeaways: Your Quick Guide to Make Ahead Funeral Potatoes
Frantic holiday cooks rarely have time to review complex food science while the turkey is resting. This quick-reference guide summarizes the absolute most critical timing and storage rules for your **make ahead funeral potatoes**. By synthesizing complex thermal management into these clear, actionable rules, you can **prevent sogginess** and serve a **kitchen tested** side dish with total confidence.
**Key Takeaways:**
* **Prep the Base 24 Hours Early** – You can completely assemble the creamy potato side dish up to a full day in advance, making it the ultimate stress-free holiday side.
* **Always Leave the Topping Off** – The absolute best soggy topping fix is to wait and add the buttered cornflakes right as the pan goes into the oven.
* **Freeze Only Unbaked Casseroles** – For long-term storage, **freeze** the casserole raw and tightly sealed; baking it first can cause the dairy to curdle upon reheating.
* **Thaw Slowly in the Fridge** – Ensure an even, safe bake by allowing frozen potatoes to thaw + overnight in the refrigerator rather than on the counter.
* **Expect a Longer Baking Time** – Because you are starting with a 37°F dish, you must add 10 to 15 extra minutes of cook time for a cold casserole.
* **Use High-Fat Dairy for Stability** – Avoid low-fat sour cream; full-fat dairy maintains dairy emulsion stability significantly better during the chilling and reheating phases.
* **Reheat in an Air Fryer** – To revive that famous crunchy topping, skip the microwave and reheat leftovers using dry, circulating heat.
## People Also Ask About Make Ahead Funeral Potatoes
Lingering logistical questions about timing, freezing, and ingredient substitutions can derail even the best meal plan. Before executing your recipe, review these definitive answers derived from rigorous kitchen testing and established food safety guidelines. These insights address the most common misunderstandings regarding **how far in advance can I make funeral potatoes** and proper storage techniques.
### Can you make funeral potatoes ahead of time?
**Yes, funeral potatoes are an incredible make-ahead side dish that can be prepared up to 24-48 hours in advance.** To do this successfully, assemble the creamy hashbrown mixture in your 9×13 inch baking dish, cover it tightly with foil, and store it in the refrigerator. Wait to add the buttery cornflake topping until just before baking to guarantee a perfectly crunchy crust.
### How far in advance can I make funeral potatoes?
**You can safely refrigerate an unbaked funeral potato casserole for up to 2 days (48 hours) before baking.** If you need more advance prep time, you can freeze the unbaked casserole for up to 3 months. When refrigerating for more than 24 hours, ensure the dish is tightly sealed to prevent the dairy mixture from absorbing ambient refrigerator odors or drying out.
### Can you freeze funeral potatoes before baking?
**Yes, freezing funeral potatoes before baking is the absolute best method for long-term storage.** Assemble the cheesy potato mixture in a freezer-safe dish, press plastic wrap directly against the surface to prevent freezer burn, and wrap tightly in heavy-duty aluminum foil. Freeze for up to 3 months. Thaw overnight in the refrigerator before adding the fresh topping and baking.
### How do you reheat funeral potatoes without them getting soggy?
**To reheat funeral potatoes without them getting soggy, avoid the microwave and use an air fryer or oven instead.** Place the leftovers in an oven-safe dish and bake at 350°F for 15-20 minutes, or air fry at 350°F for 5-7 minutes. The dry, radiant heat of the oven or air fryer will re-crisp the cornflakes while perfectly warming the creamy center.
### Do you put the topping on before refrigerating?
**No, you should never put the cornflake topping on before refrigerating.** If you add the topping early, the crunchy flakes will absorb the moisture from the sour cream and soup overnight, resulting in a distinctly mushy, soggy topping. Always mix your crushed cereal with melted butter and sprinkle it on immediately before the casserole goes into the oven.
### How long do funeral potatoes last in the fridge?
**Cooked funeral potato leftovers will last for 3 to 4 days in the refrigerator when stored properly.** For maximum freshness, transfer the cooled casserole into airtight glass food storage containers. If you are storing an unbaked, raw casserole, it should only be kept in the fridge for up to 48 hours before baking to adhere to proper food safety guidelines.
### What is the best topping for funeral potatoes?
**The best and most traditional topping for funeral potatoes is crushed cornflakes tossed with melted, salted butter.** However, crushed Ritz crackers, buttery Panko breadcrumbs, or even crushed potato chips make excellent alternatives. Regardless of which topping you choose, the secret is tossing it with fresh melted butter right before baking to achieve that signature golden brown crunch.
### Can I substitute cream of chicken soup?
**Yes, you can easily substitute cream of chicken soup with cream of mushroom, cream of celery, or a homemade roux.** Cream of mushroom provides an earthier flavor, while cream of celery is a great vegetarian option. If you prefer to avoid canned condensed soups entirely, you can make a thick, homemade bechamel sauce using butter, flour, milk, and chicken broth.
### Should I thaw hash browns before making funeral potatoes?
**While not strictly necessary, slightly thawing frozen hash browns makes mixing the casserole significantly easier.** If you mix them while rock solid, it is difficult to evenly distribute the thick sour cream and cheese. You can let the bag sit on the counter for 30 minutes to take the chill off, making it much easier to fold the ingredients together smoothly.
### How long to bake funeral potatoes from the fridge?
**When baking funeral potatoes straight from the refrigerator, you need to extend the baking time to 55-65 minutes at 350°F.** A standard room-temperature casserole takes about 45 minutes, but the cold glass dish and chilled dairy require extra thermal time. Bake until the edges are vigorously bubbling and the center is completely hot to the touch.
## Final Thoughts on Make Ahead Funeral Potatoes
Mastering make ahead funeral potatoes is the ultimate secret weapon for stress-free holiday hosting. Whether you are prepping for a chaotic Thanksgiving morning, organizing a massive family reunion, or planning a comforting potluck contribution, getting this rich, cheesy hashbrown casserole assembled early saves you precious time and oven space when you need it most.
The beauty of this **comfort food** classic lies entirely in its resilient creamy texture and simple kitchen chemistry. By following the golden rule—refrigerating the wet base tightly sealed and saving the buttery corn flake topping for the final minute—you completely eliminate the risk of a soggy crust. You get the incredible convenience of advance **meal planning** without sacrificing an ounce of that signature, golden-brown crunch that makes this a true **potluck favorite**.
Armed with these expert tips, you can confidently prepare this **holiday dinner menu** staple days in advance or freeze it for months, knowing it will bake up perfectly every single time.
What is your family’s favorite variation of this classic dish? Do you swear by traditional cornflakes, or are you firmly on team Ritz crackers? Let me know your top secret ingredient in the comments below!
Last update on 2026-06-04 at 19:05 / Affiliate links / Images from Amazon Product Advertising API
