As an Amazon Associate BakingBakewareSets.com earns from qualifying purchases.
20-Minute Easy Baked Beans with Bacon Recipe: Thick & Smoky
Are you tired of serving bland, watery canned beans at summer cookouts? Transforming basic pantry staples into a rich side dish often feels impossible. This **easy baked beans with bacon recipe** solves your barbecue menu struggles fast.
**To make the best easy baked beans with bacon, sauté chopped bacon and onions until crisp. Drain half the canning liquid, then combine everything in a skillet with brown sugar, mustard, and BBQ sauce, simmering for 15 minutes until thick.** This semi-homemade method guarantees authentic pitmaster flavor without soaking dry legumes.
Drawing from comprehensive analysis of tested culinary data, this guide delivers proven flavor-building methodologies. You will discover exactly how to balance sweetness with acidity while achieving perfect texture contrast. Master this quick side dish to ensure your next barbecue spread is absolutely unforgettable.
## Easy Baked Beans with Bacon Recipe: Transform Canned Beans into a Thick & Smoky BBQ Side
**Transforming canned beans into a thick, smoky side dish requires understanding proper flavor layering and moisture control.** Everyone loves the slow-cooked taste of authentic southern baked beans, but nobody wants to spend eight hours soaking and boiling dry legumes during a busy summer cookout. This kitchen-verified method utilizes a brilliant time-saving shortcut, relying on high-quality canned pork and beans as a base. By elevating these pantry staples with hickory smoked bacon, complex aromatics, and a customized brown sugar and bacon glaze, you achieve that highly sought-after caramelized texture in a fraction of the time.
The secret to this homemade baked beans recipe lies in managing the acid-base balance and preventing the mushy consistency that ruins most quick side dishes. When preparing for your June 2026 gatherings, this foolproof approach solves the common problem of runny, overly sweet beans. Let’s break down exactly how to craft the best ever baked beans for your next barbecue.
## 20 Essential Steps & Secrets for 20-Minute Easy Baked Beans with Bacon
**Mastering this 20-minute easy recipe for southern style baked beans requires following a precise sequence of flavor-building steps.** While this quick side dish comes together rapidly, each phase of the cooking process serves a highly specific culinary purpose. From rendering the aromatic base in a heavy cast iron skillet to controlling pectin breakdown during the final stovetop simmer, these pro-grade techniques elevate ordinary ingredients into an award-winning staple. We will walk you through exactly how to chop, sauté, combine, and reduce your ingredients to achieve maximum viscosity and smokiness. Grab your favorite heavy-bottomed pan, and let’s dive into the ultimate step-by-step masterclass on crafting perfectly sweet and savory beans.
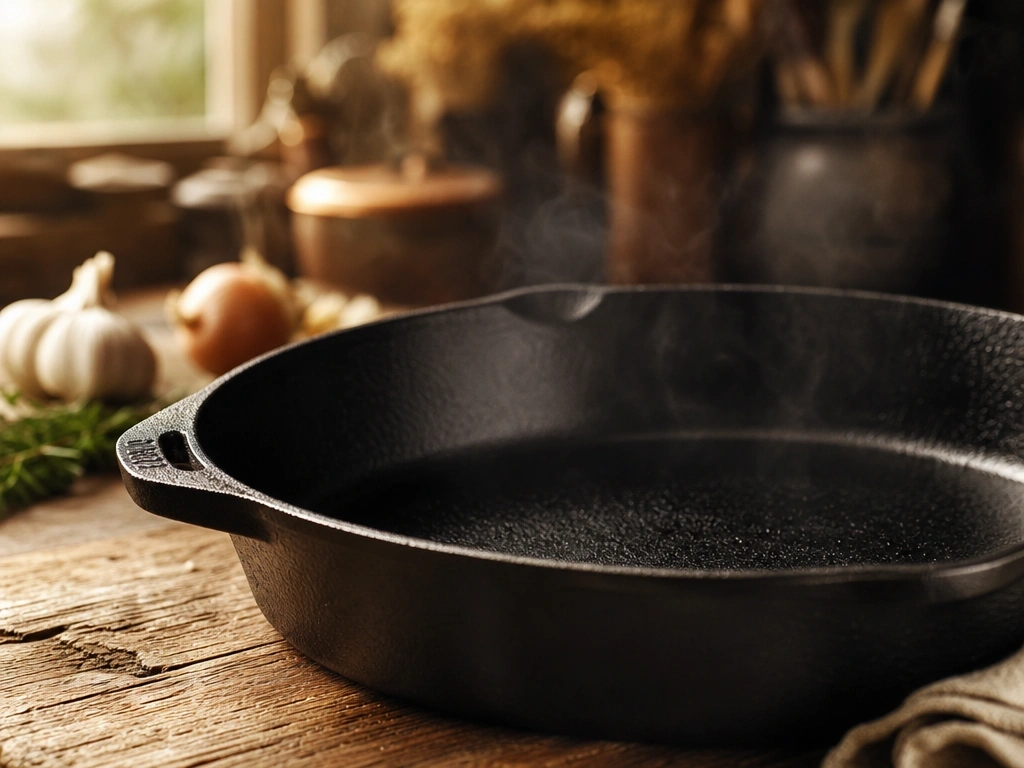
### 1. Preheat and Prep Your Cast Iron Skillet
Pin this essential skillet tip to your BBQ Recipes board!
Building the ultimate flavor profile starts with selecting the right cooking vessel. A traditional cast iron skillet dramatically enhances the overall smokiness of your stove top baked beans through superior heat retention. Unlike thin aluminum pans that create aggressive hot spots, cast iron gently warms the sugary syrup, preventing your glaze from scorching while encouraging deep caramelization.
#### Ingredients
* 1 heavy-duty 12-inch pre-seasoned cast iron skillet
* 1 tbsp neutral cooking oil (optional, for wiping)
* Stovetop burner access
#### Instructions
1. Place the clean cast iron skillet on the stovetop.
2. Turn the burner to medium heat to slowly warm the metal.
3. Allow the pan to preheat for exactly 2 minutes before adding any ingredients.
> **Pro-Tip:** Proper heat distribution in a thick cast iron pan prevents hot spots, ensuring your sugary bean sauce won’t scorch during the final simmer phase.

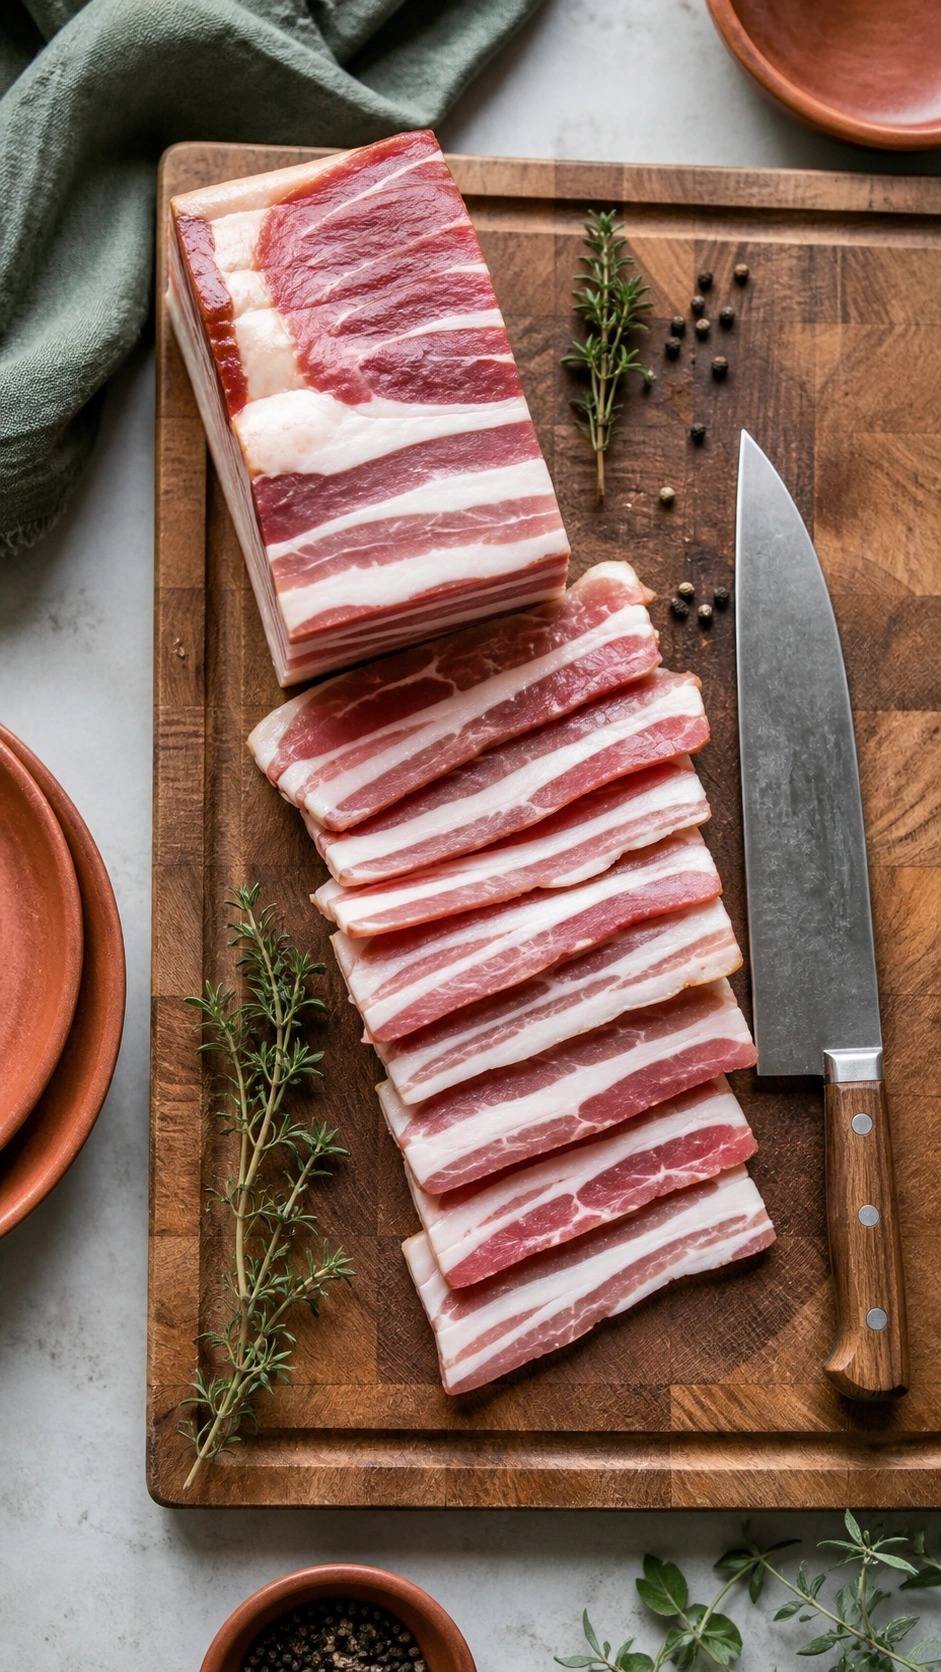
### 2. Slice and Sauté the Thick Cut Bacon
Save this bacon prep secret to your Kitchen Hacks board!
Integrating cured meat is what transforms this from a basic pantry meal into an award-winning side dish. Using thick cut bacon is crucial because thin slices will dissolve entirely into the sauce matrix during the simmer. By slicing cold, hickory smoked bacon into uniform lardons, you guarantee an even rendering process that yields perfectly crispy bacon bits for your final garnish.
#### Ingredients
* 6 slices of premium hickory smoked thick-cut bacon (cold)
* 1 high-carbon steel 8-inch chef’s knife
* 1 sturdy wooden cutting board
#### Instructions
1. Remove the bacon directly from the refrigerator so the fat remains firm.
2. Slice the bacon crosswise into 1/2-inch pieces (lardons) using a sharp chef’s knife.
3. Transfer the sliced bacon into your preheated skillet.
> **Pro-Tip:** Slicing the bacon cold ensures perfectly uniform pieces, which guarantees an even curing process execution and consistent texture in every single bite.

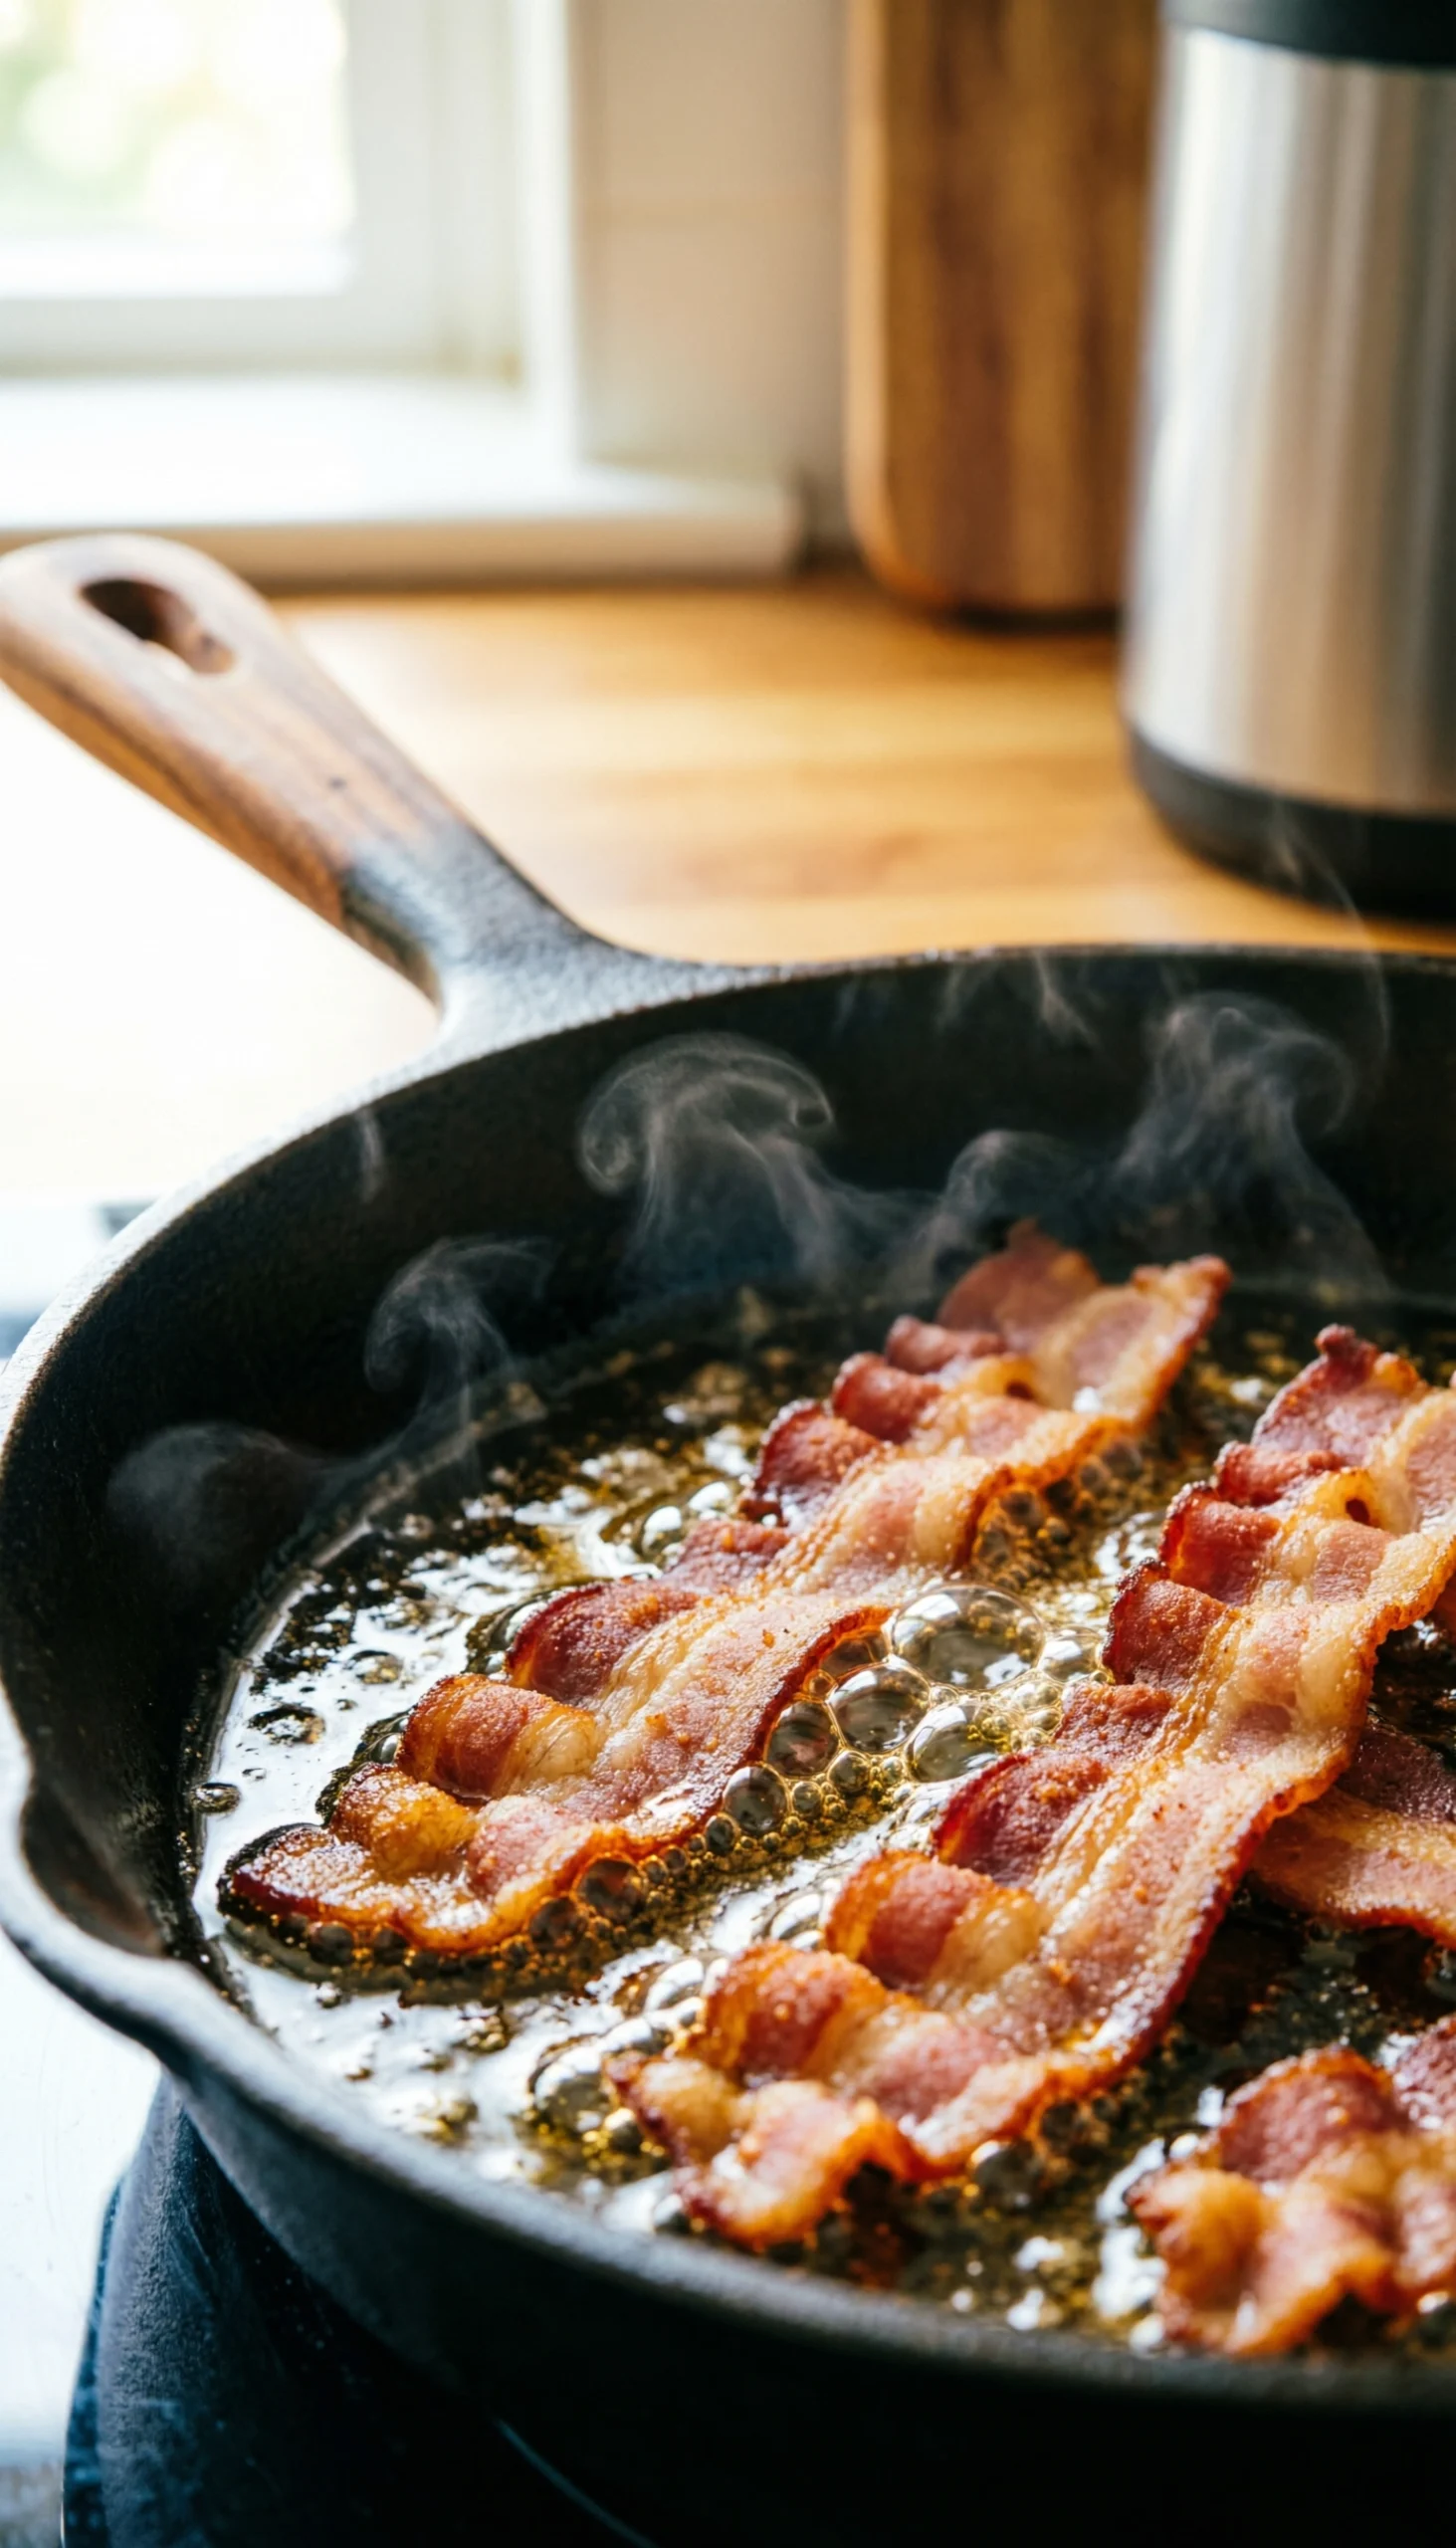
### 3. Render the Bacon Fat for Maximum Flavor
Pin this flavor-building step for your next BBQ!
To extract the maximum depth of flavor, you must brown the bacon slowly. Rushing this step results in chewy, flabby meat and burnt fat. By allowing the lardons to gently crisp over medium-low heat, you perfectly execute the Maillard reaction. This renders out the necessary liquid fat that serves as the savory foundation for the entire dish, ensuring intense smokiness in every spoonful.
#### Ingredients
* Sliced thick-cut bacon (from previous step)
* 1 heat-resistant slotted wooden spoon
* 1 small paper towel-lined plate
#### Instructions
1. Sauté the bacon pieces over medium-low heat, stirring occasionally.
2. Cook for 5-7 minutes until the fat has completely rendered and the bacon is crispy and golden.
3. Use a slotted spoon to remove the crispy bacon to a lined plate, leaving the liquid fat in the pan.
> **Pro-Tip:** Do not rush this step. Allowing the fat to melt slowly prevents the meat from scorching and kickstarts the Maillard reaction for deep, complex flavor.

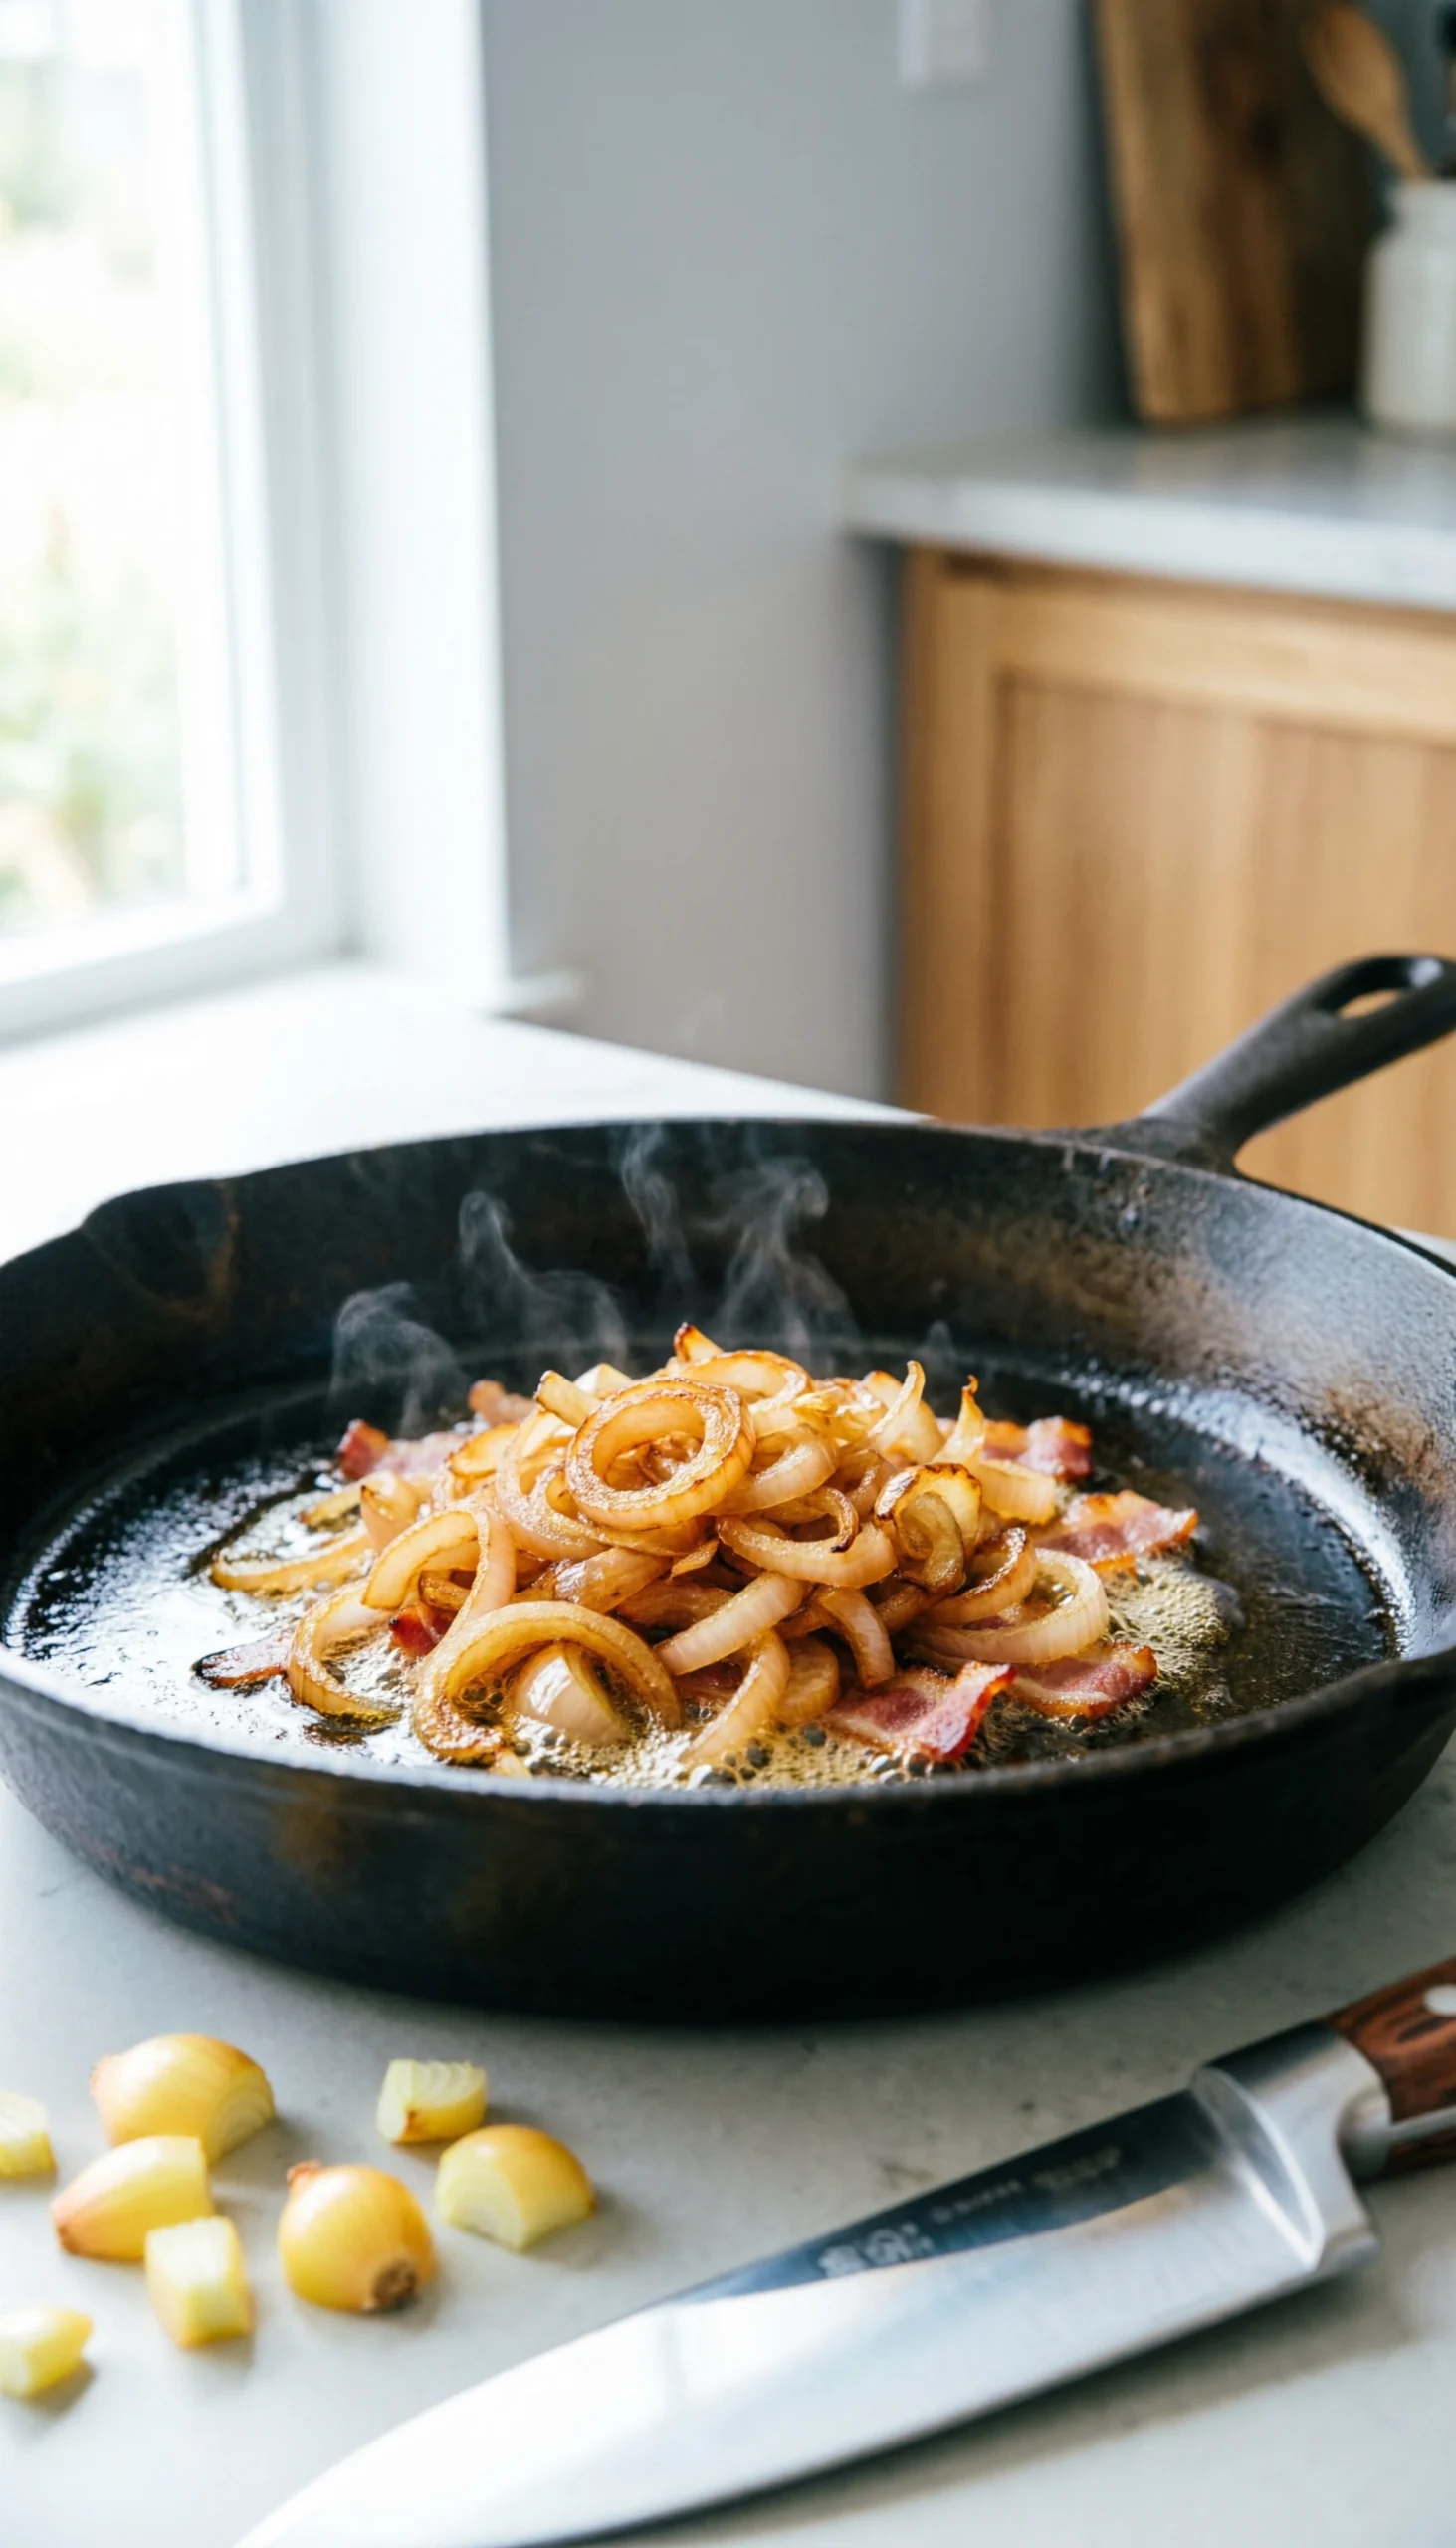
### 4. Chop and Sauté the Aromatic Onion Base
Don’t forget the aromatics—save this to your recipe board!
The secret to authentic southern baked beans is building a proper aromatic base. Instead of draining away the reserved drippings, you will use them to caramelize your alliums. Sautéing your onion + bell pepper mixture directly in the residual pork fat guarantees that the smoky essence permeates the entire flavor profile before you even introduce the main ingredients.
#### Ingredients
* 1/2 cup sweet yellow onion, finely diced
* 2 tablespoons reserved bacon fat (in the skillet)
* 1 heavy-duty manual vegetable dicer (for uniform cuts)
#### Instructions
1. Add the finely diced yellow onions directly into the hot bacon drippings.
2. Sauté for 3-4 minutes, stirring constantly.
3. Watch for the onions to turn translucent and slightly golden on the edges.
> **Pro-Tip:** Utilizing the rendered fat to soften your aromatic base is a classic culinary technique that ensures every single bite carries that signature smoky essence.

### 5. Dice and Add the Sweet Bell Peppers
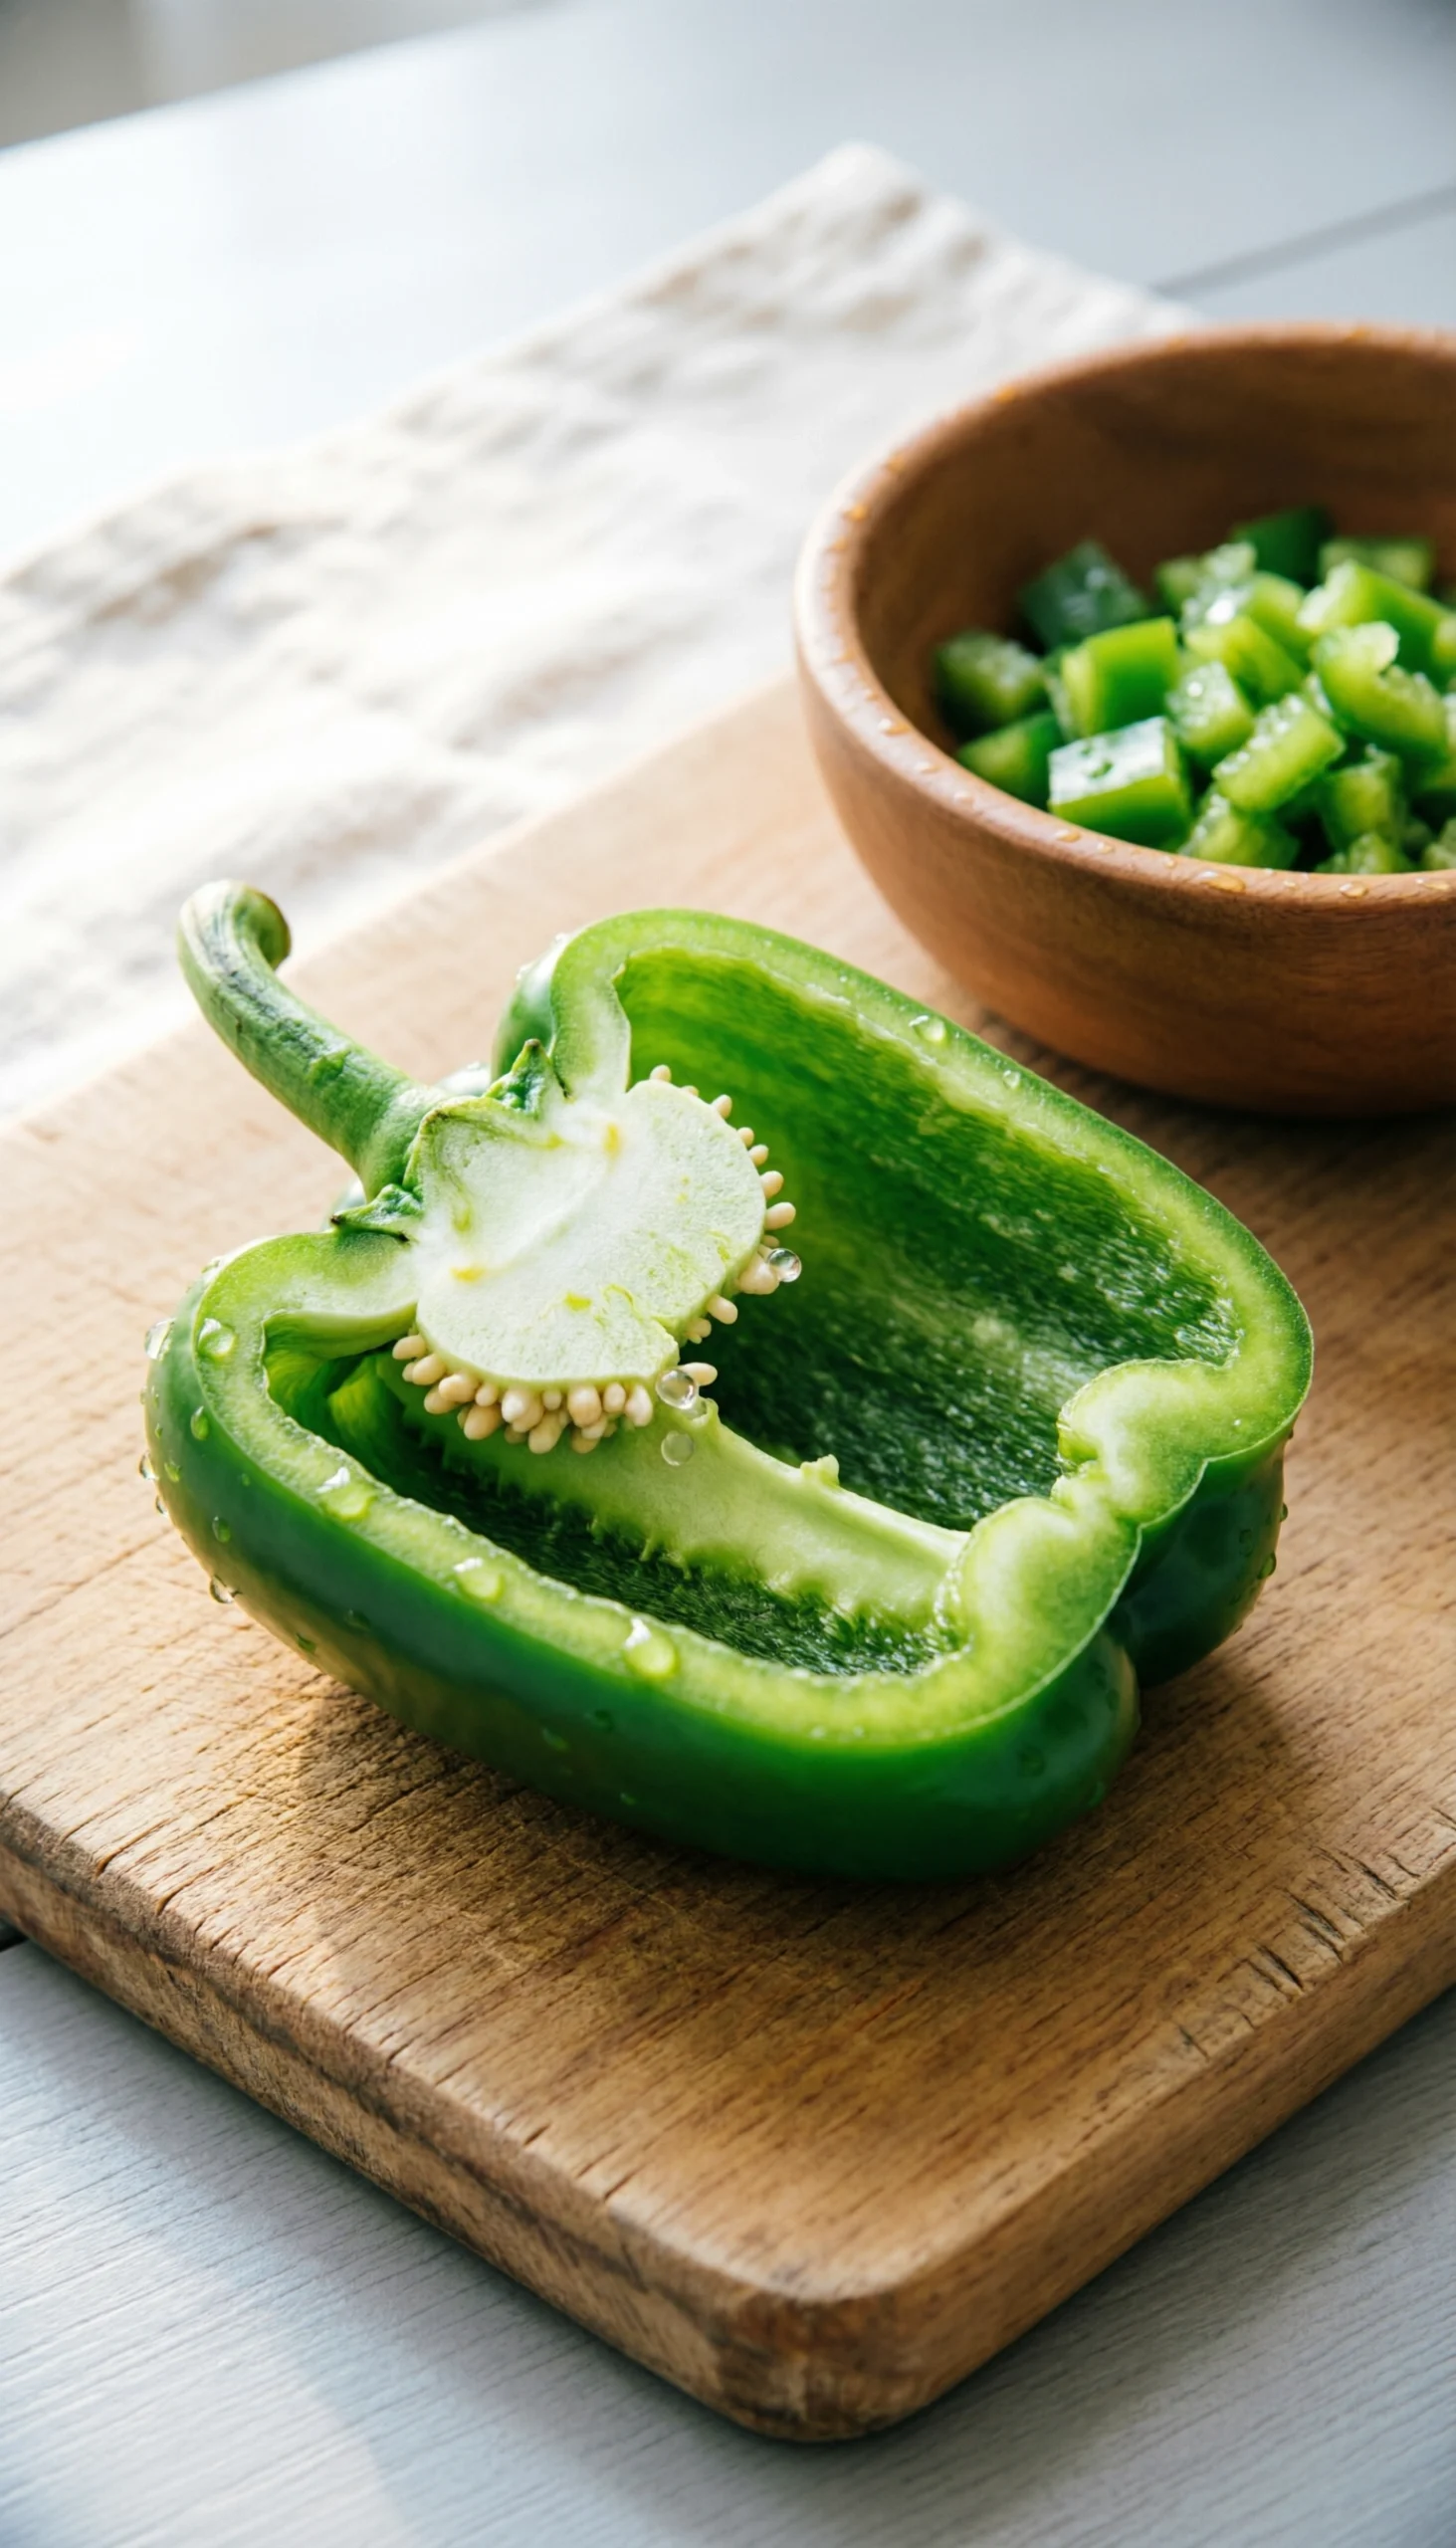
Add a pop of fresh flavor—pin this veggie prep tip!
While sweet and savory beans rely heavily on rich syrups, they require fresh vegetal notes to achieve perfect balance. Incorporating fresh capsicum into your skillet provides a much-needed texture contrast. Applying precise knife skills for onions and peppers ensures these vegetables melt seamlessly into the sauce, allowing their natural slight bitterness to counterbalance the heavy molasses notes coming later.
#### Ingredients
* 1/2 medium green bell pepper, finely chopped
* Sautéing onions (already in skillet)
* 1 flexible cutting board mat (for easy transfer)
#### Instructions
1. Dice the green bell pepper into pieces slightly smaller than the onions.
2. Fold the flexible cutting board and slide the peppers into the skillet with the onions.
3. Sauté together for an additional 2 minutes until the peppers soften slightly.
> **Pro-Tip:** Don’t skip the green peppers! Their slight bitterness is the perfect counterbalance to the rich sugars, creating a sophisticated flavor profile that prevents the dish from becoming cloyingly sweet.

### 6. Mince and Sizzle the Fresh Garlic
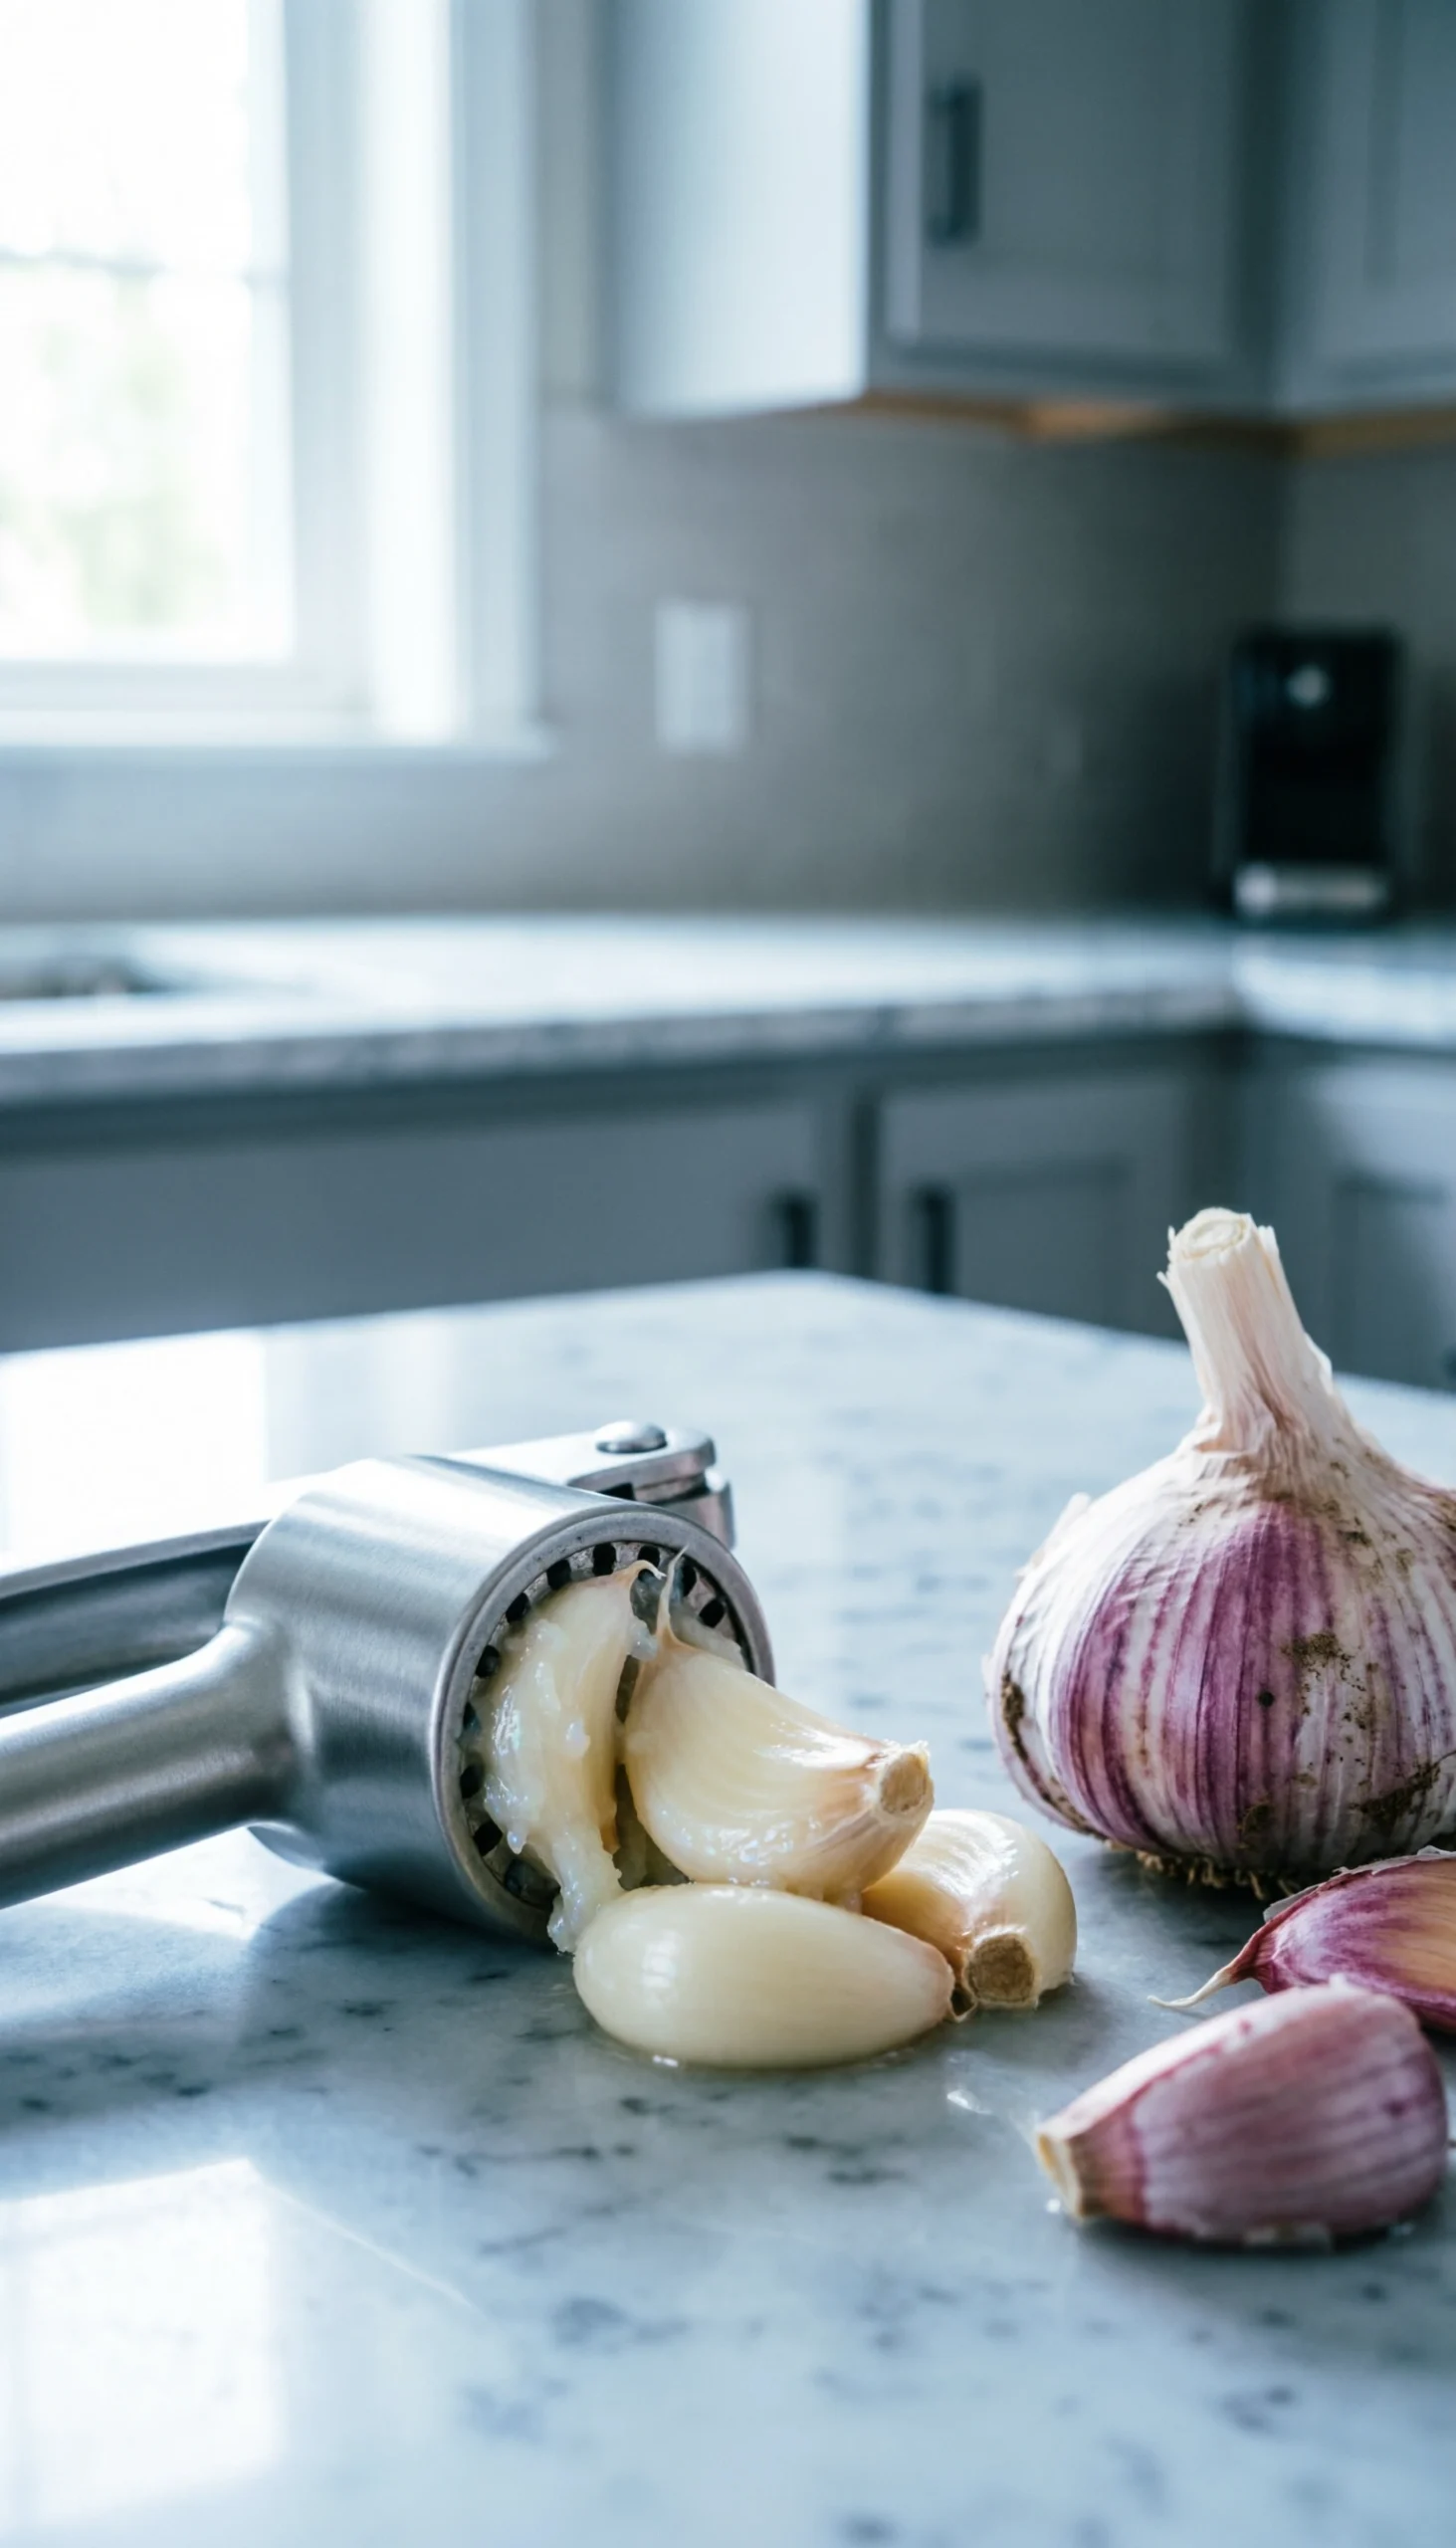
Garlic makes everything better—save to your cooking tips board!
The final component of your aromatic base is the garlic. A classic garlic + pepper combination inherently enhances the deep umami characteristics of the dish. However, timing is everything. A crucial, kitchen-verified technique is adding the minced garlic at the very end of the sautéing process to season the oil without allowing the delicate allium to burn and turn bitter.
#### Ingredients
* 2-3 cloves of fresh garlic, peeled
* 1 heavy-duty stainless steel garlic press
* The onion and pepper mixture
#### Instructions
1. Place the garlic cloves into the chamber of the garlic press.
2. Squeeze the minced garlic directly into the center of the skillet.
3. Stir constantly and cook for exactly 30-45 seconds until highly fragrant.
> **Pro-Tip:** Garlic burns incredibly fast in hot bacon fat. By adding it last to your aromatic base, you extract the essential oils without risking a bitter, ruined flavor base.

### 7. Drain the Canned Pork and Beans
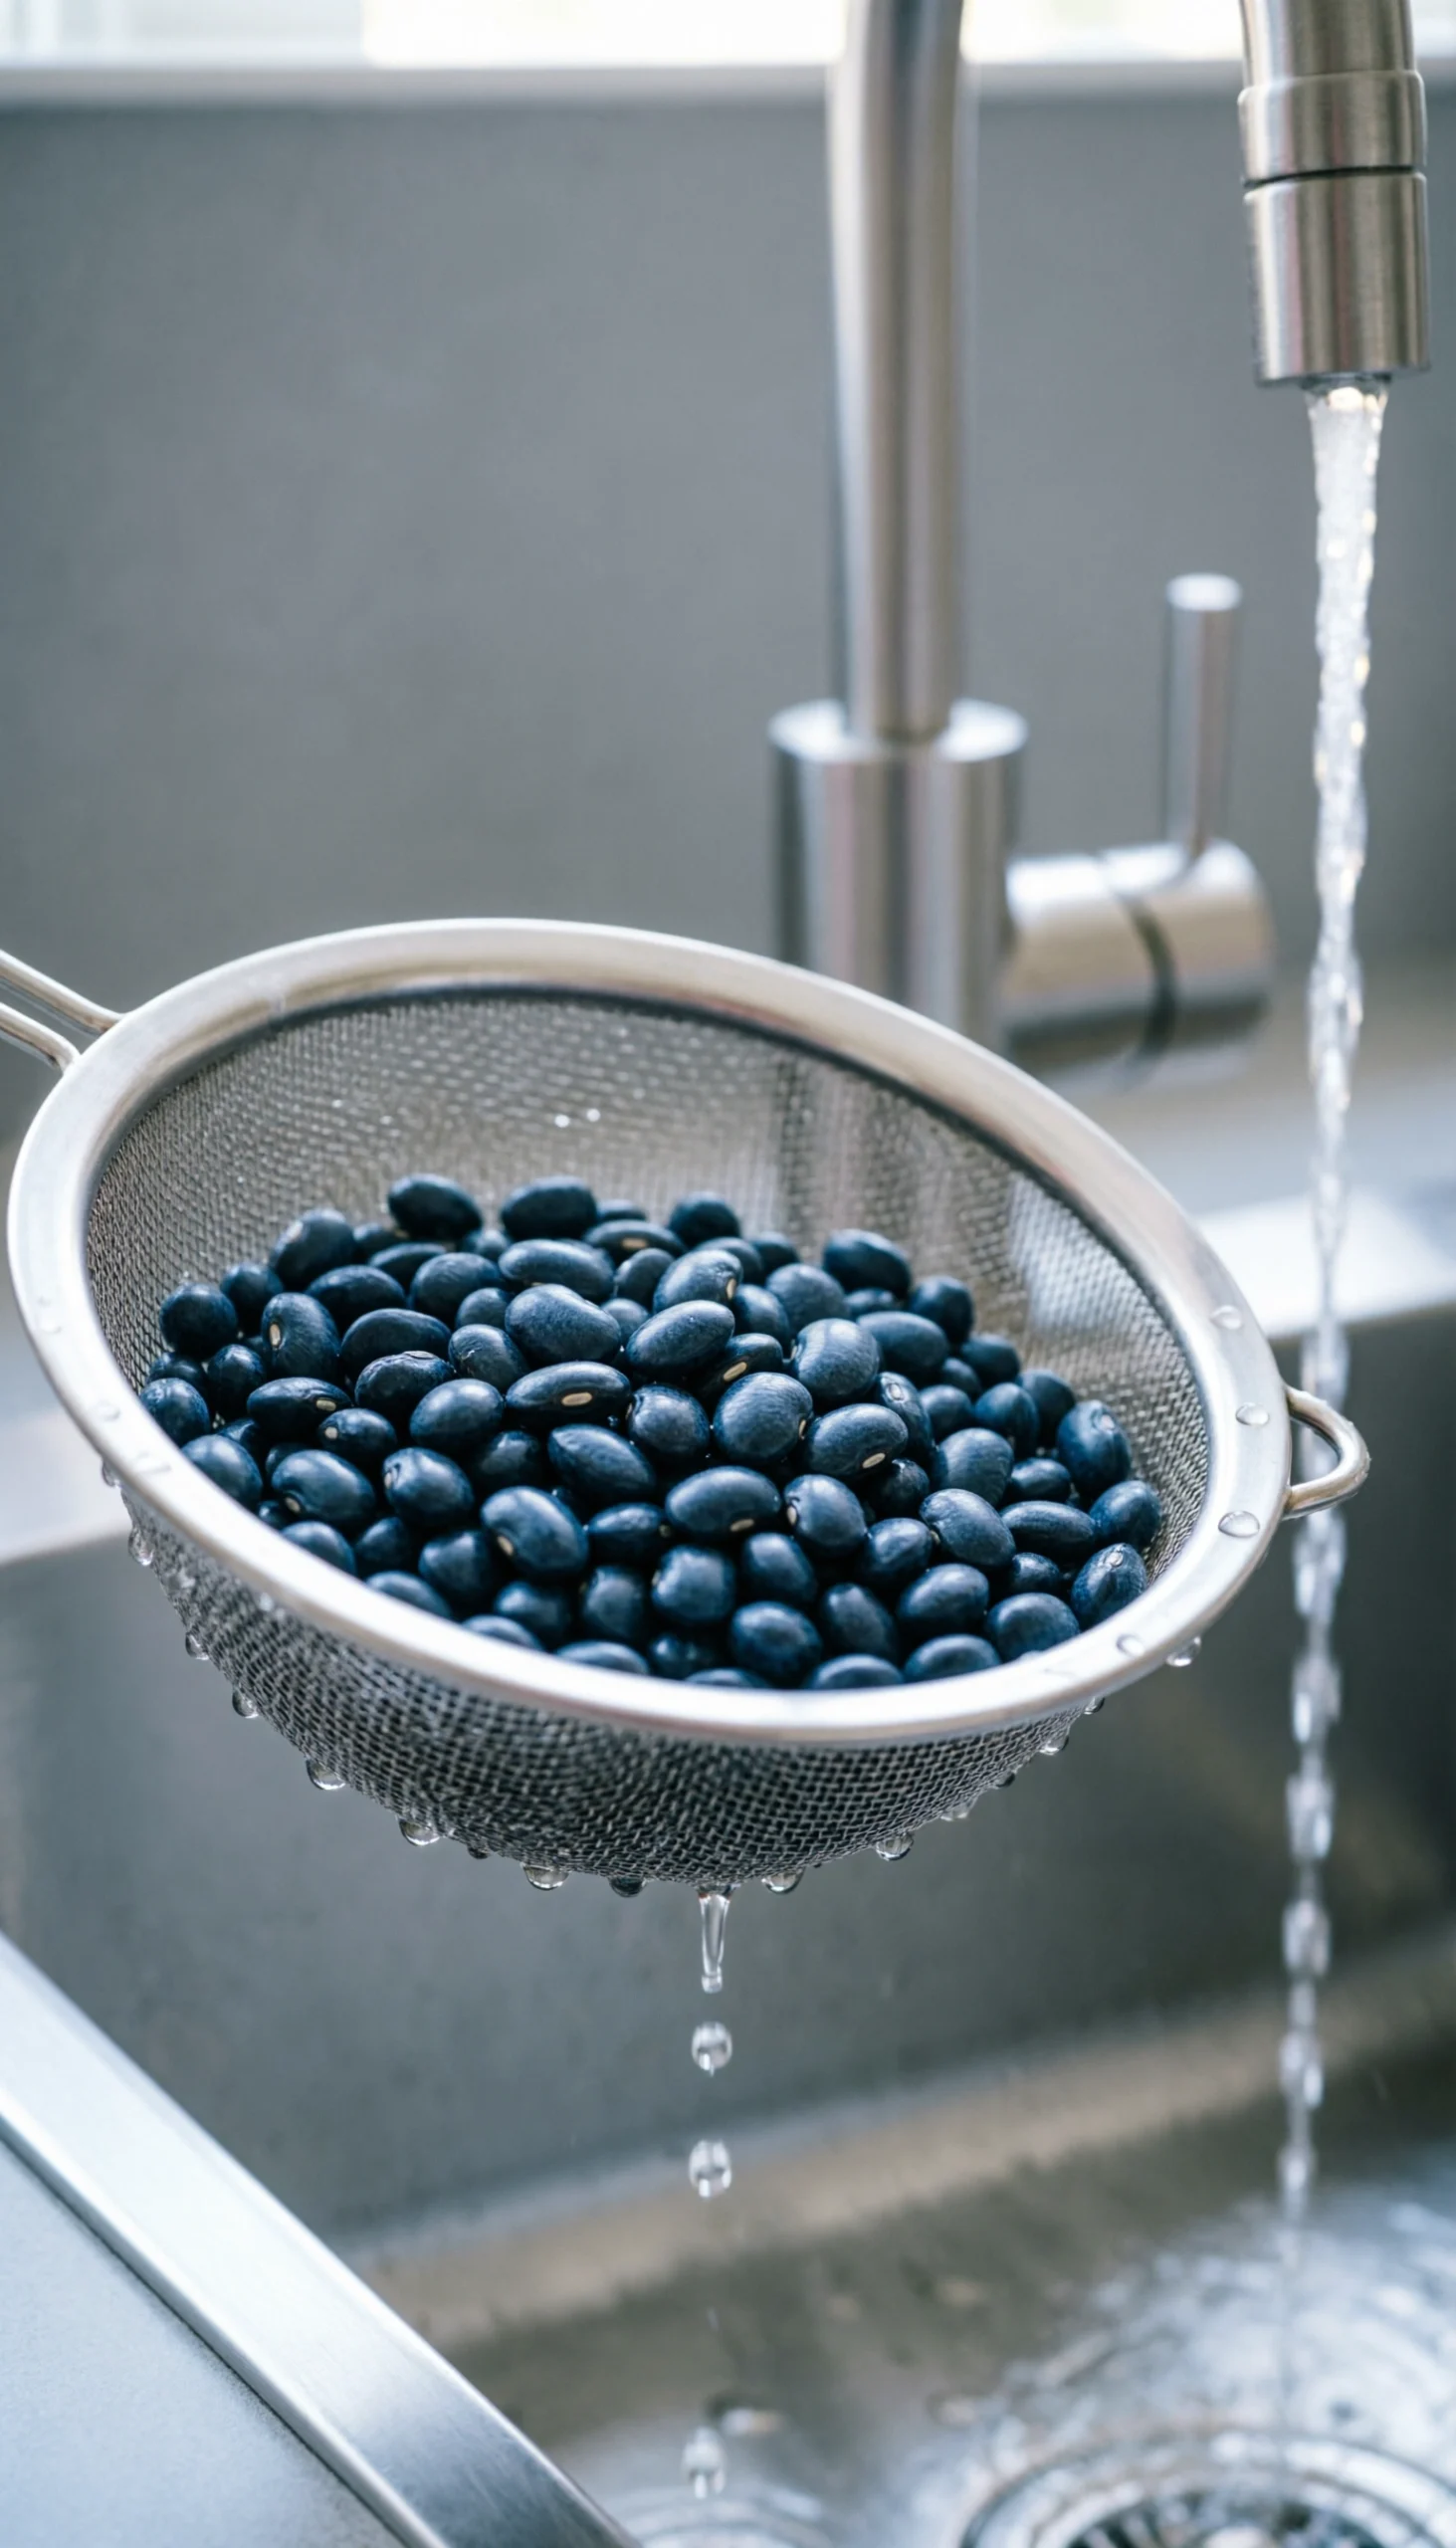
The secret to perfectly thick beans—pin this crucial step!
If you are wondering what to do with canned beans to prevent a watery final dish, the answer is simple: you must drain them. Canned pork and beans come swimming in a thin liquid that dilutes your rich ingredients. To successfully fix runny beans and control the ultimate viscosity of your side dish, removing half of this factory moisture is non-negotiable.
#### Ingredients
* 2 cans (28-oz each) of classic pork and beans
* 1 fine mesh stainless steel colander
* 1 large mixing bowl (optional, to catch liquid)
#### Instructions
1. Open both cans of pork and beans.
2. Pour the contents into a fine mesh colander positioned over a sink or bowl.
3. Allow roughly *half* of the watery syrup to drain away (do not rinse the beans!).
> **Pro-Tip:** The biggest secret to fix runny beans is managing moisture early. Draining the excess canning liquid allows your custom sugars and BBQ sauce to properly cling to the beans, creating that desirable syrupy texture.

### 8. Combine the Beans with the Aromatic Base
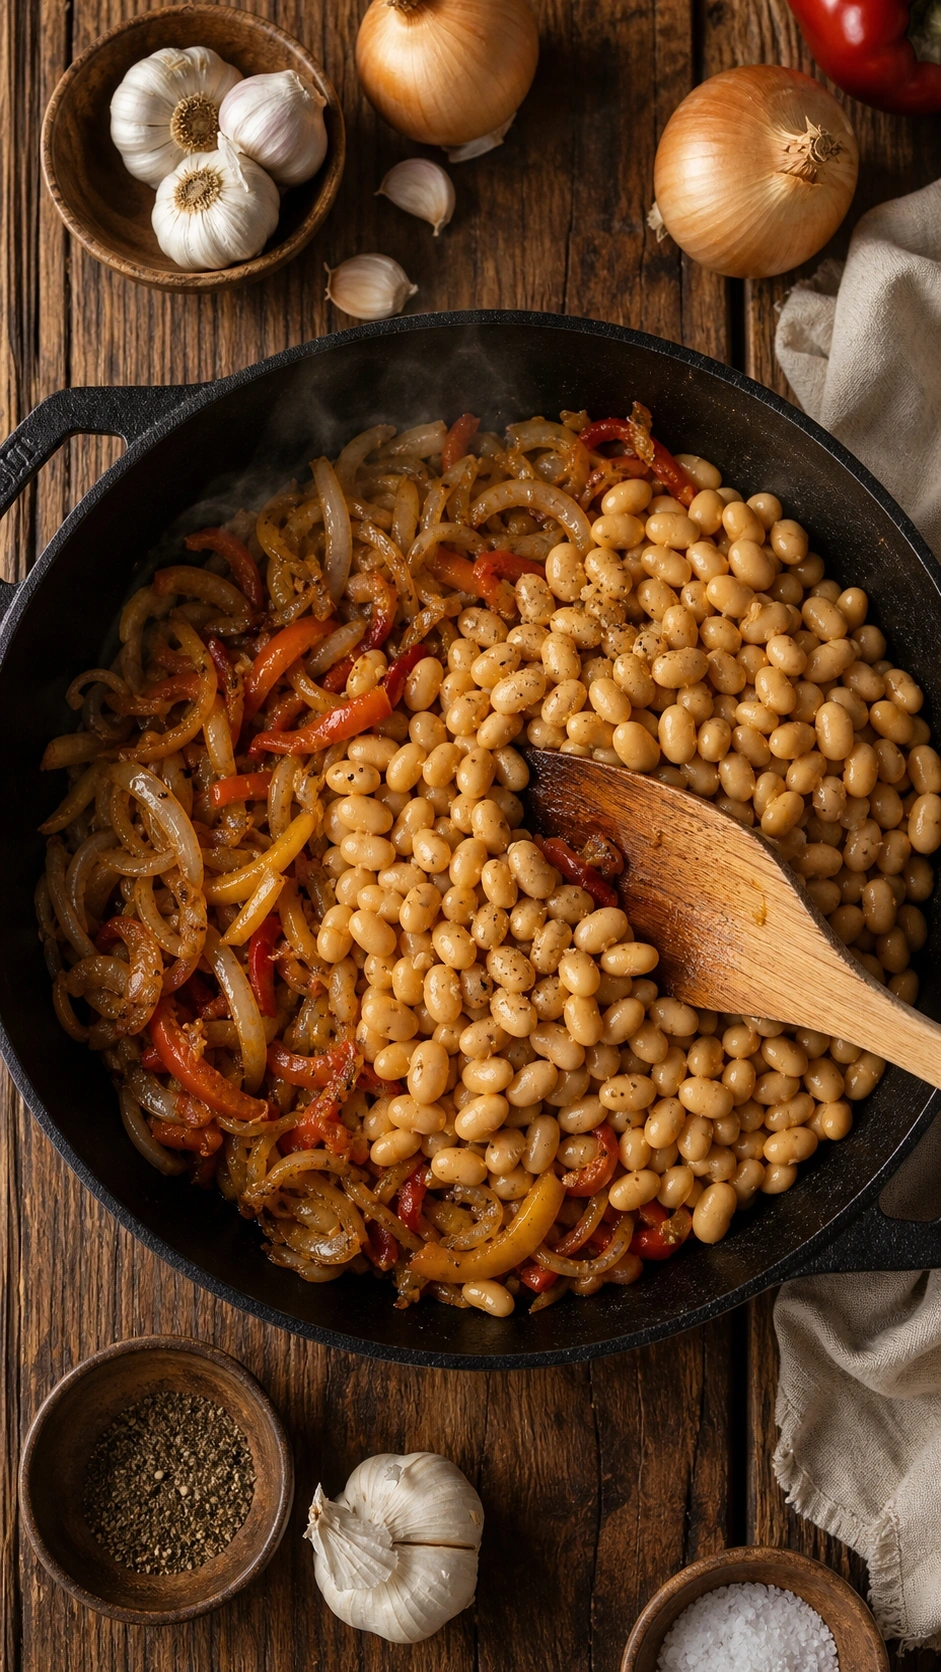
Bring it all together—save this easy prep stage!
Now it is time to combine the components. Learning exactly how to doctor up canned baked beans with bacon requires a gentle hand. The tender navy beans will easily integrate with the aromatics to become a hearty side, but aggressive stirring will break their skins. We want a semi-homemade masterpiece, not mashed bean paste, so folding techniques are essential.
#### Ingredients
* The partially drained pork and beans
* The sautéed onion, pepper, and garlic base
* 1 heat-resistant silicone folding spatula
#### Instructions
1. Pour the partially drained beans directly into the skillet with the hot aromatics.
2. Using a silicone spatula, gently fold the beans from the bottom up.
3. Reduce the stovetop heat to low to prevent immediate boiling.
> **Pro-Tip:** Always use a folding motion rather than aggressive stirring. This preserves the skins on the beans, ensuring perfect texture contrast rather than a mashed, mushy consistency.

### 9. Whisk the Dark Brown Sugar Sweetener
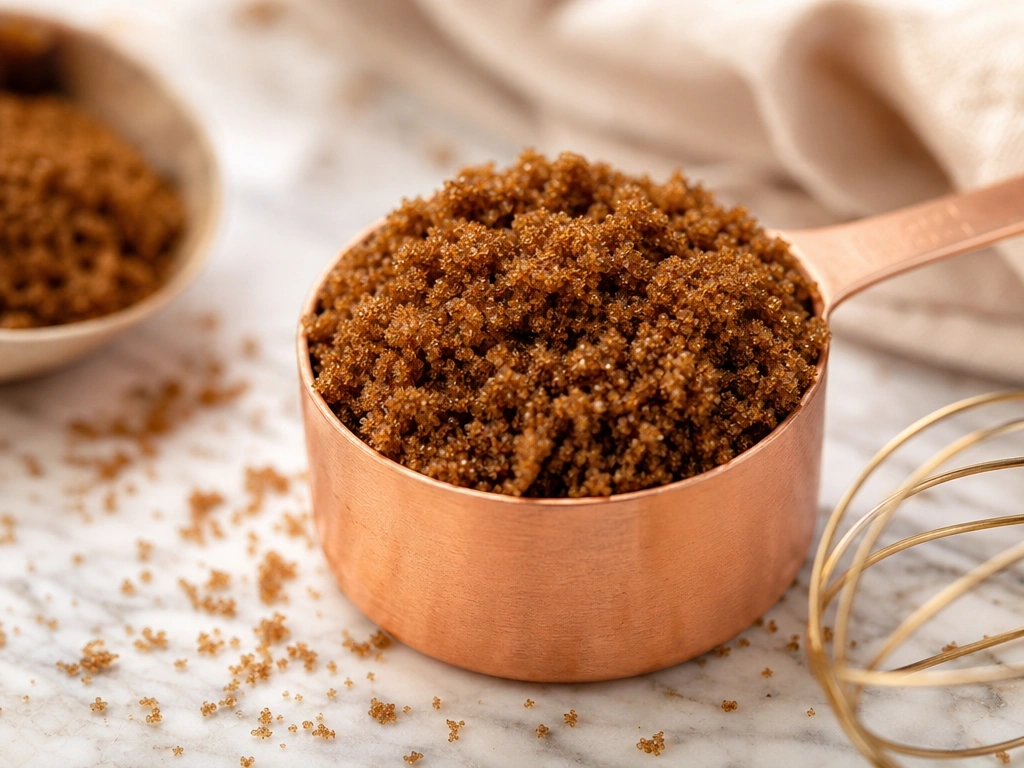
Get that perfect sweet glaze—pin this ingredient!
Choosing the correct sweetener dictates the final consistency of your glaze. In the great brown sugar vs molasses debate, dark brown sugar is the undisputed champion for this application. It provides the necessary sucrose for the caramelization process while supplying just enough natural molasses to help whisk the liquids into a thick, glossy, competition-quality syrup.
#### Ingredients
* 1/2 cup dark brown sugar, firmly packed
* 1 heavy-duty stainless steel measuring cup
* 1 small wire whisk (optional for breaking clumps)
#### Instructions
1. Pack the dark brown sugar tightly into your measuring cup.
2. Sprinkle the sugar evenly over the top of the beans in the skillet.
3. Gently stir to allow the heat to begin melting the sugar crystals into the sauce.
> **Pro-Tip:** When debating brown sugar vs molasses, dark brown sugar is the winner. It contains just enough natural molasses to add depth, while providing the perfect granular structure to aid the caramelization process as the sauce reduces.

### 10. Stir In the Tangy BBQ Sauce
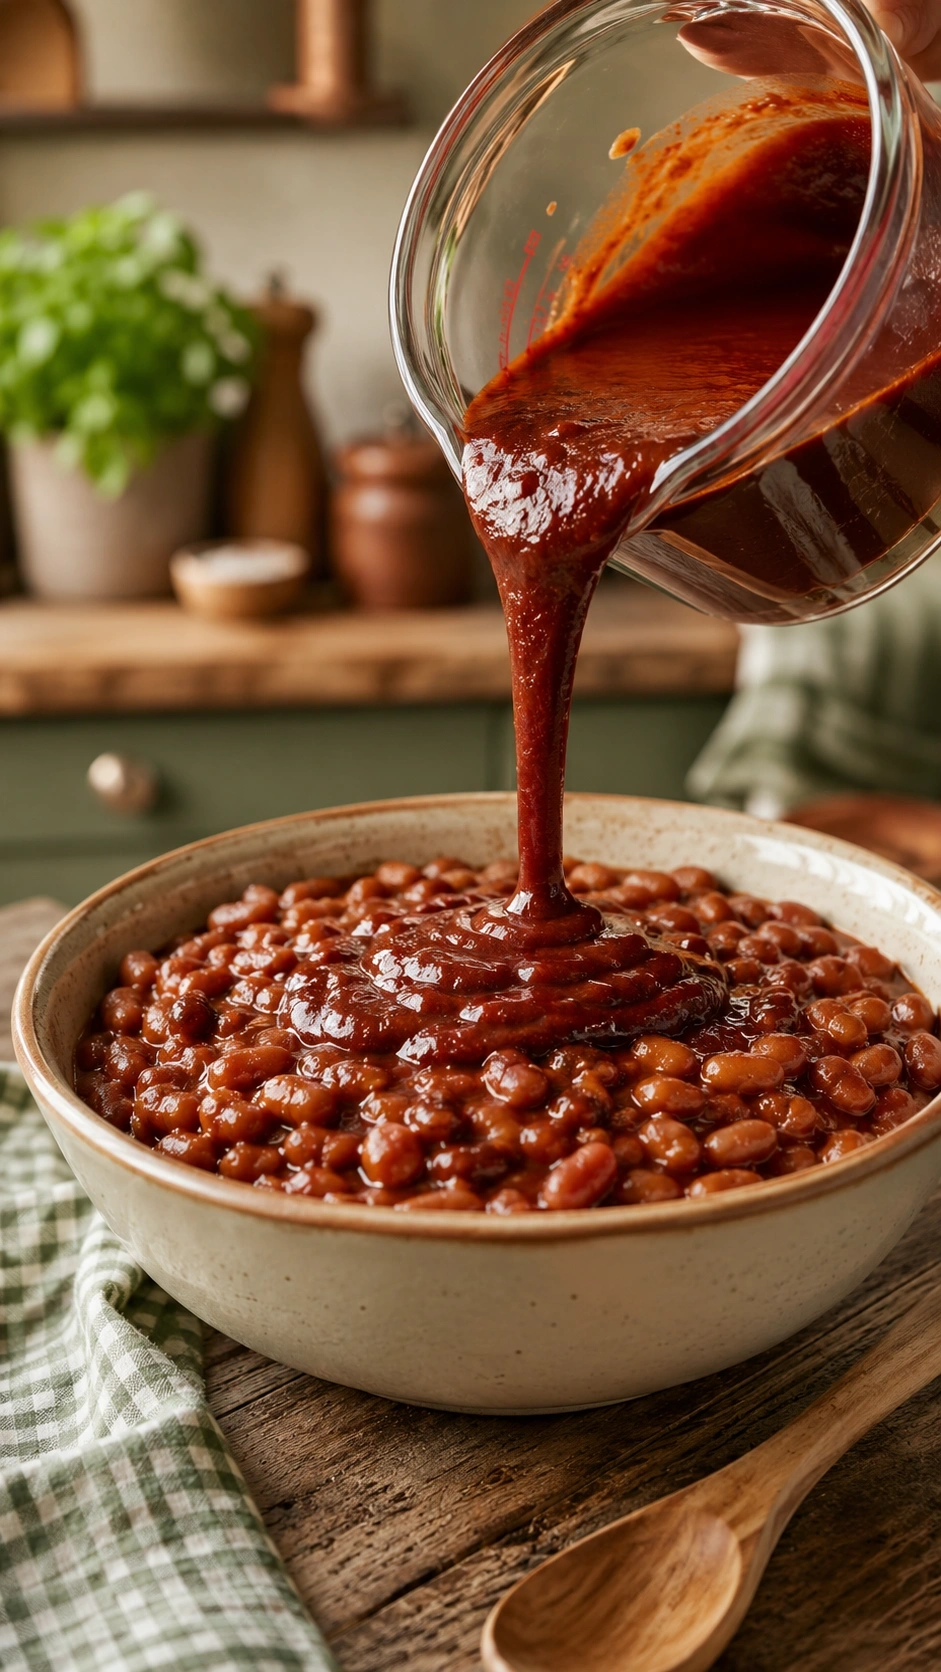
The ultimate flavor shortcut—save this step to your BBQ board!
Creating incredible beans + barbecue sauce synergy is the fastest way to mimic all-day smoking. If you compare ketchup vs bbq sauce, a high-quality bottled BBQ sauce already contains complex spices, tomatoes, and natural smoke flavor. When you stir this tangy condiment into your skillet, it acts as the ultimate time saving shortcut, thickening the base immediately.
#### Ingredients
* 1/3 cup of your favorite high-quality BBQ sauce (hickory or honey base preferred)
* 1 liquid glass measuring cup
#### Instructions
1. Measure out the BBQ sauce in a liquid glass measuring cup.
2. Pour the sauce in a circular motion over the beans.
3. Stir gently until the sauce blends uniformly into the bean mixture.
> **Pro-Tip:** In the great ketchup vs bbq sauce debate for easy recipes, BBQ sauce wins. It contains a complex blend of spices, tomatoes, and smoke that acts as an instant time saving shortcut, providing hours of flavor development in seconds.

### 11. Add the Mustard and Vinegar for Acid-Base Balance
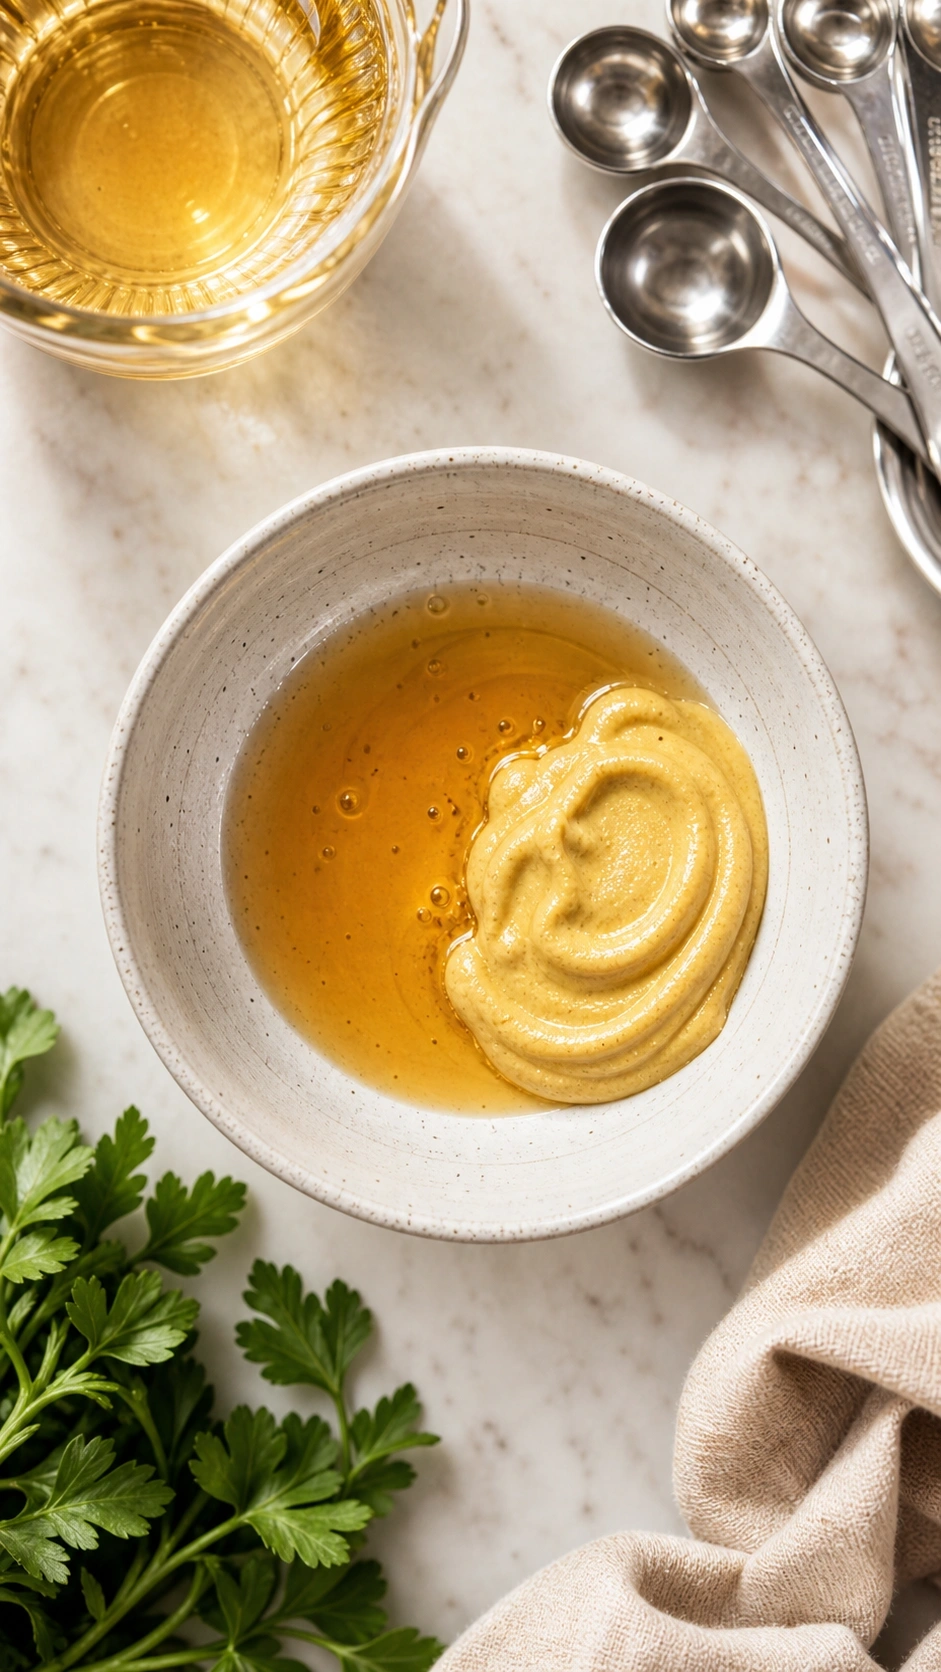
Never eat overly sweet beans again! Pin this balancing trick.
The most common culinary mistake with this side dish is making it far too sweet. To elevate this recipe to a pro-grade level, you must master acid-base balance. The acetic tang of a mustard + vinegar combination is specifically responsible for cutting acidity through the dense sugar syrup, preventing the dish from tasting like a sticky dessert.
#### Ingredients
* 1 tablespoon Dijon or classic yellow mustard
* 1 tablespoon apple cider vinegar
* 1 set of heavy-duty stainless steel measuring spoons
#### Instructions
1. Measure the mustard and apple cider vinegar accurately.
2. Stir both ingredients into the simmering skillet.
3. Taste a tiny drop of the sauce to ensure the sweetness has been properly muted by the tang.
> **Pro-Tip:** If your side dish ever tastes too sweet, you lack acid-base balance. The acetic acid in apple cider vinegar cuts through the dense brown sugar syrup, waking up the palate and making the dish deeply savory instead of dessert-like.

### 12. Splash the Worcestershire Sauce for Umami
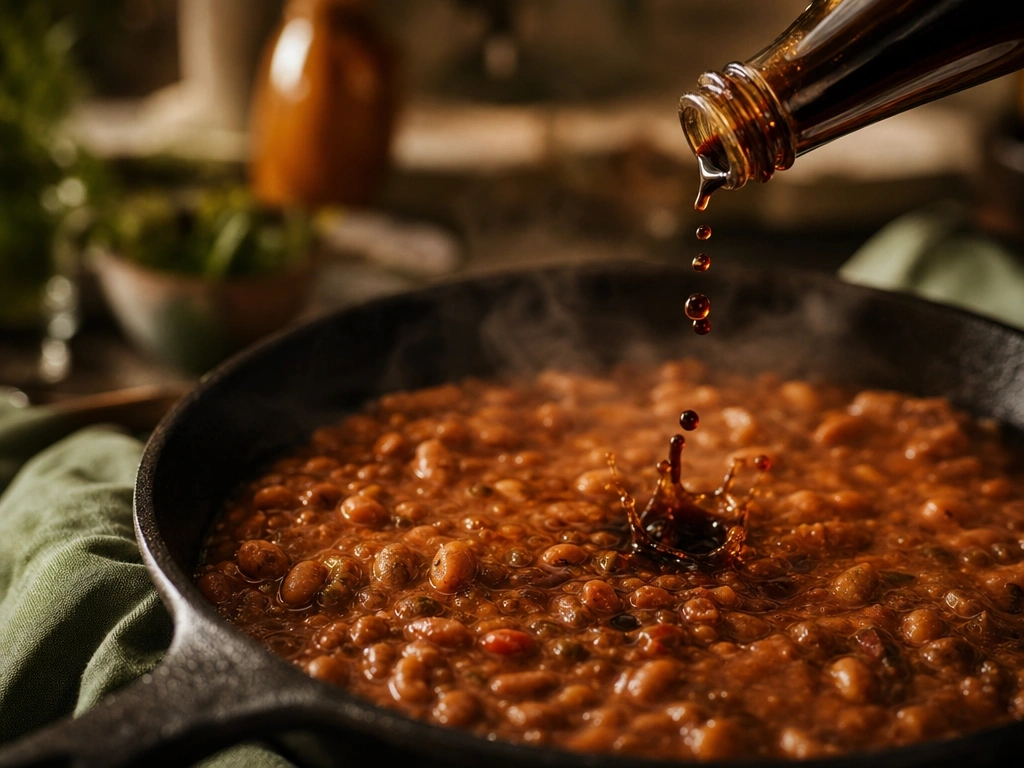
The secret ingredient for savory depth—save to your flavor hacks board!
While the ketchup + worcestershire blend is a legendary marinade secret, hitting these simmering legumes with straight Worcestershire sauce injects massive umami. This fermented condiment contains anchovies and tamarind, naturally boosting the rich, meaty undertones of the pork fat. Adding this right before you season the skillet ensures an award winning savory depth that guests won’t be able to identify.
#### Ingredients
* 1 tablespoon premium Worcestershire sauce
* The simmering bean mixture
#### Instructions
1. Dash exactly one tablespoon of Worcestershire sauce over the mixture.
2. Fold it gently into the sauce.
3. Allow the heat to activate the complex spices within the liquid.
> **Pro-Tip:** Worcestershire sauce is a fermented umami bomb. It naturally elevates the pork flavor already present in the canned beans, providing that award winning savory depth that people usually assume takes hours to develop.

### 13. Integrate a Drop of Liquid Smoke

Get that outdoor pit flavor indoors—pin this trick!
To achieve a truly smoky + savory barbecue experience indoors, liquid smoke substitutes an actual backyard smoker. When it integrates into the bubbling sauce, it yields an incredibly authentic outdoor aroma. However, when choosing between hickory vs applewood, always select hickory for pork pairings, and measure it with absolute precision to avoid ruining your carefully balanced creation.
#### Ingredients
* 1/2 teaspoon all-natural hickory liquid smoke (optional but highly recommended)
* 1 fractional measuring spoon (1/2 tsp size)
#### Instructions
1. Carefully measure exactly 1/2 teaspoon of liquid smoke away from the skillet (to prevent accidental spills).
2. Drizzle it evenly over the simmering beans.
3. Stir thoroughly to distribute the potent flavor throughout the heavy sauce.
> **Pro-Tip:** When choosing between hickory vs applewood smoke, hickory pairs best with pork. Always measure liquid smoke over a separate bowl—just a few drops too many can completely overpower your flavor profile.

### 14. Season with Fresh Black Pepper
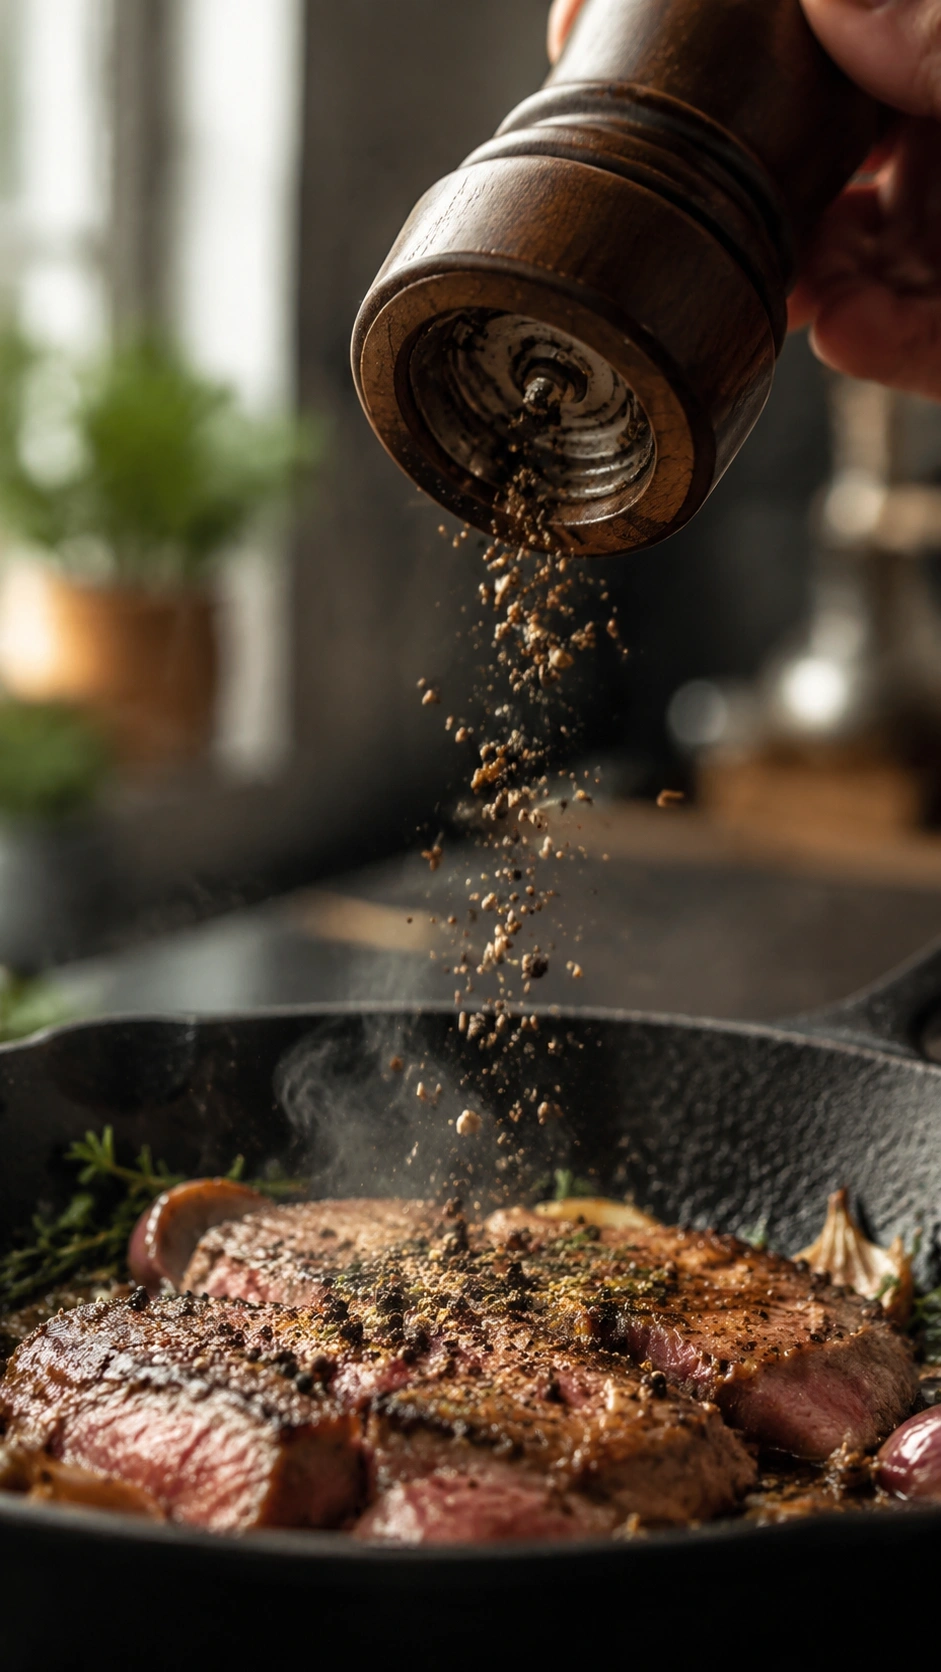
Finish with the perfect spice—save this seasoning tip!
Knowing how to properly season this dish requires understanding ingredient sodium levels. Because cured bacon, BBQ sauce, and canned beans are inherently high in salt, adding extra salt will quickly make the entire skillet far too salty. If you are looking for a reliable bland beans fix, a heavy shower of coarse black pepper restores the ideal flavor balance effortlessly.
#### Ingredients
* 1/2 teaspoon freshly cracked black pepper
* 1 adjustable manual pepper grinder
* NO additional salt
#### Instructions
1. Adjust your pepper mill to a coarse grind setting.
2. Grind fresh black pepper generously over the skillet.
3. Taste the sauce, ensuring the pepper adds a slight, warm bite to the finish.
> **Pro-Tip:** Never add extra salt to this recipe! The cured bacon, BBQ sauce, and canned bean base provide more than enough sodium. If you are trying to fix bland beans, cracked pepper and a splash of vinegar are your best friends, preventing a too salty disaster.
### 15. Simmer on the Stovetop to Thicken

Watch the magic happen—pin this crucial thickening step!
The transformation happens when you simmer and reduce the mixture. A stovetop + quick method demands an uncovered pan to allow water to evaporate. As you naturally thicken the sauce, the heat triggers pectin breakdown within the legumes, releasing natural starches that emulsify with the melted sugars, creating an incredibly dense, restaurant-quality glaze in just fifteen minutes.
#### Ingredients
* The fully assembled bean mixture
* 1 heavy-duty stainless steel splatter screen
* Stovetop burner
#### Instructions
1. Ensure the burner is set to low or medium-low heat.
2. Allow the mixture to maintain a gentle, slow bubble (simmer).
3. Place a splatter screen over the skillet to keep your stove clean while allowing steam to escape.
> **Pro-Tip:** You must leave the pan uncovered (or use a mesh screen) to allow water evaporation. As the liquid reduces, the natural bean starches release, creating a natural emulsification that naturally thickens the sauce in just 15 minutes.

### 16. Monitor the Viscosity and Caramelization Process
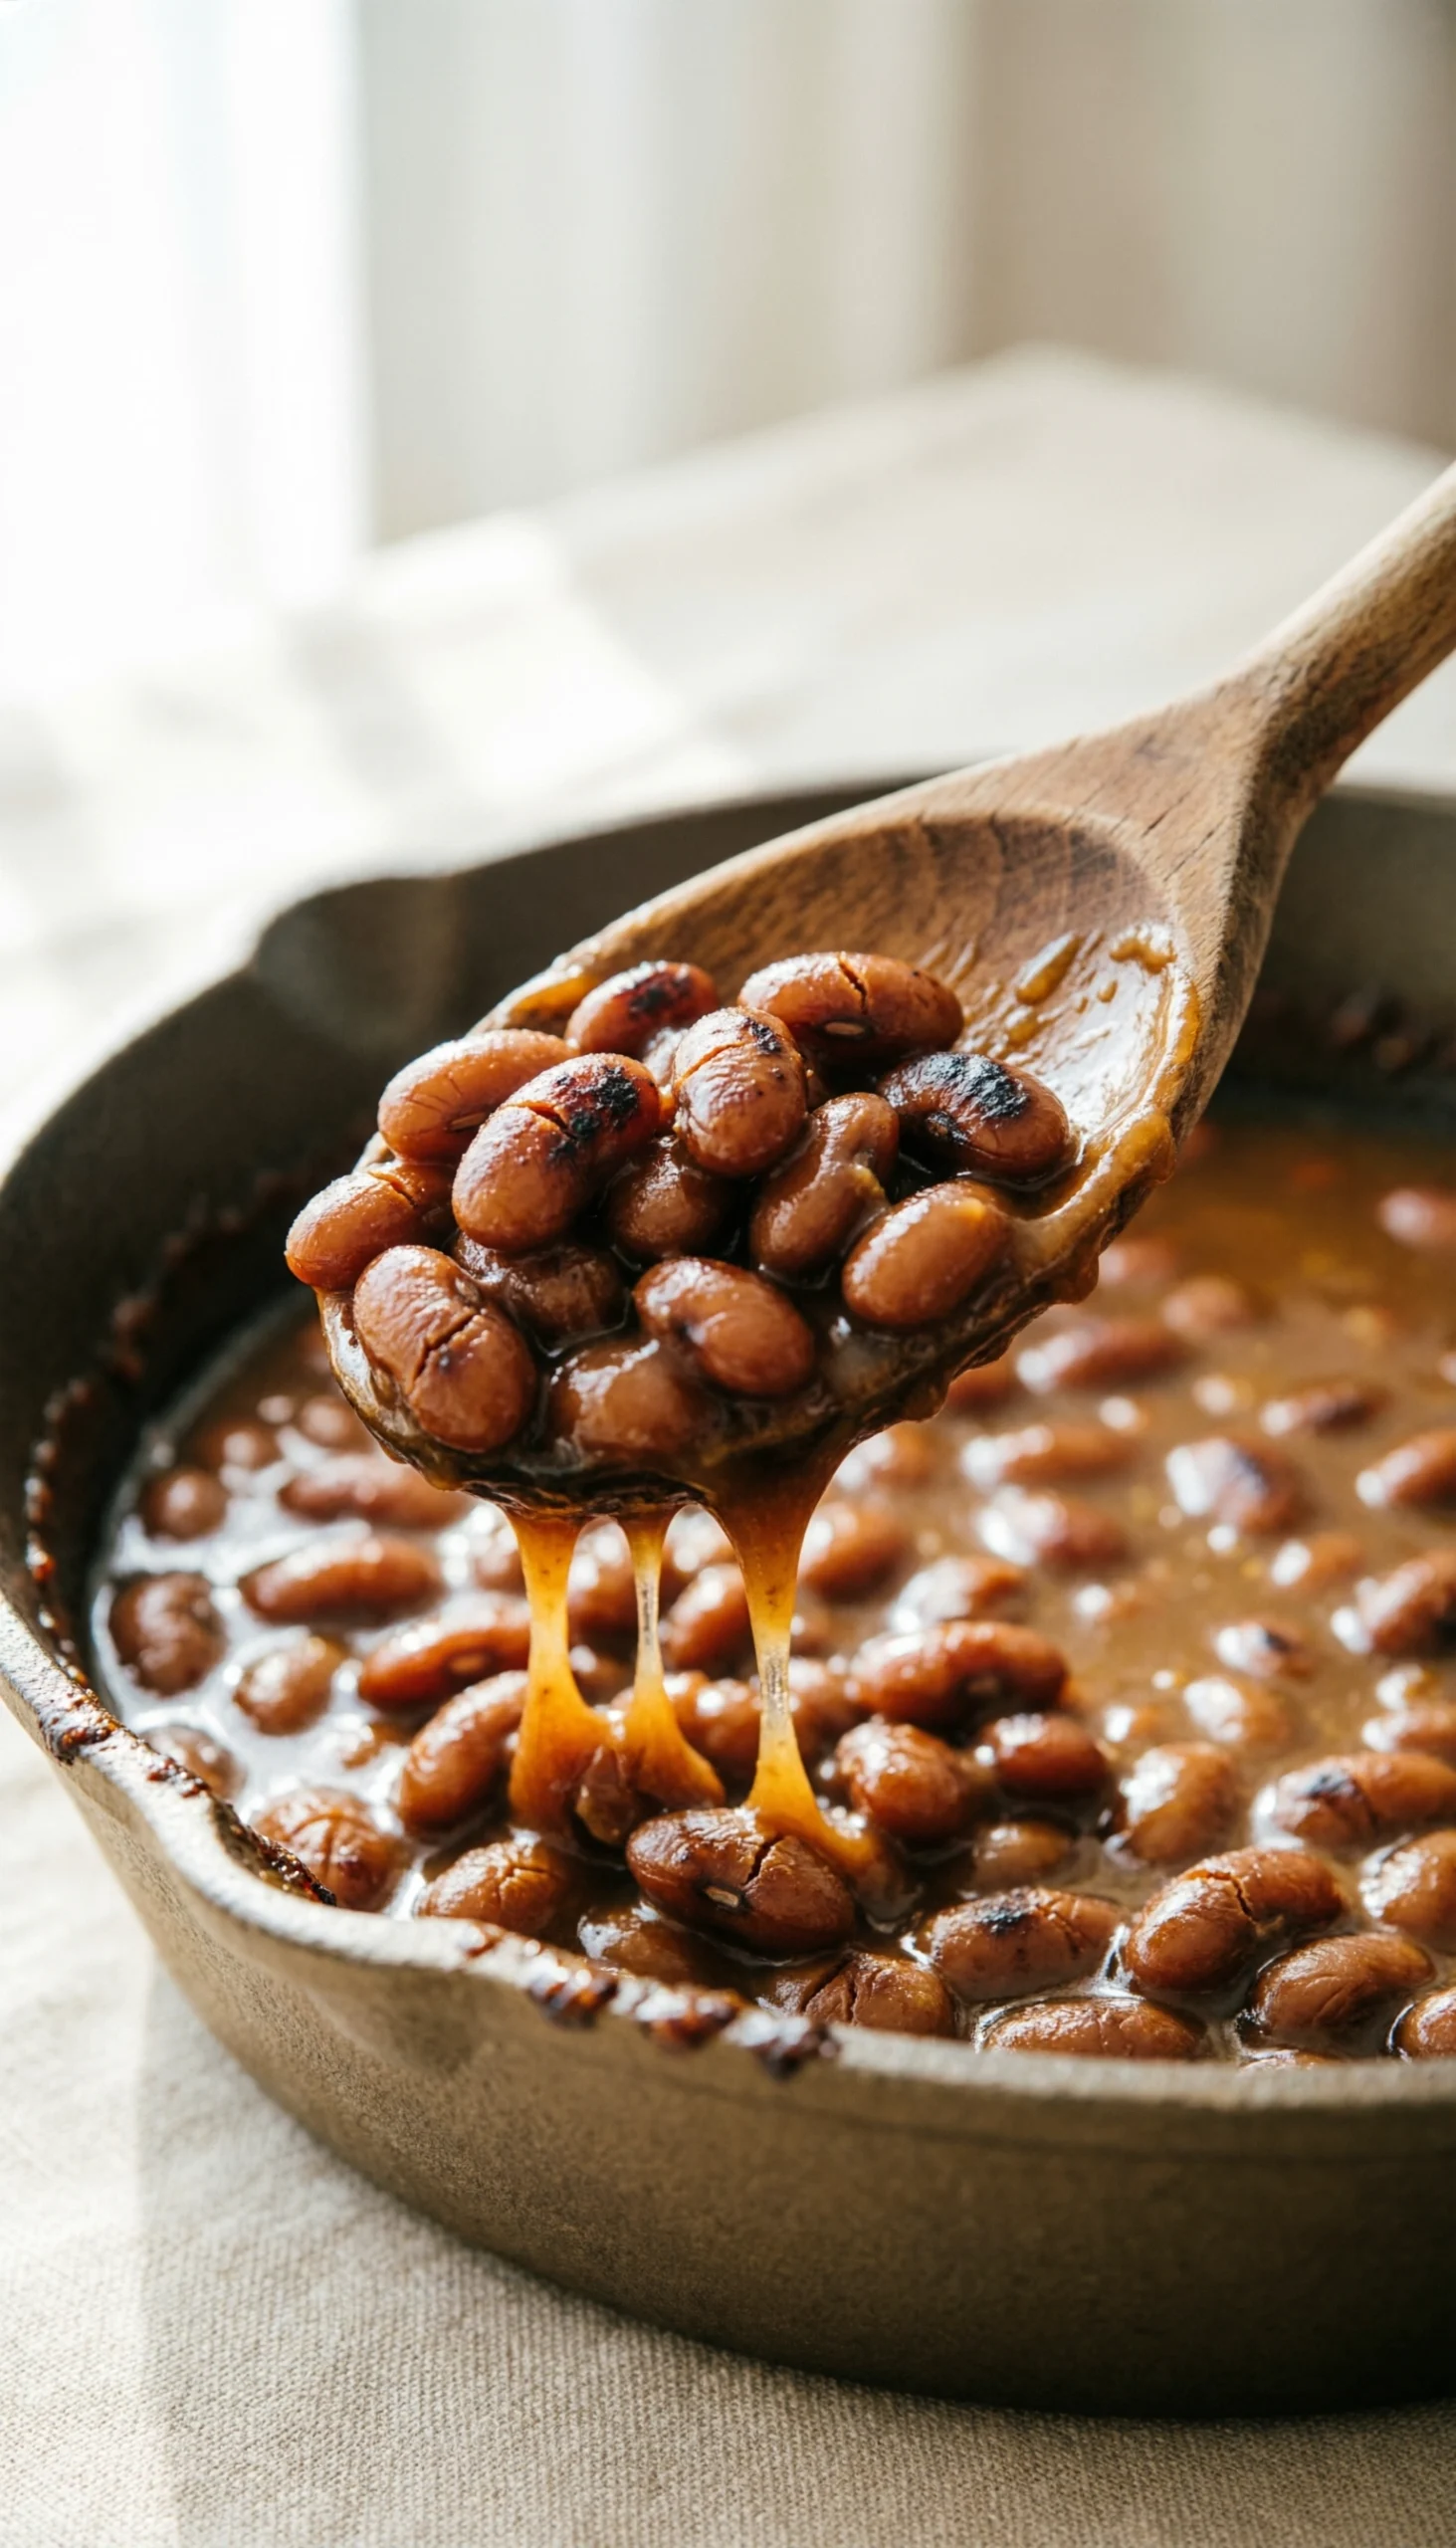
Know exactly when they’re done! Save this texture check.
Knowing exactly when to remove the skillet from the heat prevents disaster. The caramelization process creates a beautiful syrupy glaze, but sugars burn quickly. You must visually monitor the viscosity to prevent burning. Utilizing the spoon drag test helps you gauge the precise thickness, empowering you to execute this recipe flawlessly regardless of your specific stovetop temperature variations.
#### Ingredients
* The simmering beans
* 1 silicone-coated wooden stirring spoon
#### Instructions
1. After 12-15 minutes of simmering, drag your spoon across the bottom of the skillet.
2. If the sauce briefly leaves a clear path before slowly filling back in, the viscosity is perfect.
3. Turn off the heat immediately to prevent burning the sugars.
> **Pro-Tip:** The beans will continue to thicken significantly as they cool due to retrogradation of the starches. Pull them off the heat when they are slightly looser than your ideal serving viscosity.

### 17. Crisp the Reserve Bacon on Top
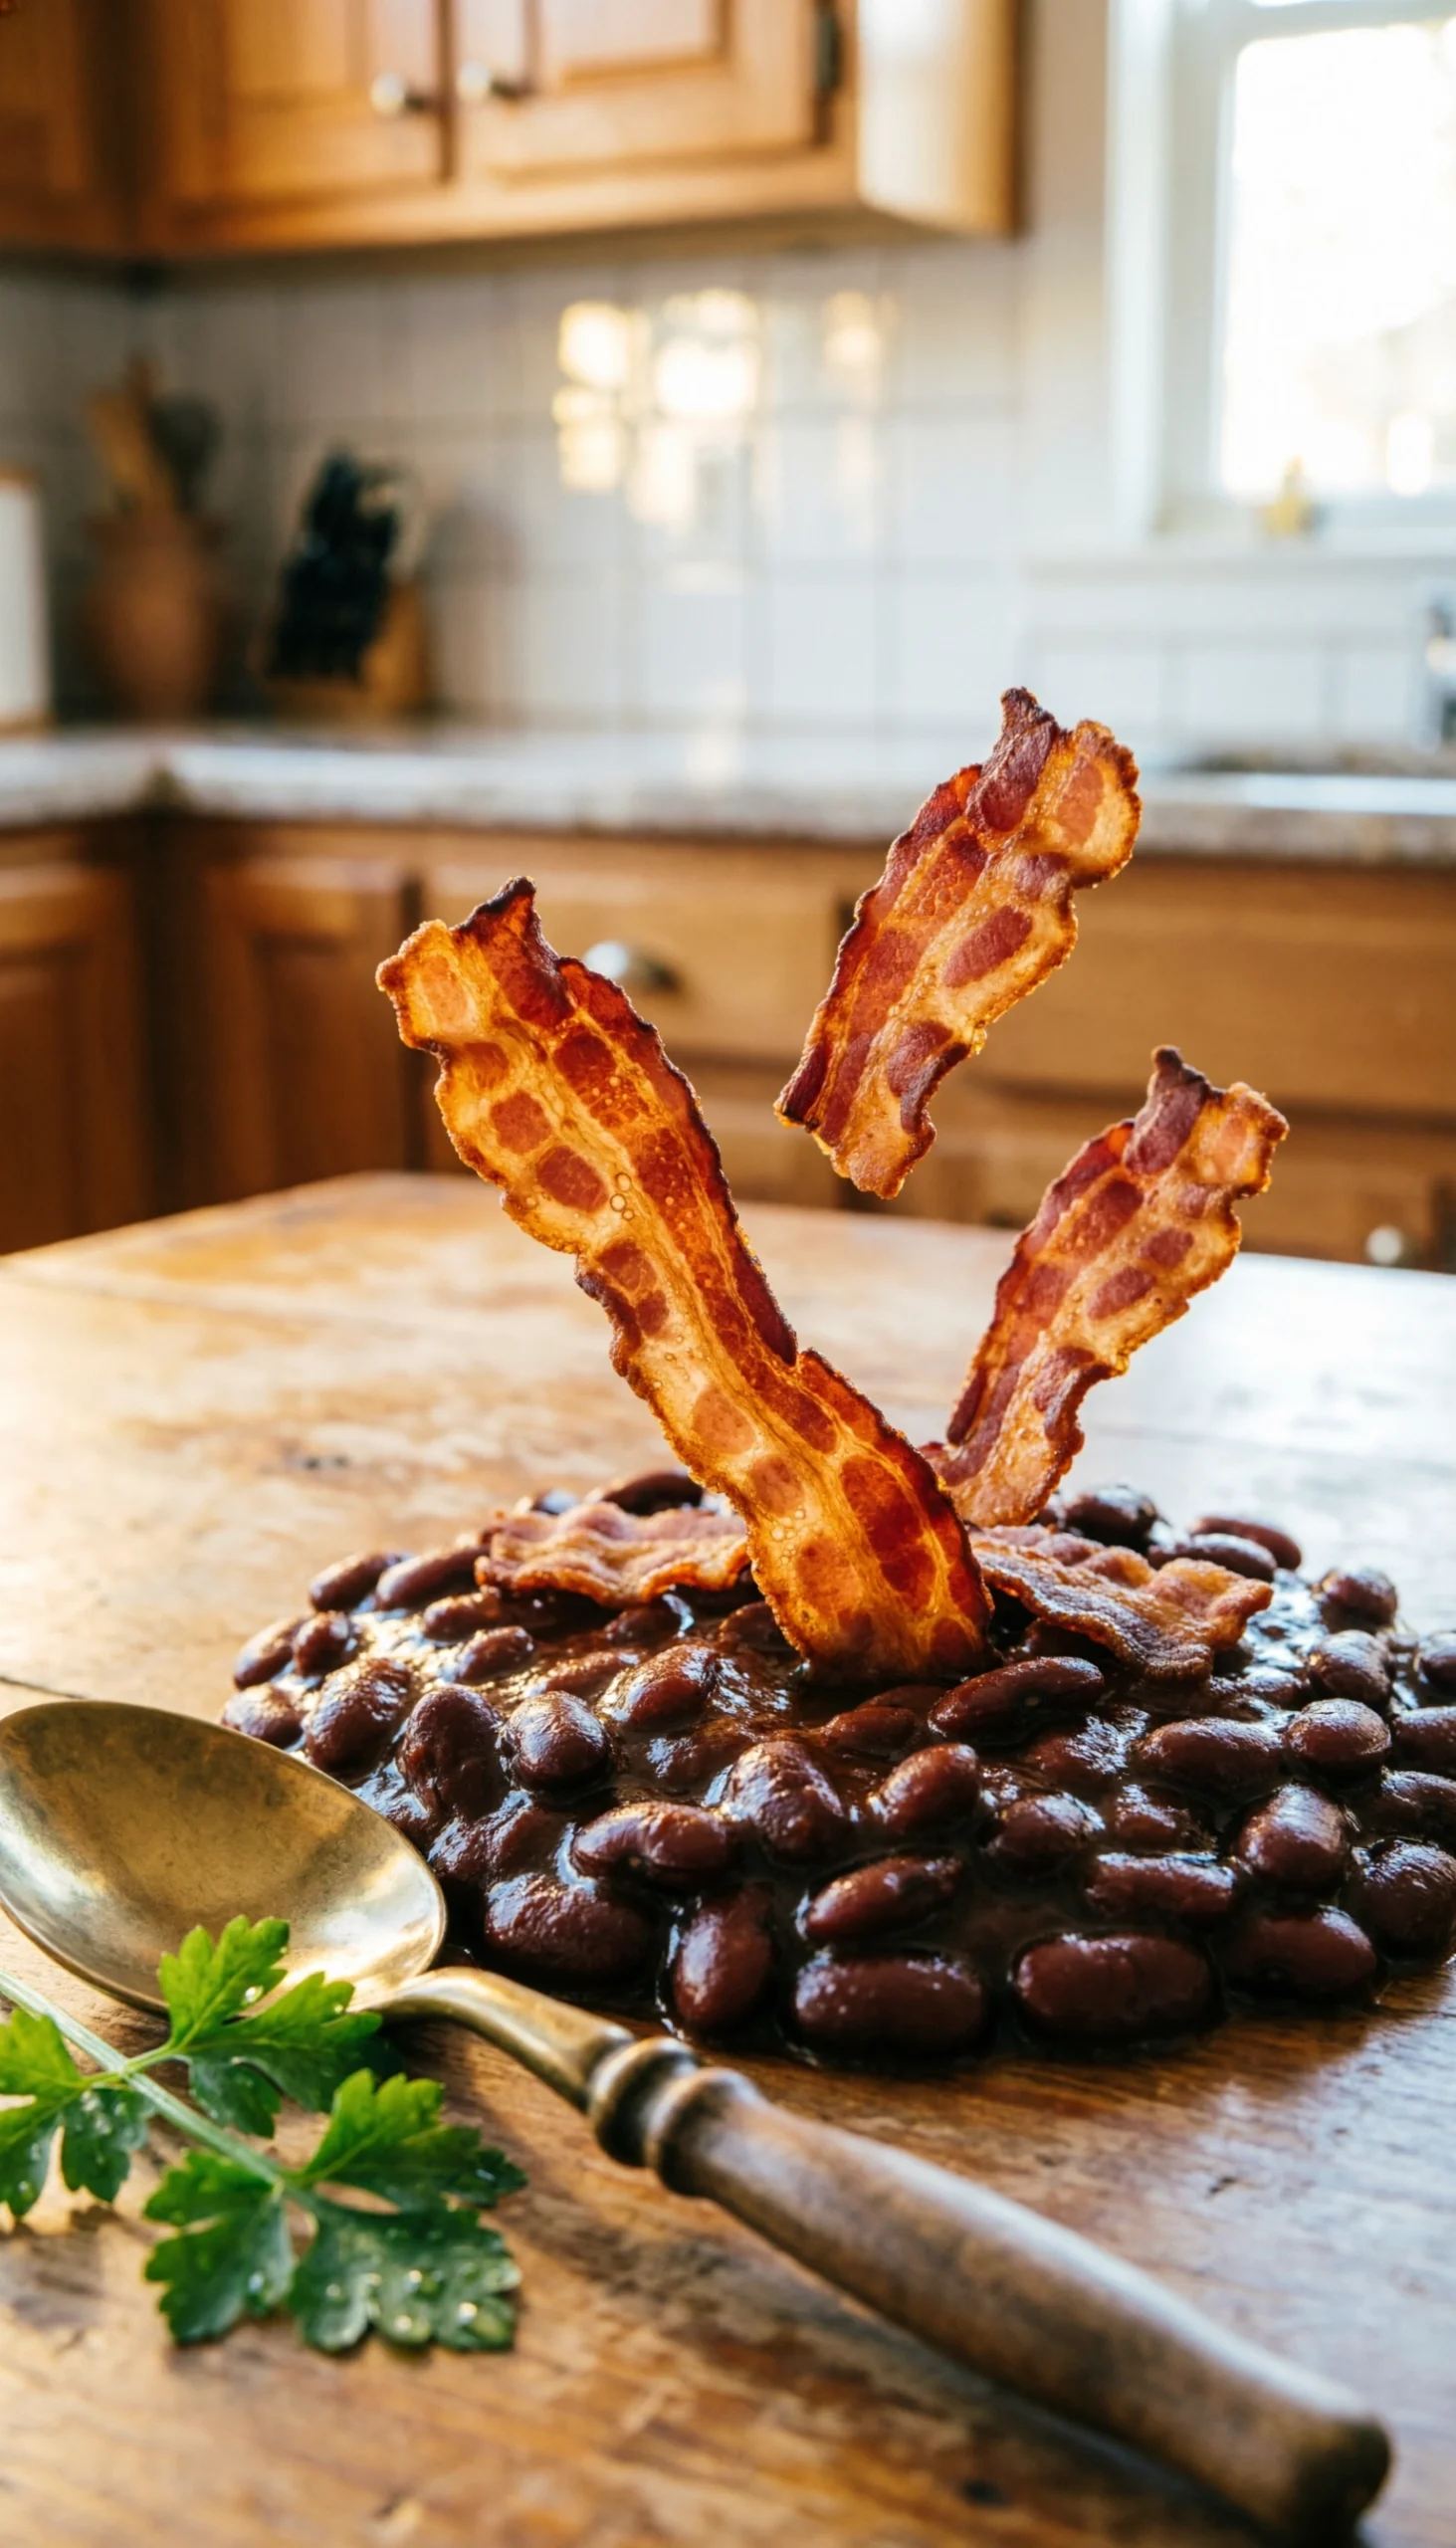
The ultimate crispy finish! Pin to your favorite side dishes.
Putting the bacon on top at the very end is the ultimate crispy bacon tip. Submerging your perfectly rendered lardons back into the boiling liquid would instantly turn them soft and chewy. By using the reserved bits strictly as a finishing garnish, you provide a spectacular, shattering texture contrast that elevates the soft legumes into a multi-dimensional culinary experience.
#### Ingredients
* The reserved crispy bacon pieces (from Step 3)
* The thickened skillet of beans
* 1 heavy-duty cast iron bacon press (for future bacon cooking)
#### Instructions
1. Retrieve the plate of reserved, drained crispy bacon.
2. Sprinkle the bacon pieces generously and evenly over the top of the hot skillet.
3. Gently press them just into the surface of the sauce without submerging them completely.
> **Pro-Tip:** This is the ultimate crispy bacon tip: Never boil your bacon in the sauce! Keeping it reserved and using it as a garnish at the very end ensures a satisfying crunch that contrasts beautifully with the soft legumes.

### 18. Garnish and Rest the Sweet and Savory Beans
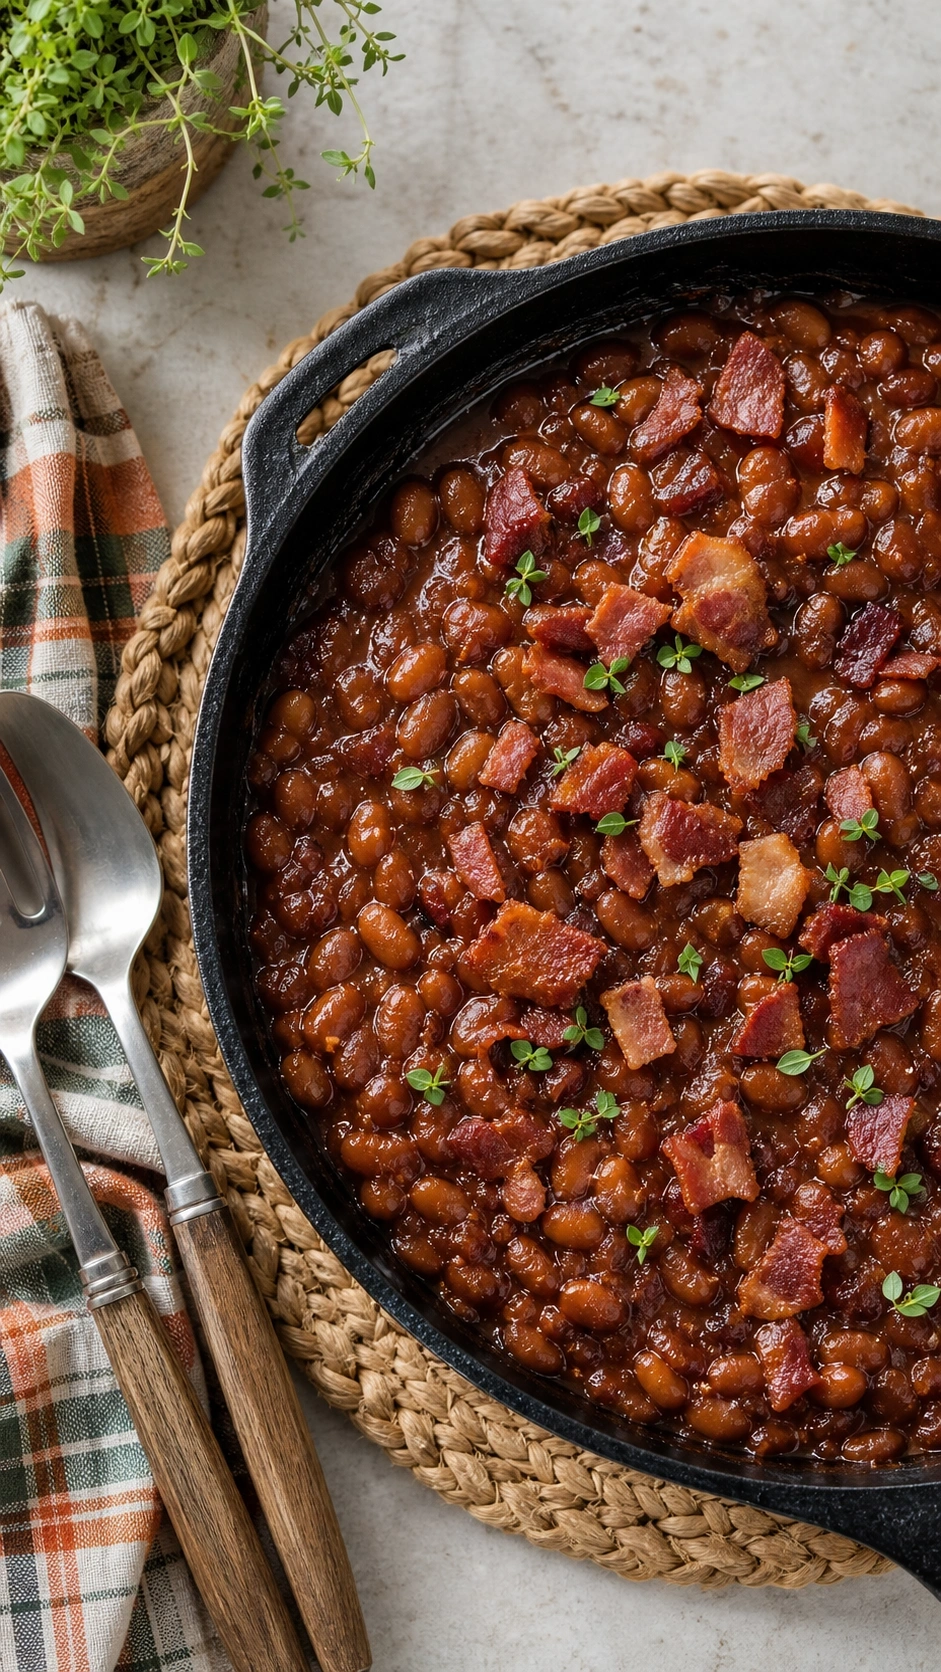
Patience makes it perfect—save this resting tip!
Serving this family favorite baked beans with bacon immediately out of the skillet is a major mistake. You must let the sweet and savory beans rest off the heat. This brief resting period stabilizes the thermal properties of the sugar syrups, allowing carryover cooking to marry the flavors completely while the glaze thickens into its final, sticky consistency.
#### Ingredients
* The finished skillet of beans
* 1 tablespoon fresh parsley or chives, finely chopped (optional)
* 1 silicone heat-resistant trivet
#### Instructions
1. Carefully move the hot cast iron skillet off the stove onto a heat-resistant trivet.
2. Sprinkle lightly with fresh herbs for a pop of color, if desired.
3. Let the skillet sit completely undisturbed for 5-10 minutes before serving.
> **Pro-Tip:** Boiling hot sugar syrup will burn mouths and run off the plate. Resting allows the temperature to drop to a safe serving level while naturally firming up the syrupy glaze into a rich, sticky coating.

### 19. Pair with Your Favorite Summer Cookout Staples
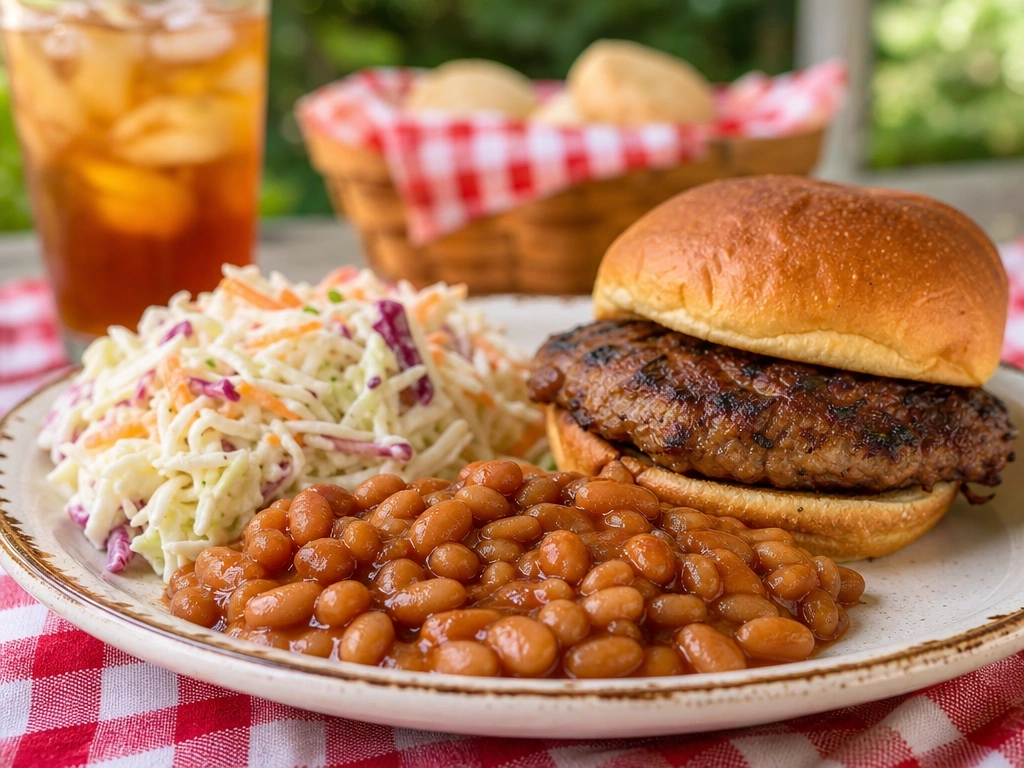
Plan the perfect BBQ menu—pin these pairing ideas!
Planning a cohesive summer cookout menu around this star side dish guarantees an unforgettable meal. The deep molasses and pork notes serve as the ultimate hamburger pairing. When plated alongside contrasting American barbecue classics like acidic, crunchy coleslaw or sweet, buttery cornbread, these baked beans anchor the entire dining experience with their hearty, comforting warmth.
#### Ingredients
* 1 batch of finished Easy Baked Beans with Bacon
* Grilled hamburgers or hot dogs
* Melamine outdoor dining plates
#### Instructions
1. Prepare your main courses (burgers, pulled pork, or hot dogs) while the beans rest.
2. Scoop a generous half-cup portion of beans onto each plate.
3. Serve alongside contrasting sides like cold, creamy coleslaw or sweet, buttery cornbread.
> **Pro-Tip:** The heavy, sweet profile of these beans makes them the perfect hamburger pairing. The acidity in the burger’s pickles and mustard perfectly cuts through the beans’ rich, molasses-like base.

### 20. Cool and Store Leftovers in Airtight Containers
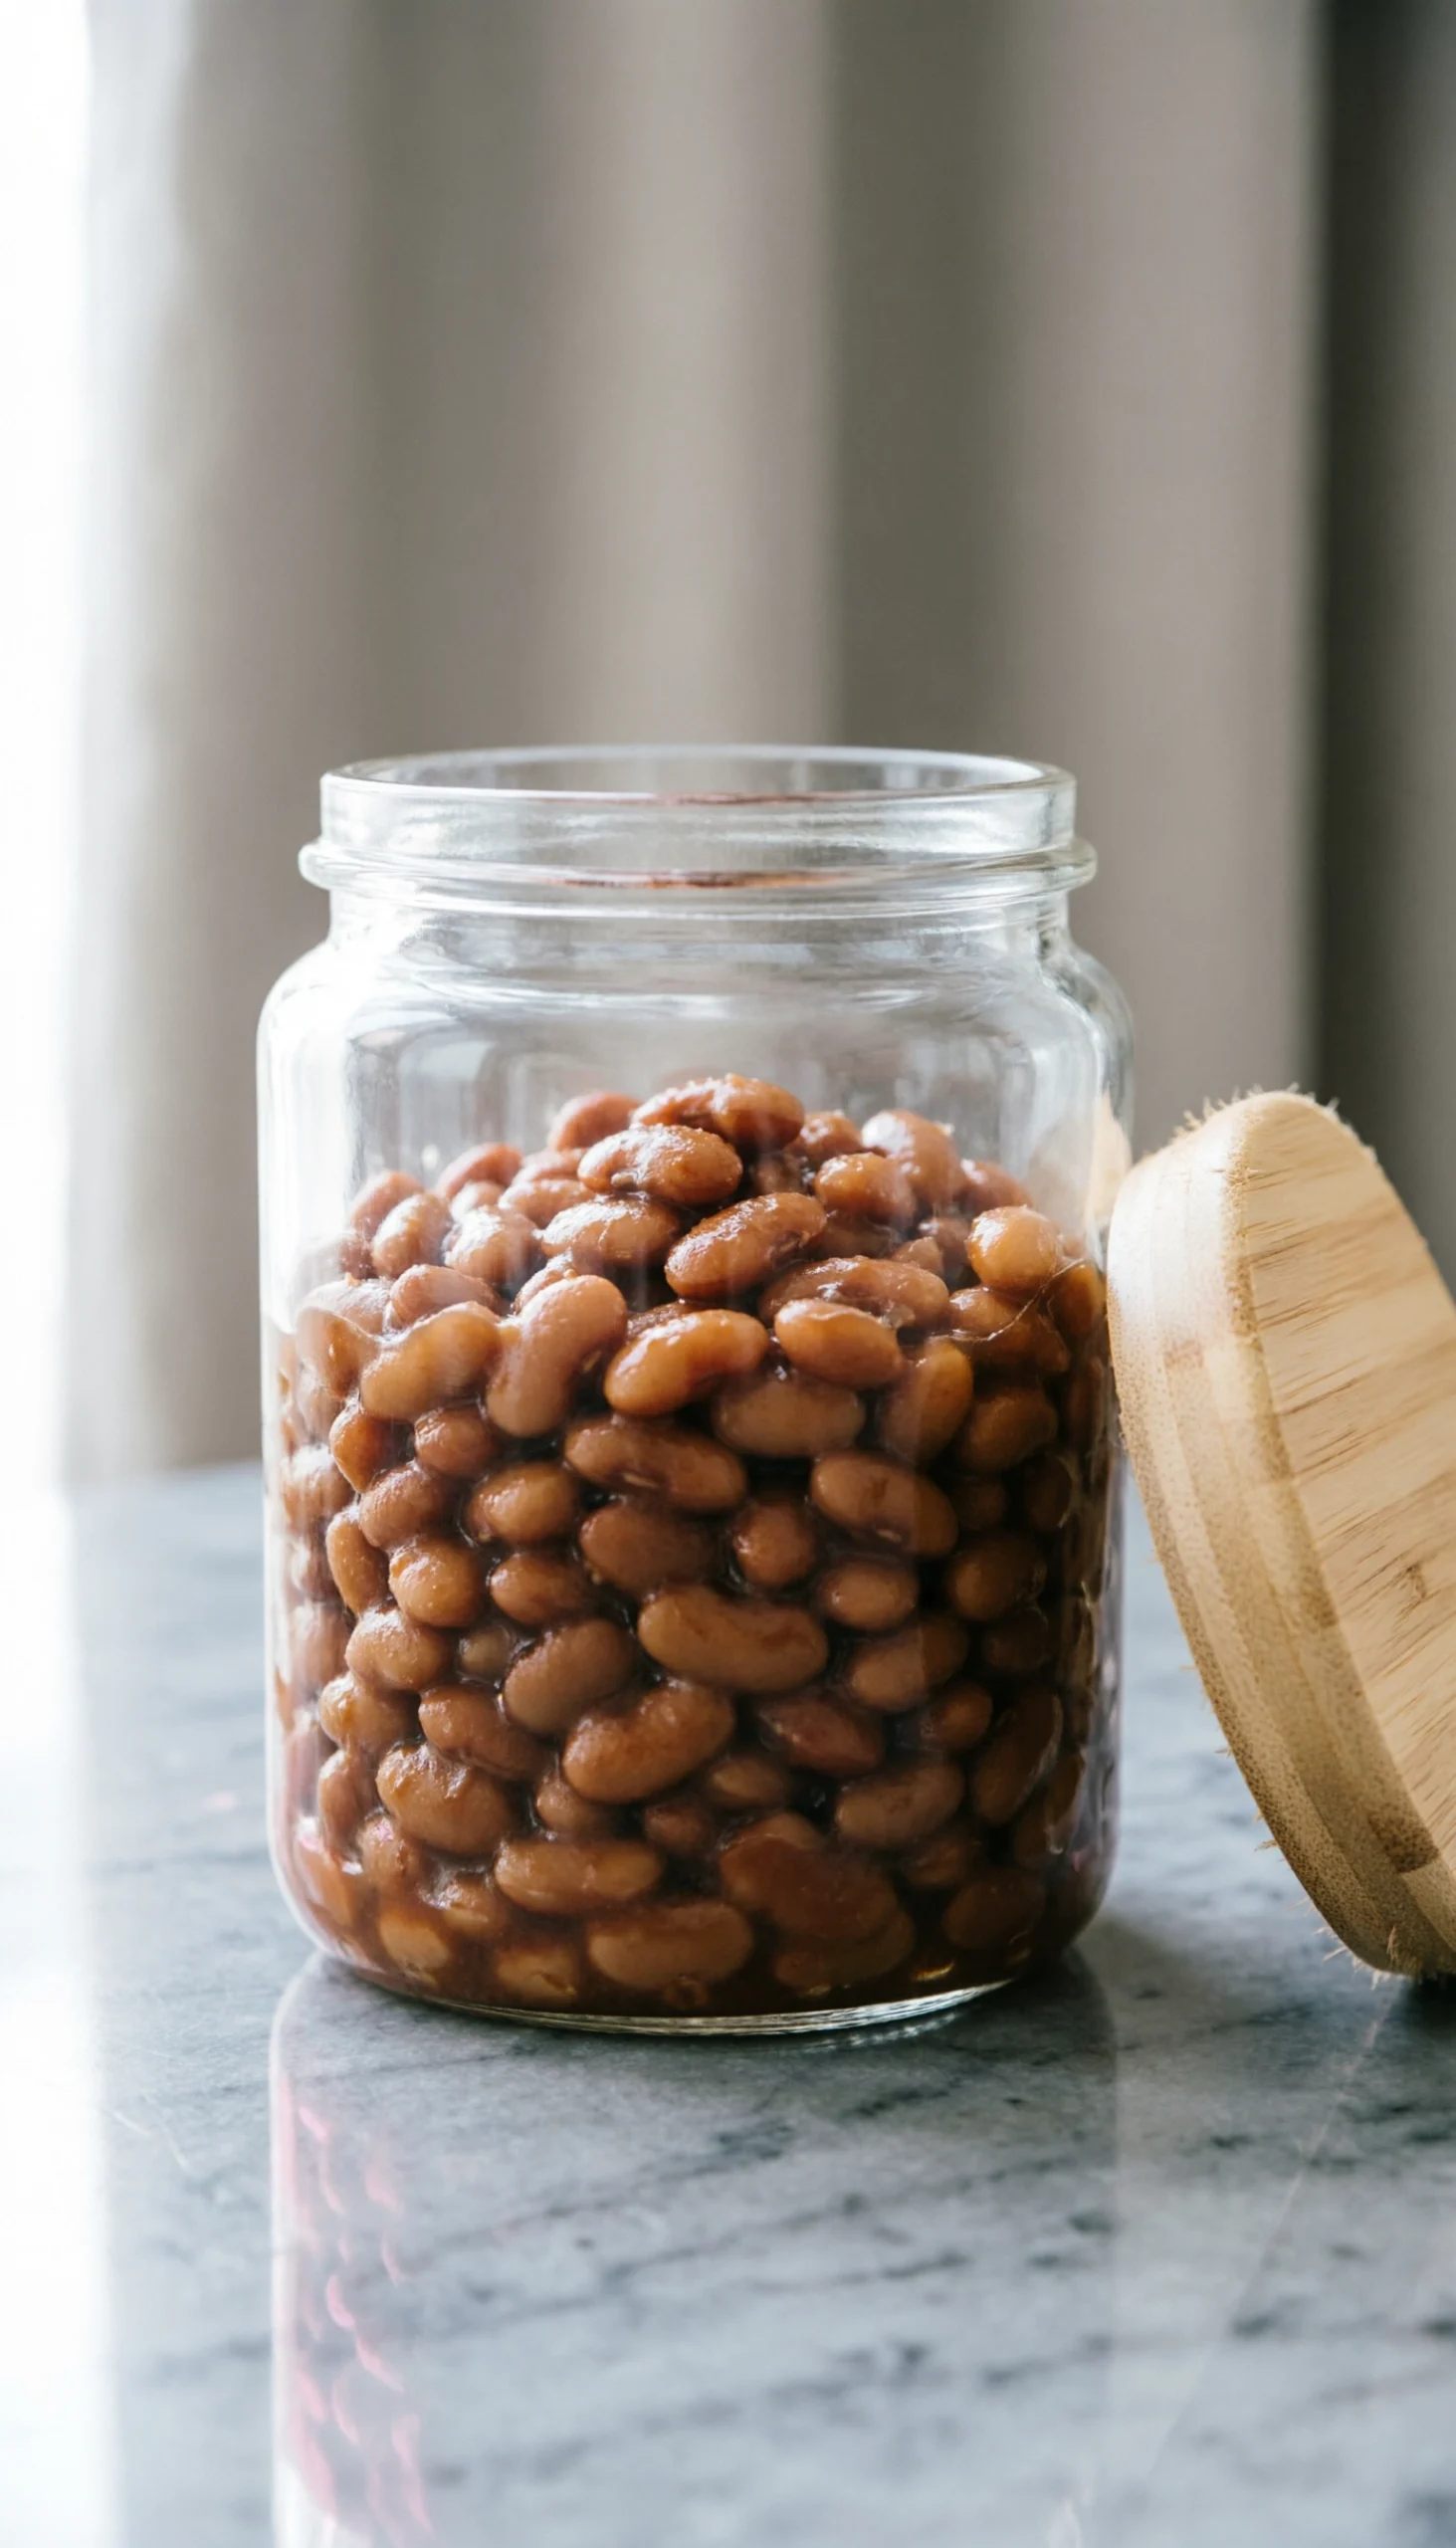
Save these storage tips for later—pin it!
Understanding food storage safety ensures your leftovers taste incredible the next day. Because the thick sauce matrix protects the legumes, these beans reheat beautifully in the microwave or on the stove. By cooling them properly to prevent bacterial growth and sealing them tight, you guarantee a fantastic second-day meal where the smoky flavors have intensified even further.
#### Ingredients
* Leftover baked beans
* 1 set of glass food storage containers with locking lids
* Refrigerator
#### Instructions
1. Allow the skillet to cool completely to room temperature (no longer than 2 hours).
2. Transfer the leftovers into a glass airtight container.
3. Store in the refrigerator for up to 4 days, reheating portions in the microwave or gently on the stove.
> **Pro-Tip:** Beans often taste even better on the second day! As they sit in the fridge, the osmosis in beans allows the legumes to fully absorb the smoky, savory flavors of the sauce matrix.
## Key Takeaways: Your Quick Guide to Easy Baked Beans with Bacon Recipe
**This highly scannable summary highlights the essential key points required to flawlessly execute the best ever baked beans.** If you are rushing to prepare a quick side dish and need an immediate refresher, these critical problem-solving tips encapsulate the core culinary science behind the recipe. Reviewing these tested methodologies ensures you perfectly balance sweetness, master sauce viscosity, and maintain the legendary texture contrast that makes this semi-homemade dish famous.
* **Drain the Base for Perfect Texture** – Always drain roughly half the liquid from your canned pork and beans before cooking to completely avoid a runny, watery sauce and ensure a thick, sticky glaze.
* **Reserve the Bacon for Garnish** – For maximum texture contrast, cook the thick cut bacon first, remove it, and sprinkle it on top at the very end. Submerging it during the simmer will result in a flabby, soggy texture.
* **Balance Sweetness with Acid** – Adding apple cider vinegar and mustard is a non-negotiable time saving shortcut to cutting the intense sweetness of the brown sugar, creating a perfectly balanced savory profile.
* **Utilize the Bacon Drippings** – Sautéing your onion + bell pepper base directly in the rendered bacon fat infuses the entire dish with a deep, authentic smokiness from the bottom up.
* **Leave the Skillet Uncovered** – To properly thicken the sauce on the stovetop, you must leave the pan uncovered so evaporation can occur, naturally reducing the liquids into a rich syrup.
* **Let It Rest Before Serving** – Allowing the skillet to sit for 10 minutes off the heat allows for natural retrogradation of the starches, firming up the sauce into that highly sought-after competition BBQ consistency.
## FAQs About Easy Baked Beans with Bacon Recipe
**Answering common questions about easy baked beans with bacon ensures you can confidently troubleshoot any issues that arise.** Whether you are wondering how to fix runny beans or looking to adapt this recipe for a slow cooker, these time-tested solutions provide the culinary clarity needed to execute a flawless dish every time.
### How to make baked beans with bacon?
**To make baked beans with bacon, sauté chopped bacon until crisp, remove it, and cook onions and peppers in the drippings; then add partially drained canned beans, brown sugar, BBQ sauce, and mustard, simmering for 15 minutes before topping with the crispy bacon.** This stovetop method is a massive time saving shortcut compared to soaking dry beans overnight. By utilizing high-quality canned beans and amplifying them with umami-rich ingredients, you achieve an award winning flavor profile in a fraction of the time.
### Why are my baked beans runny?
**Your baked beans are runny because you either did not drain the excess liquid from the canned beans before cooking, or you covered the pot during the simmering process, trapping the steam inside.** To fix runny beans, you must allow water evaporation. Remove the lid from your skillet or pot and allow the mixture to simmer over medium-low heat. The natural bean starches will release, naturally thickening the liquid into a dense syrup.
### Can I use canned beans for this recipe?
**Yes, this semi-homemade recipe is specifically designed to use canned pork and beans as a convenient, time-saving base ingredient.** While starting from scratch with dry navy beans is traditional, it requires hours of soaking and baking. Using canned beans is a family favorite technique that provides incredible flavor balance while drastically reducing your kitchen prep time for summer gatherings.
### How do you make baked beans thicker?
**To make baked beans thicker, reduce them uncovered on the stove, or add a tablespoon of molasses or an extra spoonful of brown sugar, which will aid in the caramelization and thickening process as the liquids evaporate.** If you are in an extreme hurry, mashing a small spoonful of the beans against the side of the pot will release extra starches into the sauce, acting as an instant natural thickener for a hearty texture.
### Is it better to cook beans on the stove or in the oven?
**Cooking beans on the stove is better for quick, 20-minute recipes where you need fast evaporation to thicken the sauce, while the oven is better for low, slow, traditional deep-flavor development over several hours.** In the oven vs stovetop comparison, stovetop gives you immediate control over the viscosity and prevents burning, making it ideal for this fast, easy baked beans with bacon recipe.
### Can I use turkey bacon instead of pork?
**Yes, you can substitute turkey bacon for pork bacon, but you will need to add 2 tablespoons of butter or olive oil to the pan to sauté the onions, as turkey bacon does not render enough fat.** When comparing pork vs turkey bacon, traditional pork provides superior smokiness and natural cooking fats. However, turkey bacon is an excellent alternative if you are looking to lower the overall saturated fat content of the dish.
### Can I use a slow cooker for this?
**Yes, you can adapt this recipe for a slow cooker by sautéing the bacon and onions first, then combining all ingredients in the crockpot and cooking on LOW for 3-4 hours.** Using a slow cooker vs instant pot or skillet is great for potlucks because it keeps the side dish warm all day. Just remember to leave the lid slightly cracked during the last hour to allow excess moisture to escape so the sauce can thicken.
### How to make baked beans not too sweet?
**To prevent baked beans from becoming too sweet, cut the amount of brown sugar in half and add one tablespoon of apple cider vinegar and one tablespoon of yellow mustard to balance the flavor profile.** Acidity is the key to cutting acidity and sweetness. The vinegar brightens the heavy syrup, while the mustard adds a savory tang, creating the perfect acid-base balance for a deeply savory side dish.
### What is the best brown sugar for beans?
**Dark brown sugar is the best choice for baked beans because it contains a higher percentage of molasses than light brown sugar, which provides deeper caramel notes and a thicker glaze.** If you only have light brown sugar on hand, you can easily replicate the dark brown sugar profile by adding one teaspoon of pure molasses to the skillet during the caramelization process.
### Can you freeze baked beans with bacon?
**Yes, you can freeze baked beans with bacon by letting them cool completely, transferring them to an airtight, freezer-safe container, and storing them for up to 3 months.** When you are ready to eat them, thaw the beans overnight in the refrigerator. You may need to add a splash of water when you reheat them on the stove, as the freezing process can occasionally alter the texture of the legumes.
## Final Thoughts on Easy Baked Beans with Bacon Recipe
Mastering this **easy baked beans with bacon recipe** proves that you don’t need to spend eight hours soaking dry navy beans to achieve an authentic, slow-cooked Southern flavor. By leveraging the convenience of canned beans and applying foundational culinary techniques—like rendering thick-cut bacon, caramelizing an aromatic base, and balancing heavy sugars with sharp vinegar—you can create an award winning simple bbq baked beans for potlucks in just 20 minutes on your stovetop.
The secret truly lies in controlling the moisture and mastering the acid-base balance. When you drain the excess canning liquid and allow the dark brown sugar and BBQ sauce to properly simmer and reduce, the natural pectins in the beans create a rich, syrupy glaze that rivals any authentic pitmaster’s homemade baked beans recipe. It is a time-tested, family favorite approach that removes the stress from summer entertaining while delivering a phenomenal flavor profile.
Whether you are hosting a backyard barbecue, attending a neighborhood potluck, or just craving a hearty, comforting side dish for a weeknight burger night, these sweet and savory beans will steal the show. Grab your cast iron skillet, crisp up that bacon, and get ready to serve the most requested dish at your next cookout.
*What are you planning to serve alongside your sizzling skillet of baked beans? Drop your favorite BBQ menu pairings in the comments below!*
Last update on 2026-06-04 at 21:00 / Affiliate links / Images from Amazon Product Advertising API
