As an Amazon Associate BakingBakewareSets.com earns from qualifying purchases.
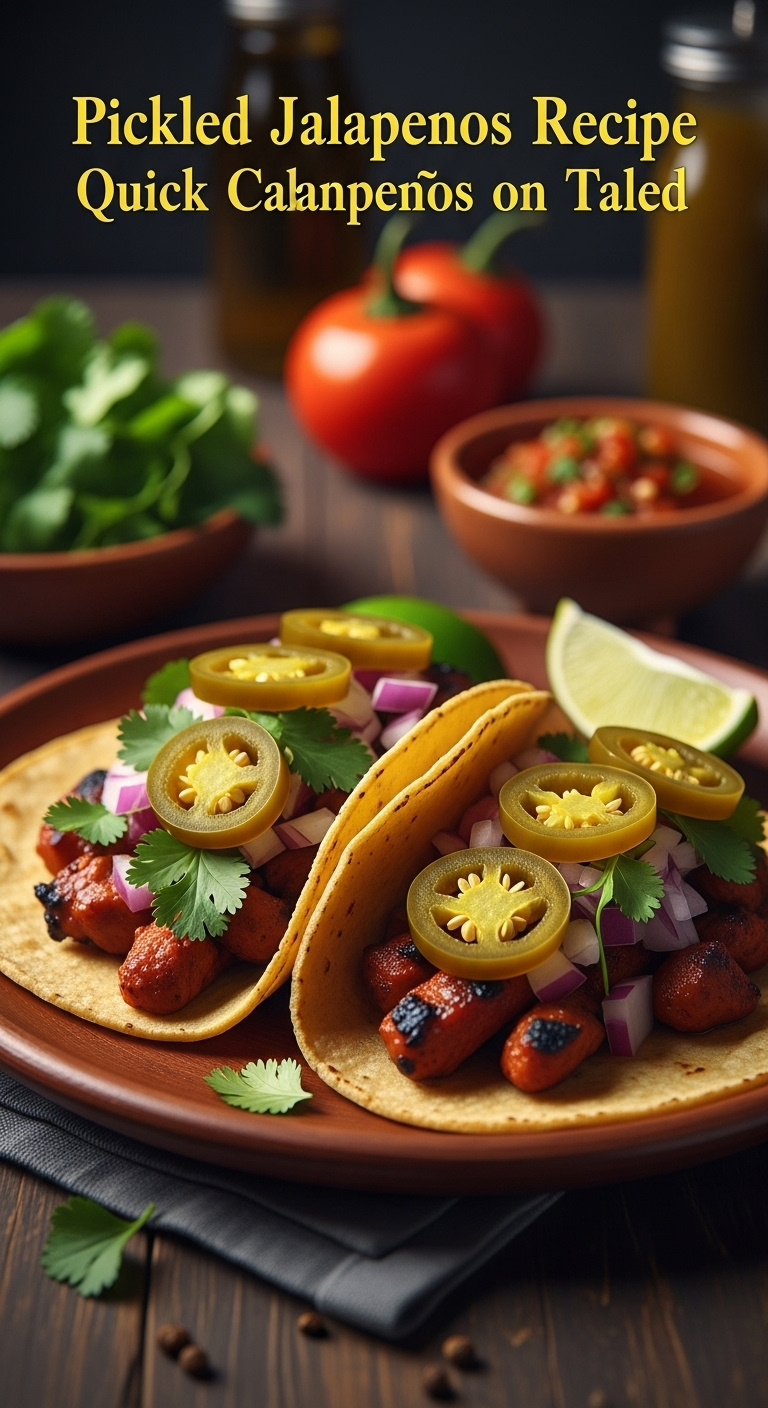
Pickled Jalapenos Recipe Quick Crunchy No Canning Needed
Let’s be honest, have you ever grabbed a handful of pickled jalapeños from a jar, only to be met with a sad, soggy, and disappointingly bland experience? You were hoping for that spicy, tangy crunch to elevate your tacos or nachos, but instead, you got a floppy, vinegar-logged slice of what used to be a pepper. It’s a culinary letdown that happens far too often with mass-produced, shelf-stable options.
The frustration is real. You see those vibrant, crisp-looking jalapeños in restaurants and wonder what their secret is. You might think making them at home requires complicated canning equipment, hours of work, and some kind of secret family recipe. The idea of water baths, sterilization, and waiting weeks for them to be ready is enough to make anyone just grab another disappointing jar from the grocery store shelf. It feels like a choice between flavorless convenience and overwhelming effort.
Here’s the deal: This quick pickled jalapeños recipe takes just 10 minutes of active time and uses simple, everyday ingredients like vinegar, water, and salt. It requires absolutely no canning, and the jalapeños stay perfectly crunchy and vibrant in your refrigerator for weeks. This is the definitive method for achieving that perfect taco-shop-style crunch and flavor right in your own kitchen, updated for 2026.
☰ Table of Contents ▼
show
Tired of Soggy Store-Bought Jalapeños? Here’s a 10-Minute Fix!
The secret to incredible homemade pickled jalapeños is that there is no secret; it’s just a simple, fast method that prioritizes freshness and texture over long-term shelf stability. Forget the complicated canning process. This recipe is all about creating a delicious condiment quickly that you store in the refrigerator, ensuring every bite is as crunchy and flavorful as the first. In my own kitchen, I’ve tweaked and tested countless brine ratios, and I can confidently say this is the one that delivers the perfect balance of tangy, spicy, and slightly sweet every single time.
It’s a game-changer for everything from burgers to scrambled eggs. The vibrant kick from these homemade pickles is something you just can’t get from a jar that’s been sitting on a shelf for months. We’re talking about a condiment that’s so good, you’ll find yourself putting it on everything.
Why You’ll Love This “Refrigerator Pickle” Method
This method, known as quick pickling or refrigerator pickling, uses a simple vinegar brine to preserve the jalapeños without the need for a high-heat canning process. This is precisely why they stay so incredibly crunchy. Traditional canning requires boiling the jars to create a vacuum seal, a process that inevitably cooks and softens the peppers. This refrigerator method skips that step entirely, preserving that coveted fresh-from-the-garden snap.
I love this method because it’s incredibly forgiving and perfect for beginners. There’s no special equipment needed—if you have a jar and a saucepan, you’re ready to go.
Here’s a quick breakdown of why this method is superior for your everyday needs:
- Speed: They are often ready to eat in just a few hours, though the flavor gets even better after 24 hours. Canned pickles can take weeks to properly cure.
- Texture: This is the biggest win. By avoiding the high-heat processing of canning, the jalapeños retain their cellular structure, resulting in a firm, crunchy pickle.
- Flavor: The flavor is brighter and fresher. You get more of the jalapeño’s natural fruity notes alongside the tangy brine.
- Simplicity: No need for canners, jar lifters, or sterilization protocols. It’s a straightforward process of preparing the peppers, boiling a brine, and combining the two.
Pro Tip: This quick pickling technique works wonders for other vegetables too! Try it with red onions, carrots, cucumbers, or green beans for a variety of crunchy, tangy condiments to have on hand.
The 5 Essential Ingredients for Crunchy Pickled Jalapeños
To create the best pickled jalapeños, you only need five core ingredients: fresh jalapeños, vinegar, water, salt, and optional flavorings like garlic and a touch of sugar. The quality of these simple ingredients directly impacts the final product, so choosing wisely is key to achieving that perfect crunchy texture and balanced flavor. This recipe is a testament to the idea that simple, high-quality components create an exceptional result.
Let’s break down each component and why it matters.
- Fresh Jalapeño Peppers: This is non-negotiable. Look for peppers that are firm to the touch, with smooth, glossy skin. Avoid any that are soft, wrinkled, or have blemishes. The fresher and firmer the pepper, the crunchier your final pickle will be.
- Vinegar: Distilled white vinegar is the workhorse here. It has a sharp, clean flavor and a 5% acidity level that’s perfect for pickling. Its clear color also ensures your jalapeños stay a vibrant green. You can also use apple cider vinegar for a slightly milder, fruitier flavor, but it may give the brine a slightly golden tint.
- Water: Simple tap water is perfectly fine. Its purpose is to dilute the vinegar, mellowing its harshness to create a more balanced and palatable brine.
- Salt: Use Kosher salt, pickling salt, or pure sea salt. Avoid using iodized table salt. Table salt often contains anti-caking agents and iodine, which can create a cloudy, murky brine and sometimes impart a metallic taste.
- Garlic & Sugar (Optional but Recommended): A couple of smashed garlic cloves add a wonderful aromatic depth. A tablespoon of sugar doesn’t make the pickles “sweet” in a candied way; instead, it rounds out the sharp edges of the vinegar and balances the heat of the peppers, creating a more complex and satisfying flavor profile.
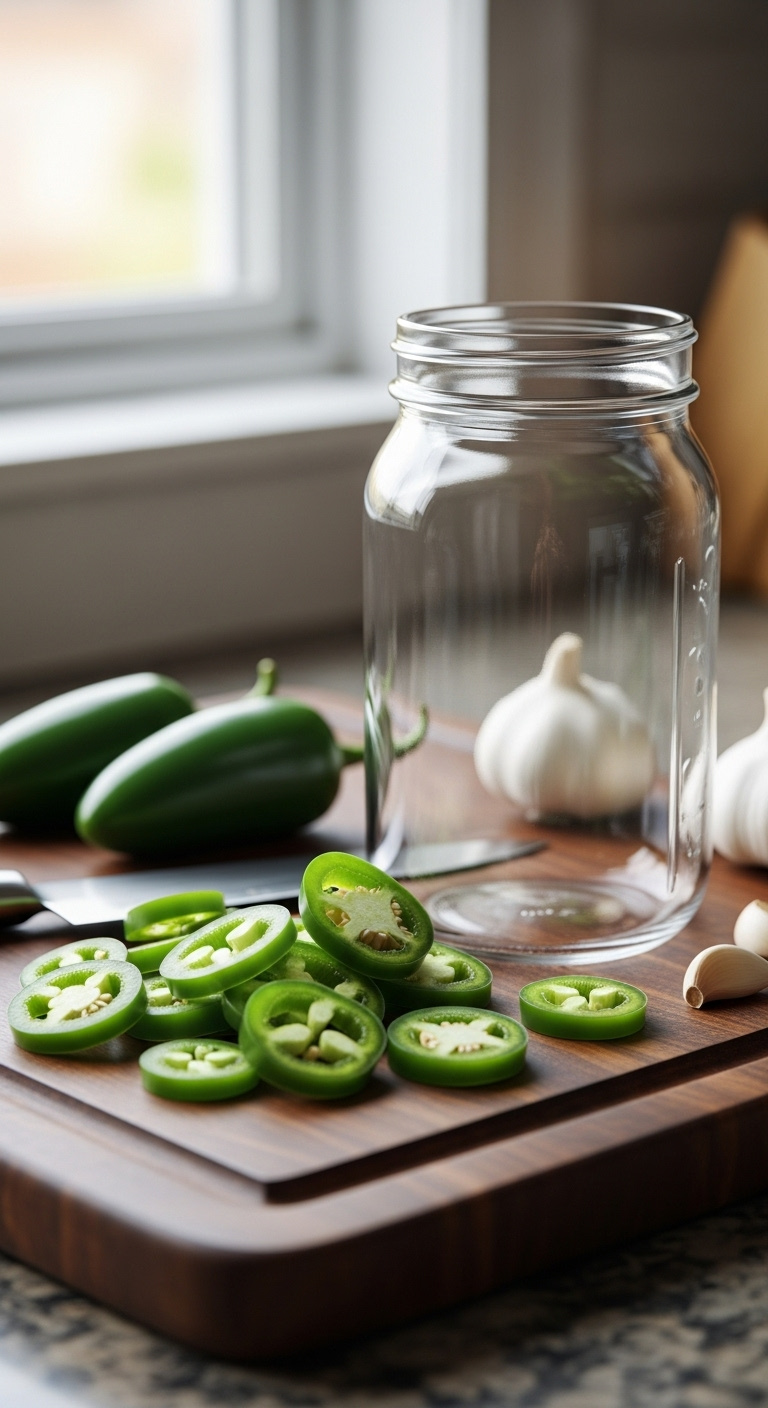
1. Prepare the Jalapeños & Jars
The first step is to prepare your jalapeños by washing, slicing, and packing them into a clean jar. How you slice them directly influences the final heat level, and ensuring your jar is clean is crucial for proper storage, even in the refrigerator. This prep stage is quick but important for both safety and the quality of your finished pickles.
- Materials Needed:
- ~10-12 fresh jalapeño peppers (about 1/2 pound)
- Disposable gloves
- A sharp knife & cutting board
- One 16-ounce (pint) glass jar with a tight-fitting lid
- Step-by-Step Directions:
- Safety First: Seriously, put on the gloves. The oils (capsaicin) in jalapeños can cause a painful burning sensation on your skin, especially if you touch your eyes later. In my experience, this is a step you only skip once.
- Wash & Dry: Give your peppers a good rinse under cool water and pat them completely dry.
- Slice: Trim away the stems and discard them. Slice the peppers into uniform rings, about 1/4-inch thick.
- Control the Heat: The majority of a pepper’s heat is stored in the white pith and seeds. For spicy pickles, leave them in. For a milder result, use a small spoon or your gloved finger to scrape out the seeds and pith before packing the jar.
- Pack the Jar: Tightly pack the jalapeño slices into your clean glass jar. If you’re using garlic, now is the time to add the smashed cloves, tucking them in amongst the pepper rings.
Pro-Tip: “For perfectly even slices that look professional, use a mandoline slicer. It’s faster and ensures every ring is the same thickness, which helps them pickle evenly. Just be sure to use the safety guard!”
Pin this tip for later to remember how to control the spice!
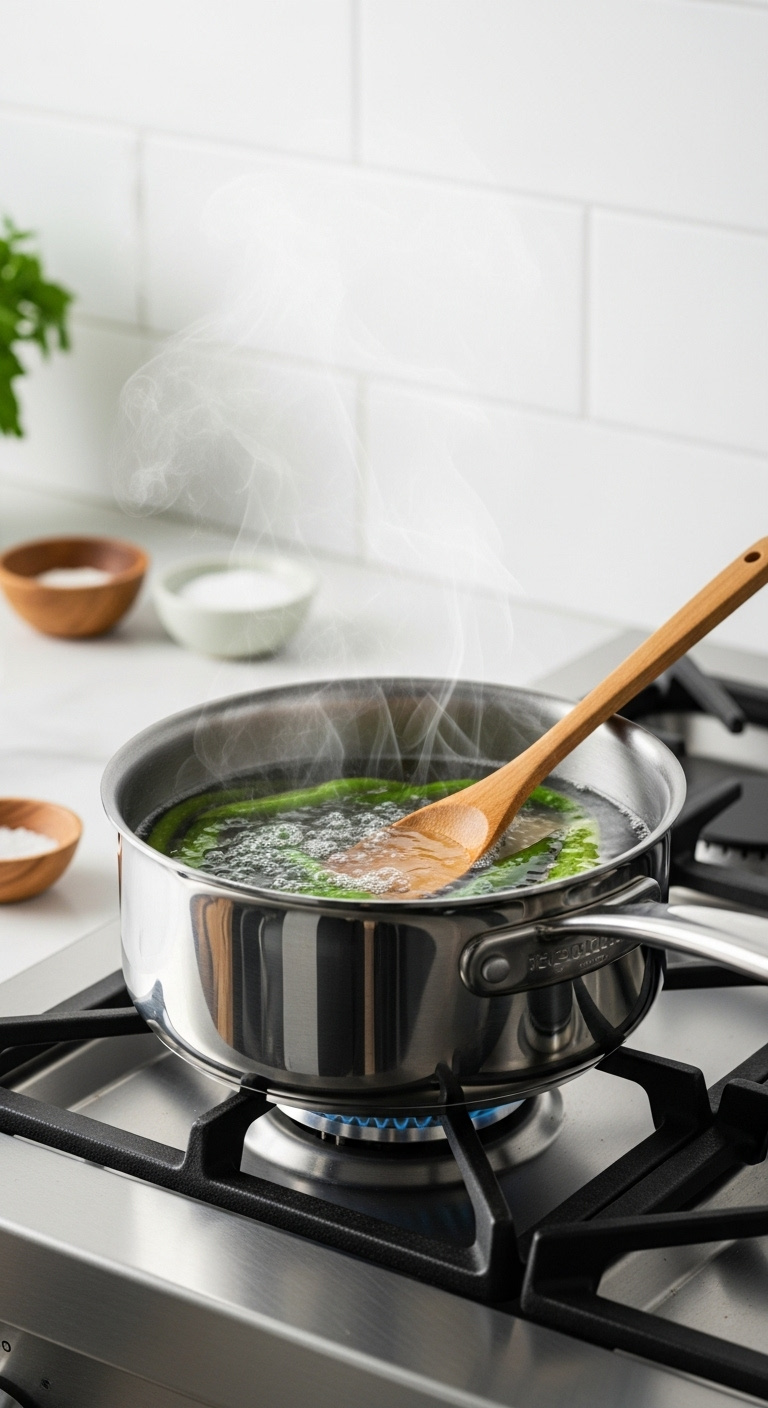
2. Make the Quick Pickling Brine
The next step is to create the pickling brine by combining vinegar, water, salt, and optional sugar in a saucepan and bringing it to a boil. This hot liquid is what will “cook” the peppers just enough to infuse them with flavor while preserving their crunch. The process is incredibly simple: you’re just heating the liquid until the salt and sugar dissolve completely.
- Ingredients:
- 1 cup distilled white vinegar
- 1 cup water
- 1 tablespoon Kosher salt
- 1 tablespoon granulated sugar (optional, but recommended for balance)
- Instructions:
- Combine: In a medium, non-reactive saucepan (stainless steel is perfect), pour in the vinegar, water, Kosher salt, and sugar (if you’re using it).
- Heat: Place the saucepan over medium-high heat and bring the mixture to a rolling boil. Give it a stir every so often to help the solids dissolve.
- Dissolve: The moment the salt and sugar have completely disappeared into the liquid, your brine is ready. Immediately turn off the heat and remove the pan from the burner.
Lesson Learned: “Don’t over-boil the brine. You only need to heat it long enough to dissolve the salt and sugar. Boiling it for too long can start to cook off the vinegar, potentially weakening its pickling power and altering the flavor.”
Save this perfect brine ratio for all your refrigerator pickling!
3. Combine, Cool & Refrigerate
The final step is to carefully pour the hot brine over the packed jalapeños, let the jar cool to room temperature, and then store it in the refrigerator. This is the magic moment where the transformation begins. The hot brine slightly softens the peppers’ cell walls, allowing the tangy liquid to penetrate quickly, while the rapid cooling in the fridge locks in their crispness.
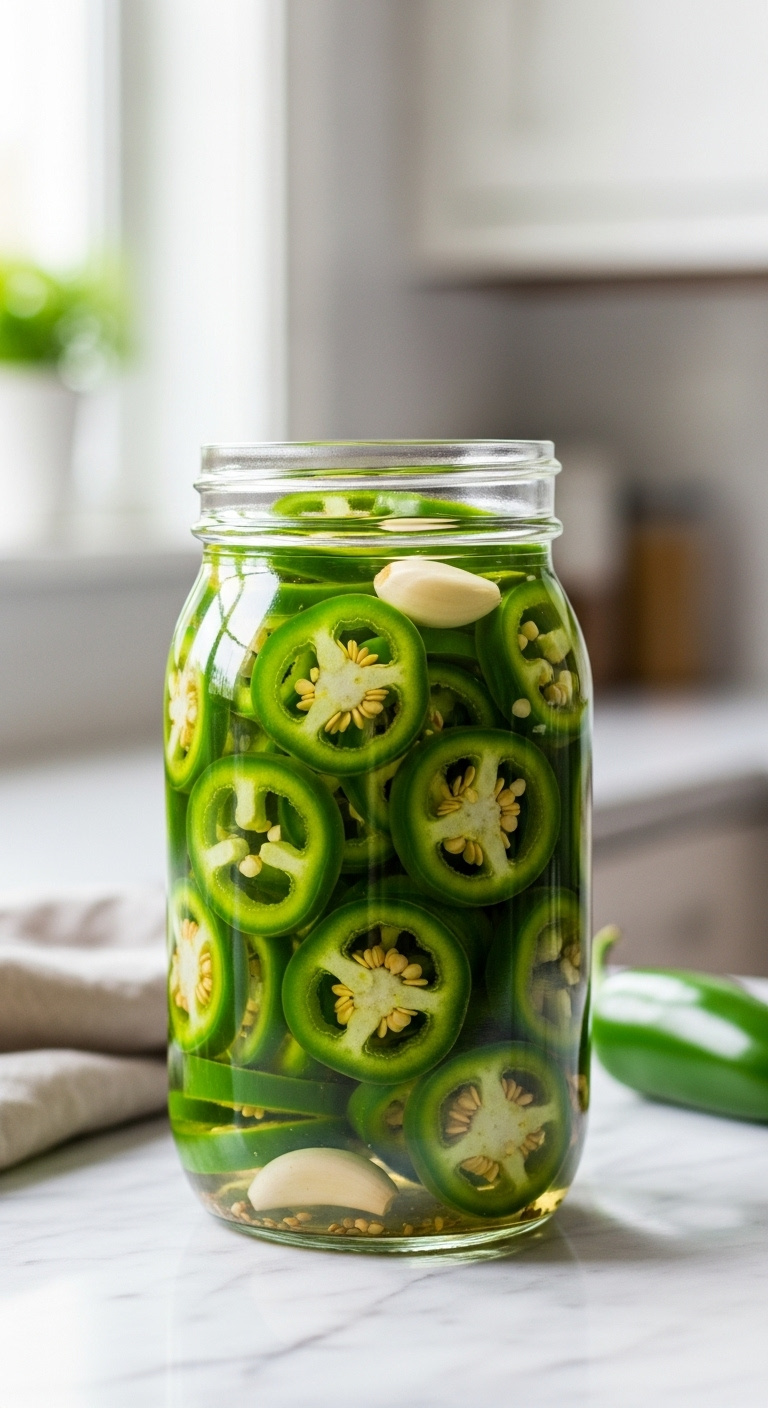
- Step-by-Step Directions:
- Pour: Place your packed jar in the sink to catch any spills. Slowly and carefully pour the hot brine directly over the jalapeños. Fill the jar until all the pepper slices are completely submerged in the liquid.
- Release Air: Gently tap the jar on the countertop a few times. You’ll see little air bubbles rise to the surface. This helps ensure all the peppers are in contact with the brine.
- Cool Down: Leave the jar on the counter, uncovered, to cool down to room temperature. This usually takes about an hour. It’s important not to put a hot jar directly into the cold refrigerator, as the thermal shock could cause the glass to crack.
- Seal & Chill: Once it’s completely cool, screw the lid on tightly and place the jar in the refrigerator.
- Be Patient (A Little): While you can technically snack on them after a few hours, the flavor is so much better after they’ve had at least 24 hours to marinate. The flavors will continue to meld and improve over the next few days.
Pro-Tip: “To ensure maximum crunch, some people prefer to cool the brine before pouring it over the peppers. I find that pouring it hot gives a great texture and infuses the flavor faster, but feel free to experiment! Try it both ways and see which texture you prefer.”
Love how easy that was? Share this recipe with a friend!
4. Flavor Customization Ideas
The best part of this base recipe is that you can easily customize it by adding different spices, herbs, and even other vegetables. Think of this simple brine as a blank canvas. You can steer the flavor profile in many different directions, from recreating the classic taqueria style to making a sweet and spicy “cowboy candy” version.
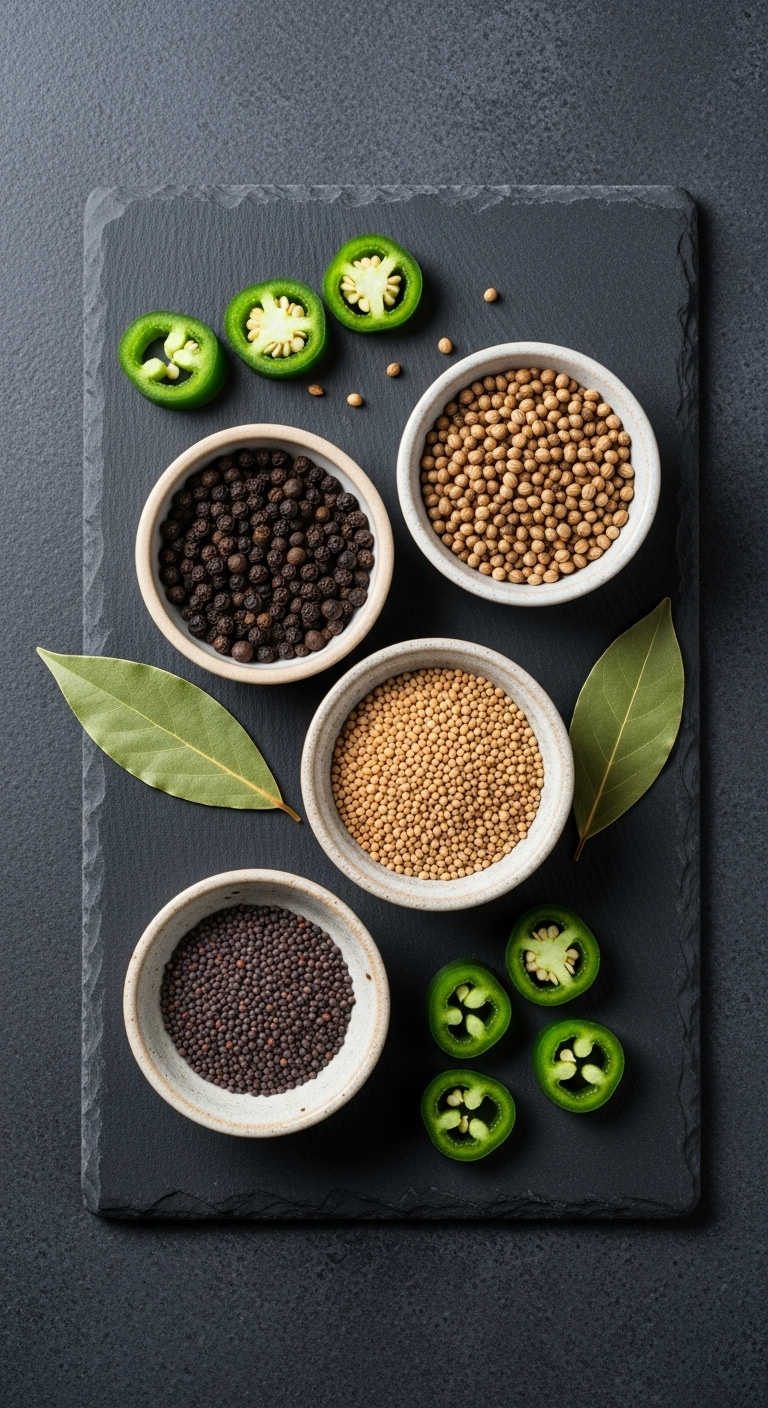
- Variations to Try:
- Taqueria-Style: This is a classic for a reason. To the jar, add a handful of carrot slices (or crinkle-cut “coins”) and a few thick slices of white onion along with the jalapeños. A sprig of fresh oregano and a couple of whole, peeled garlic cloves make it authentic.
- Sweet & Spicy (Cowboy Candy style): This is a crowd-pleaser. Increase the sugar in the brine from one tablespoon to 1/4 cup, or even 1/3 cup for a truly “candied” pepper. It’s a fantastic balance of heat and sweet.
- Extra Zesty & Aromatic: Add whole spices to the brine when you boil it to infuse the liquid with more complex flavors. Try 1 teaspoon of black peppercorns, 1 teaspoon of coriander seeds, and/or 1 teaspoon of mustard seeds.
- Herbaceous & Savory: Add a dried bay leaf directly into the jar before you pour in the hot brine. This adds a subtle, savory depth that’s fantastic with the garlic.
Pro-Tip: “My personal favorite combination for tacos is the Taqueria-Style with carrots, onions, and two smashed garlic cloves. The pickled carrots absorb the heat and brine and become an incredible snack on their own. Don’t be surprised if you start picking them out to eat straight from the jar!”
Which flavor will you try first? Pin this for inspiration!
5. How to Use Your Pickled Jalapeños
Once you have a jar in your fridge, you can use your homemade pickled jalapeños as a versatile condiment to add a spicy, tangy, and crunchy element to countless dishes. Their use extends far beyond being a simple topping for nachos. Think of them as a flavor-boosting ingredient that can cut through richness, add brightness, and provide a much-needed textural contrast.
- Serving Suggestions:
- Tacos, Nachos & Burritos: The classic pairing. They are an absolute must for any Mexican-inspired meal.
- Burgers & Sandwiches: Swap out your standard pickles for these. They are amazing on a pulled pork sandwich or a juicy cheeseburger.
- Salads & Grain Bowls: Finely chop a few slices and toss them into a salad or a quinoa bowl for a surprising and delightful kick.
- Eggs: Elevate your morning avocado toast or scrambled eggs with a few rings.
- Pizza: A fantastic topping that adds a spicy punch to balance rich cheeses and meats.
- Dips & Spreads: Mince them and mix into cream cheese for a homemade jalapeño dip, or stir them into hummus for a spicy twist.
- Hot Dogs & Brats: A perfect, crunchy topping for grilled sausages.
Lesson Learned: “Don’t throw out the brine! Once you’ve eaten all the peppers, the leftover liquid is a culinary goldmine. It’s packed with spicy, tangy flavor and can be used as a base for salad dressings, as a marinade for chicken or pork, or even to add a kick to your next Bloody Mary.”
Try these on your next Taco Tuesday and save the idea!
Key Takeaways: Your Quick Guide to Perfect Pickled Jalapeños
To quickly review the most important points, remember that making delicious, crunchy pickled jalapeños at home is all about the method, not about spending a lot of time or using fancy equipment. It’s a simple process that yields a far superior product to anything you can buy at the store.
- No Canning Needed: These are specifically refrigerator pickles. They must be stored in the fridge at all times and are not shelf-stable.
- Keep Them Crunchy: The secret to the crunch is using fresh, firm peppers and avoiding the high-heat of a traditional canning process. Pouring the hot brine over them is the perfect technique.
- Balance is Key: A 1-to-1 ratio of vinegar to water creates a perfectly balanced brine. A little sugar is highly recommended to round out the flavor and tame the heat, but it remains optional.
- Flavor Takes Time: While they are edible within a couple of hours, the best, most well-rounded flavor will develop after they have marinated in the refrigerator for at least 24 hours.
- Store Properly: In a clean, airtight jar in the refrigerator, your quick pickled jalapeños will stay fresh and delicious for up to two months.
People Also Ask About Pickled Jalapenos Recipe
Even with a simple recipe, questions always come up. Here are answers to some of the most common queries about making homemade pickled jalapeños.
How long are homemade pickled jalapeños good for?
When stored properly in a tightly sealed jar in the refrigerator, these quick pickled jalapeños will last for up to two months. Their best texture and crunch will be within the first few weeks, but they remain safe and flavorful for much longer. To ensure they last as long as possible, always use a clean fork or tongs to remove them from the jar.
How do you keep pickled jalapeños crunchy?
The key to crunchy pickled jalapeños is to use the “quick pickle” or refrigerator method, which avoids the high-heat processing of traditional canning. Starting with very fresh, firm peppers is the other crucial component. The technique of pouring the hot brine over the raw peppers and then allowing them to cool locks in a fantastic crisp texture.
What is the best vinegar for pickling jalapeños?
The best all-purpose choice is distilled white vinegar because its neutral flavor profile allows the jalapeño taste to shine through, and its clear color keeps the peppers looking vibrant. However, apple cider vinegar is also an excellent option if you prefer a slightly milder, fruitier undertone to your pickles. Just ensure any vinegar you use has at least 5% acidity.
Can you pickle whole jalapeños?
Yes, you can absolutely pickle whole jalapeños, but the process requires more time and an extra step. You must pierce each whole pepper several times with a sharp knife to allow the brine to penetrate to the center. Whole pickled jalapeños will need to marinate in the refrigerator for at least one to two weeks before they achieve a good flavor throughout.
Final Thoughts
Once you see how incredibly simple it is to make your own crunchy, flavorful pickled jalapeños in just about 10 minutes, you’ll find it hard to ever go back to the store-bought kind. The beauty of this recipe is in its simplicity and its adaptability. You are in complete control of the heat, the sweetness, and the added flavors, allowing you to create the perfect condiment tailored specifically to your taste. From now on, a jar of these vibrant green rings will be a staple in your fridge, ready to liven up any meal.
What will you be putting your homemade pickled jalapeños on first? Let me know in the comments below
