As an Amazon Associate BakingBakewareSets.com earns from qualifying purchases.
Warm Cookout Side Dishes: 11 Best Easy BBQ Ideas for 2026
Tired of serving the same lukewarm pasta salads at every summer barbecue? Keeping hot outdoor party food at the correct temperature is a constant struggle for hosts. Let’s fix your menu with reliable **warm cookout side dishes**.
**The best warm cookout side dishes are reliable, portable recipes like smoky baked beans, creamy macaroni and cheese, or grilled vegetables that pair perfectly with grilled meats.** These comforting classics can be easily managed in a slow cooker to solve the challenge of serving hot food safely outdoors.
Drawing from party-proven methodologies and established food safety guidelines, we have curated the ultimate barbecue menu. You will discover eleven incredible hot sides for a cookout that satisfy large appetites and travel easily. Prepare to impress your guests with these kitchen-tested summer favorites.
## What Are The Best Warm Cookout Side Dishes To Impress a Crowd?
**The best warm cookout side dishes are easy-to-reheat, crowd-pleasing options like slow-cooked cowboy beans, baked macaroni and cheese, and perfectly grilled vegetables.** These dishes stand out because they maintain their appealing texture and robust flavor profiles even when held at food safety temperatures outdoors.
While cold salads are traditional, relying exclusively on them leaves a gap in your menu. A truly impressive summer BBQ menu requires hot, savory elements that complement the smoky flavors of grilled meat. However, the logistical challenge of keeping food warm often deters home cooks. The secret lies in selecting recipes intentionally designed for outdoor serving solutions.
By leveraging tools like a slow cooker, a Dutch oven, or insulated aluminum trays, you can easily maintain that crucial 140°F internal temperature. The following hot grilling sides are not only flavorful but also specifically engineered to solve the practical problems of outdoor entertaining.
## Warm Cookout Side Dishes: 11 Best Easy BBQ Ideas for 2026
Building a successful summer menu means choosing recipes that are forgiving, scalable, and genuinely delicious. The best **warm bbq sides** share three key characteristics: they offer make-ahead convenience, they travel well, and they harmonize with classic barbecue flavors.
Whether you need a rich, cheesy potato bake to balance a lean grilled chicken breast, or zesty grilled vegetables to offset heavy ribs, this curated collection covers every base. Each of these **hot sides for bbq** includes specific instructions for keeping the dish warm without sacrificing texture.
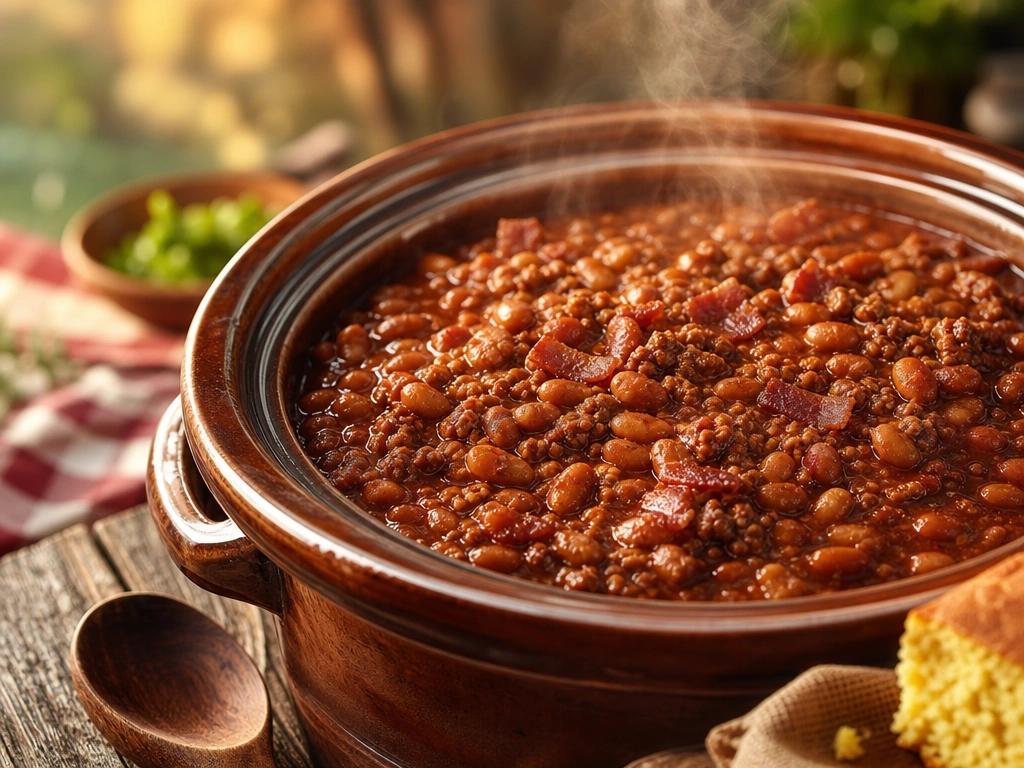
### 1. Simmer the Ultimate Slow Cooker Cowboy Beans
Pin this foolproof recipe to your ‘BBQ Party Food’ board!
**Slow cooker cowboy beans with ground beef** are the ultimate crowd-pleasing addition to any cookout. This hearty recipe requires slow cooking to develop a deeply smoky and savory flavor profile. Because it utilizes a crock pot, it serves as a brilliant make-ahead option that travels well to potlucks and family reunions.
#### Ingredients
– 2 (28 oz) cans pinto beans, rinsed and drained
– 1 lb ground beef, browned and drained
– 1/2 lb thick-cut hickory smoked bacon, cooked and crumbled
– 1 large onion, chopped
– 1 cup BBQ sauce (your favorite brand)
– 1/2 cup packed brown sugar
– 2 tbsp apple cider vinegar
– 1 tbsp Worcestershire sauce
#### Instructions
1. **Sautéing:** In a skillet, brown the ground beef and cook the bacon. Drain off excess grease and set aside. Sauté the chopped onion until translucent.
2. **Mixing:** In the basin of a large 6-quart (or larger) slow cooker, combine the drained pinto beans, cooked ground beef, half of the crumbled bacon, sautéed onion, BBQ sauce, brown sugar, apple cider vinegar, and Worcestershire sauce.
3. **Slow Cooking:** Stir everything together until well combined. Cover and cook on LOW for 6-8 hours or on HIGH for 3-4 hours. The beans are ready when the sauce has thickened and the flavors have melded.
4. **Serving:** Before serving, stir the beans and top with the remaining crumbled bacon for a crispy garnish. Keep the slow cooker on the ‘WARM’ setting during the cookout.
> **Pro-Tip:** For authentic pitmaster secrets flavor, add 1/2 teaspoon of liquid smoke. The acid-base balance in beans is key; the apple cider vinegar cuts through the sweetness of the brown sugar and BBQ sauce, creating a more complex flavor profile.

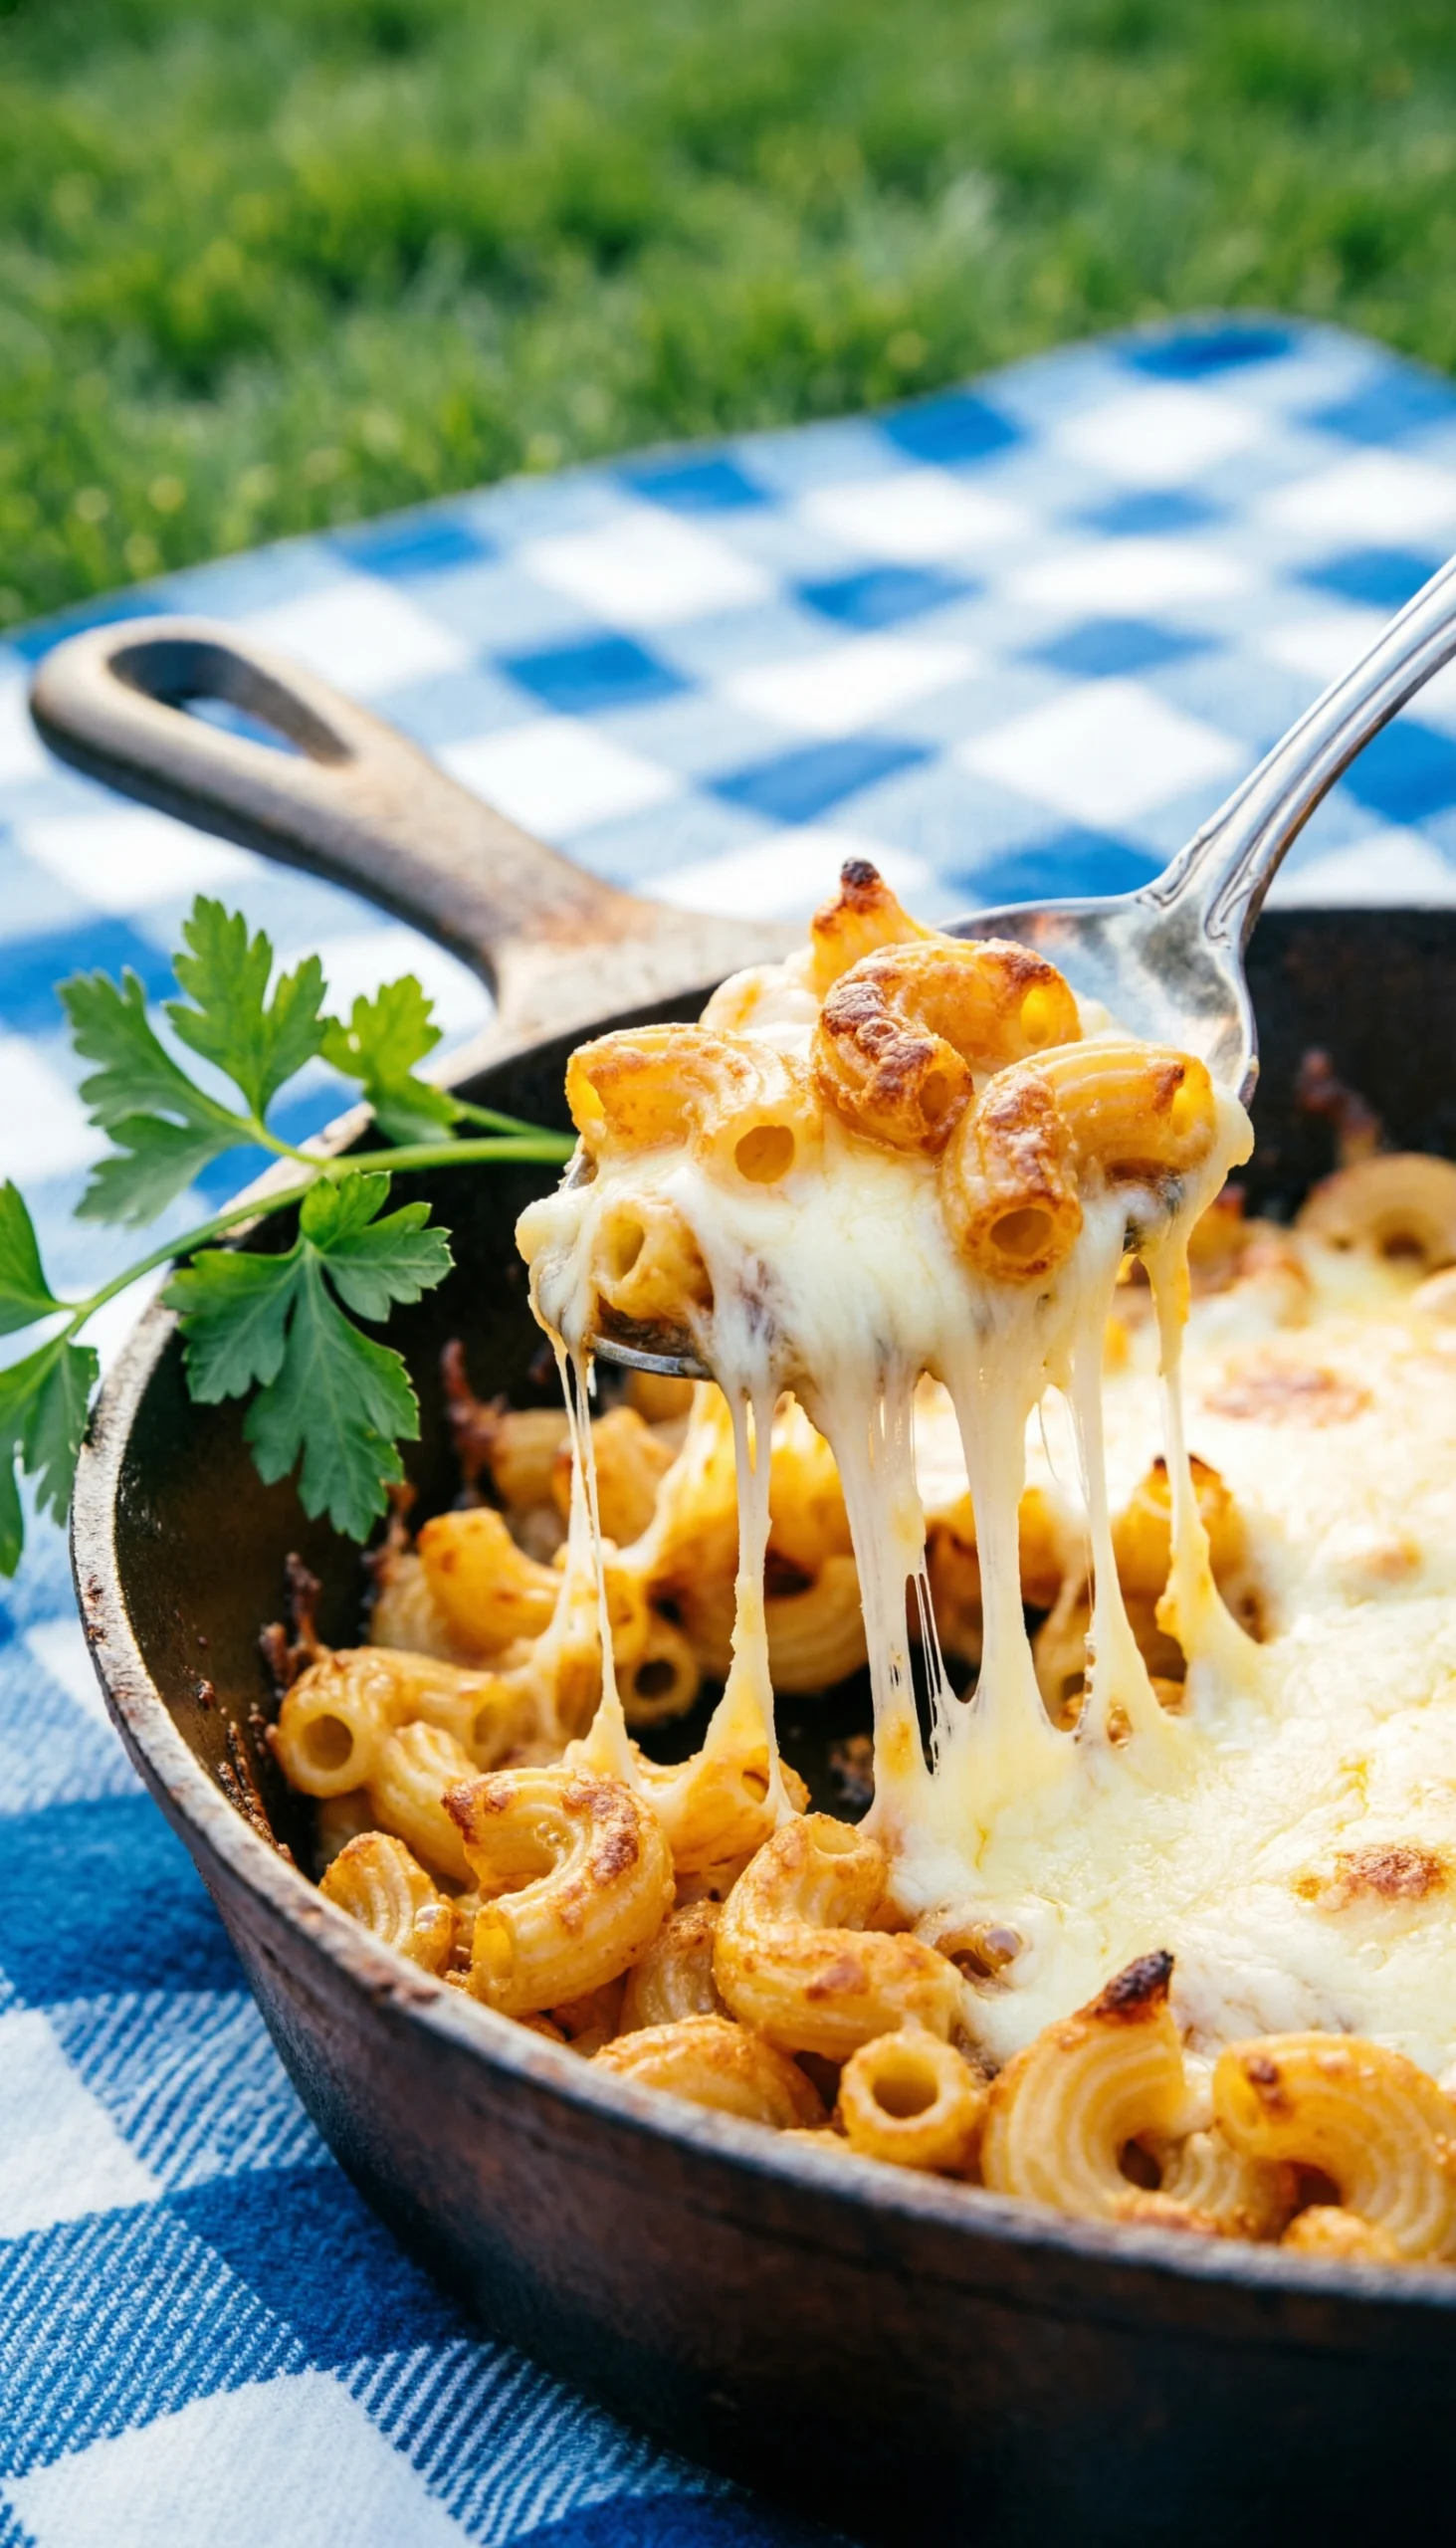
### 2. Bake a Creamy, Southern-Style Macaroni and Cheese
Save this ultimate comfort food recipe for your next family reunion!
A proper **southern style baked macaroni and cheese** balances smoky meat flavors beautifully. This comforting, cheesy side easily satisfies large appetites. It also reheats easily in a disposable aluminum pan over indirect heat on the grill, avoiding the common problem of dry pasta.
#### Ingredients
– 1 lb elbow macaroni
– 1/2 cup (1 stick) unsalted butter
– 1/2 cup all-purpose flour
– 4 cups whole milk, warmed
– 1 tsp salt
– 1/2 tsp black pepper
– 1/2 tsp smoked paprika
– 16 oz sharp cheddar cheese, freshly grated
– 8 oz Colby Jack cheese, freshly grated
#### Instructions
1. **Prepping:** Preheat oven to 375°F (190°C). Cook the elbow macaroni according to package directions, but for 2 minutes less than al dente. Drain and set aside.
2. **Sautéing the Roux:** In a large Dutch oven or pot, melt the butter over medium heat. Whisk in the flour and cook for 1-2 minutes until it forms a smooth paste (a roux).
3. **Mixing the Sauce:** Slowly pour in the warmed milk while whisking constantly to prevent lumps. Continue to cook and whisk until the sauce thickens enough to coat the back of a spoon (about 5-7 minutes).
4. **Melting the Cheese:** Remove the pot from the heat. Stir in the salt, pepper, paprika, and 3/4 of the grated cheeses. Stir until the cheese is completely melted and the sauce is creamy and smooth.
5. **Baking:** Add the cooked macaroni to the cheese sauce and stir to combine. Pour into a greased 9×13 inch baking dish or a disposable aluminum tray. Top with the remaining cheese. Bake for 20-25 minutes, or until bubbly and golden brown on top.
> **Pro-Tip:** The key to a perfect emulsification is using freshly grated cheese (pre-shredded has anti-caking agents that make sauce grainy) and adding it off the heat. For easy transport, bake in a disposable aluminum pan and cover tightly with foil. It reheats easily on the side of a grill over indirect heat.

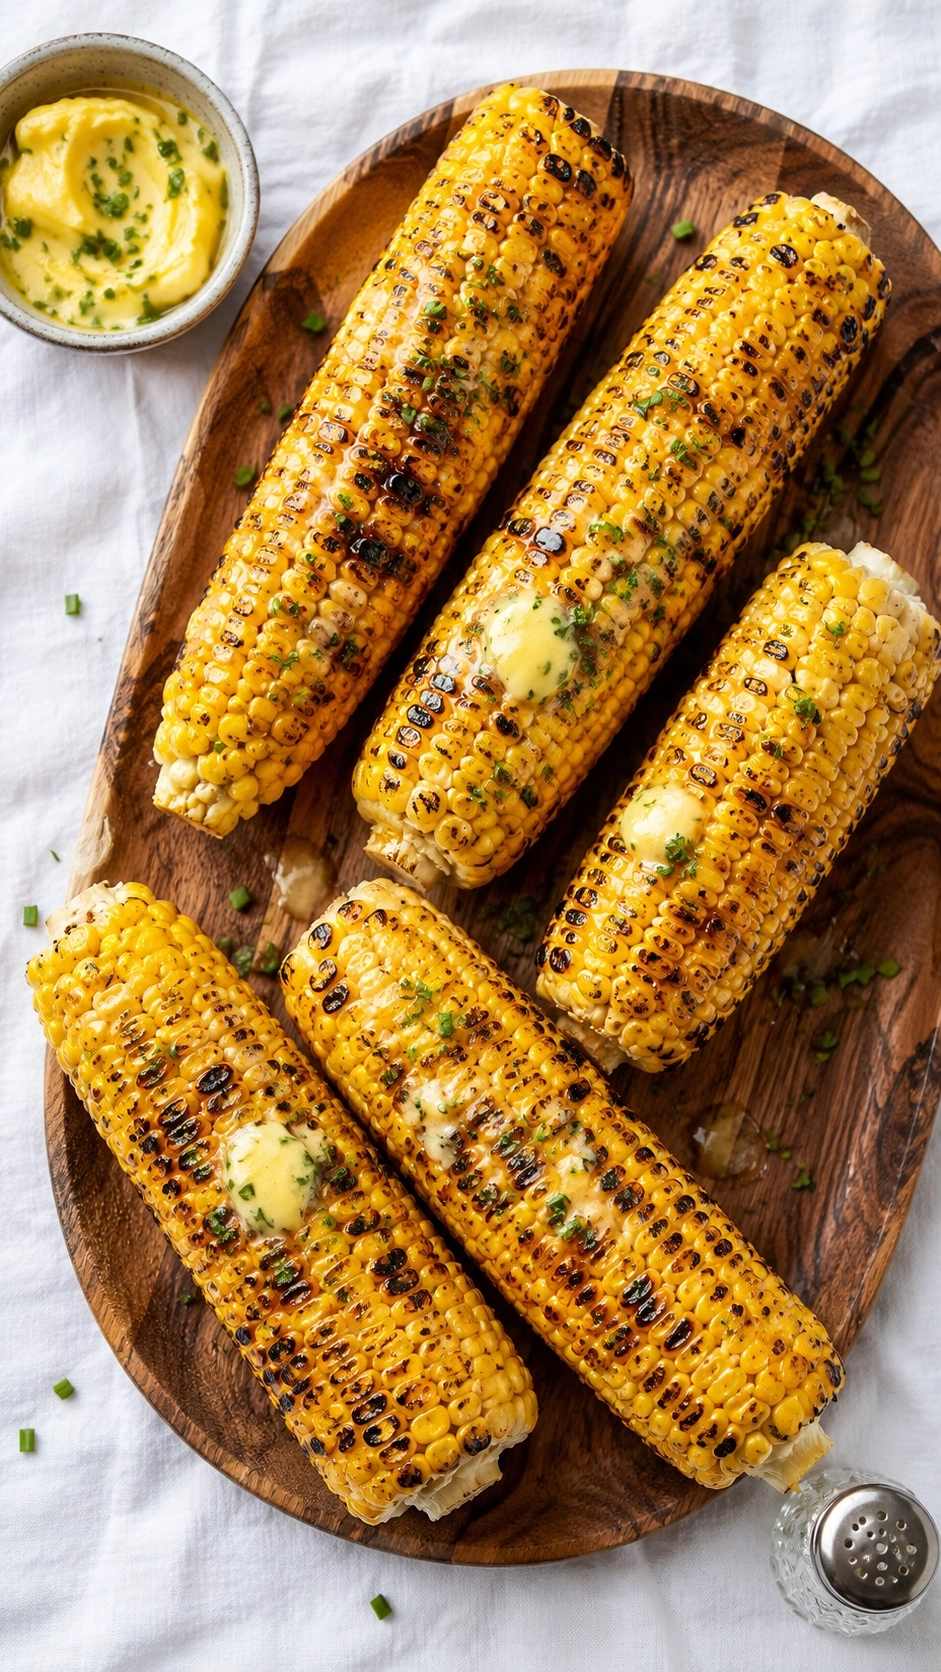
### 3. Grill the Perfect Honey Butter Corn on the Cob
Pin this easy grilling side dish for your next summer BBQ!
Making **honey butter grilled corn on the cob** is a summer essential. It fits on the grill perfectly alongside your main course and complements grilled meat with its sweet and savory profile. Grilling it directly solves the issue of soggy vegetables, resulting in beautifully charred, buttery perfection.
#### Ingredients
– 8 ears of fresh corn, husks and silk removed
– 1/2 cup (1 stick) salted butter, softened
– 1/4 cup honey
– 1/2 tsp red pepper flakes (optional, for a kick)
– Freshly chopped chives or parsley for garnish
#### Instructions
1. **Prepping:** Preheat your gas grill or charcoal grill to medium-high heat (about 400°F).
2. **Mixing the Butter:** In a small bowl, mix the softened butter, honey, and red pepper flakes until well combined.
3. **Grilling:** Place the shucked corn directly on the grill grates. Grill for 10-15 minutes, turning every 2-3 minutes, until the corn is tender and has light charring on all sides.
4. **Glazing:** During the last 5 minutes of grilling, use a basting brush to generously coat the corn with the honey butter mixture on all sides. Allow the butter to melt and caramelize slightly on the corn.
5. **Serving:** Remove the corn from the grill, brush with any remaining honey butter, and garnish with fresh chives. Serve immediately while warm.
> **Pro-Tip:** For extra flavor and to prevent sticking, clean your grill grates thoroughly and lightly oil them before adding the corn. The direct heat causes the natural sugars in the corn to undergo caramelization, creating an incredibly sweet and slightly smoky flavor that is the hallmark of perfect grilled corn via the Maillard reaction.

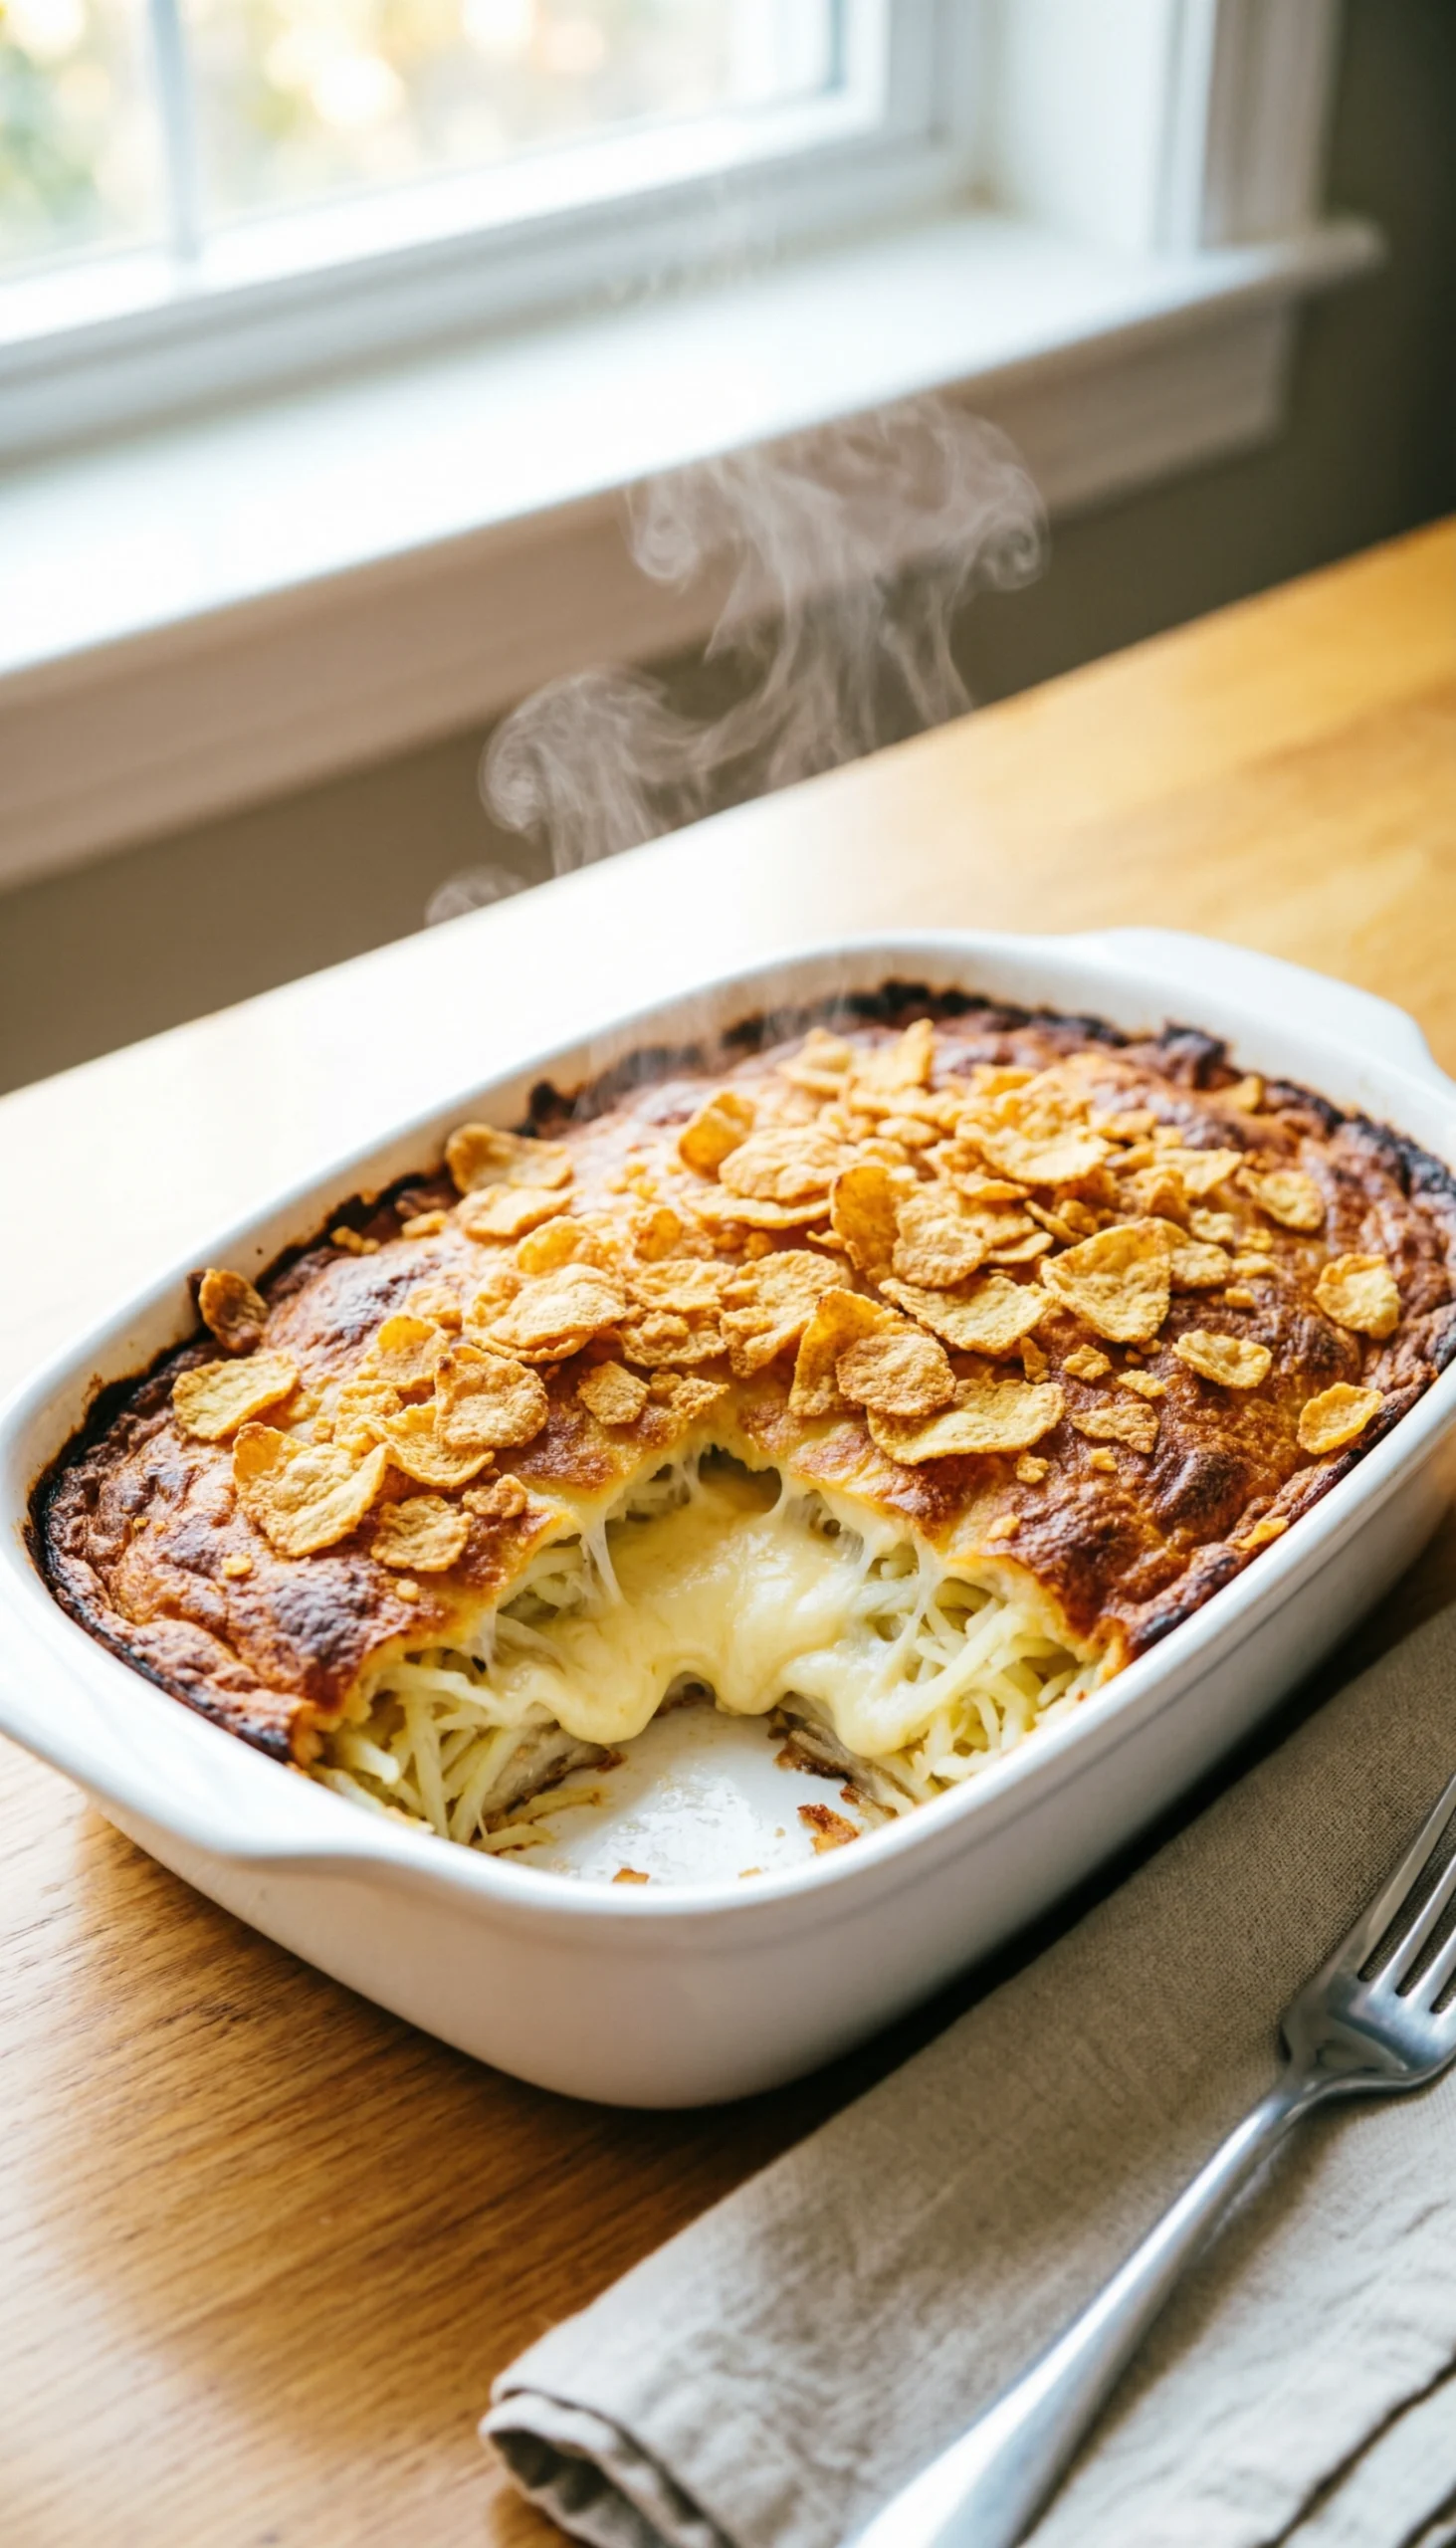
### 4. Create a Crowd-Pleasing Cheesy Hashbrown Casserole
Your go-to potluck dish is here! Pin it for later.
A **cheesy hashbrown casserole for a crowd** is universally loved. This hearty, kid-friendly option actually tastes better the next day, making it an ideal make-ahead recipe. With incredibly fast prep time, this dish is designed to save time while easily feeding a large group.
#### Ingredients
– 1 (30 oz) bag frozen shredded hashbrowns, thawed
– 1 (10.5 oz) can cream of chicken soup
– 16 oz sour cream
– 1 cup chopped onion
– 2 cups shredded sharp cheddar cheese
– 1/2 cup melted butter
– 1 cup crushed corn flakes or panko breadcrumbs
– Salt and pepper to taste
#### Instructions
1. **Prepping:** Preheat oven to 350°F (175°C). Grease a 9×13 inch baking dish.
2. **Mixing:** In a large bowl, combine the thawed hashbrowns, cream of chicken soup, sour cream, chopped onion, 1.5 cups of the shredded cheese, and half of the melted butter. Season with salt and pepper.
3. **Assembling:** Pour the mixture into the prepared baking dish and spread evenly.
4. **Baking the Topping:** In a separate small bowl, mix the crushed corn flakes with the remaining melted butter and remaining 1/2 cup of cheese. Sprinkle this mixture evenly over the top of the casserole.
5. **Baking:** Bake uncovered for 45-55 minutes, or until the top is golden brown and the casserole is bubbly around the edges. Let it rest for 10 minutes before serving.
> **Pro-Tip:** To make this a day ahead, assemble the casserole completely *except* for the corn flake topping. Cover and refrigerate. Before baking, prepare the topping, sprinkle it on, and add 10-15 minutes to the baking time. This is a party-proven method to save time on the day of the cookout.

### 5. Roast Perfect Garlic Parmesan Potatoes
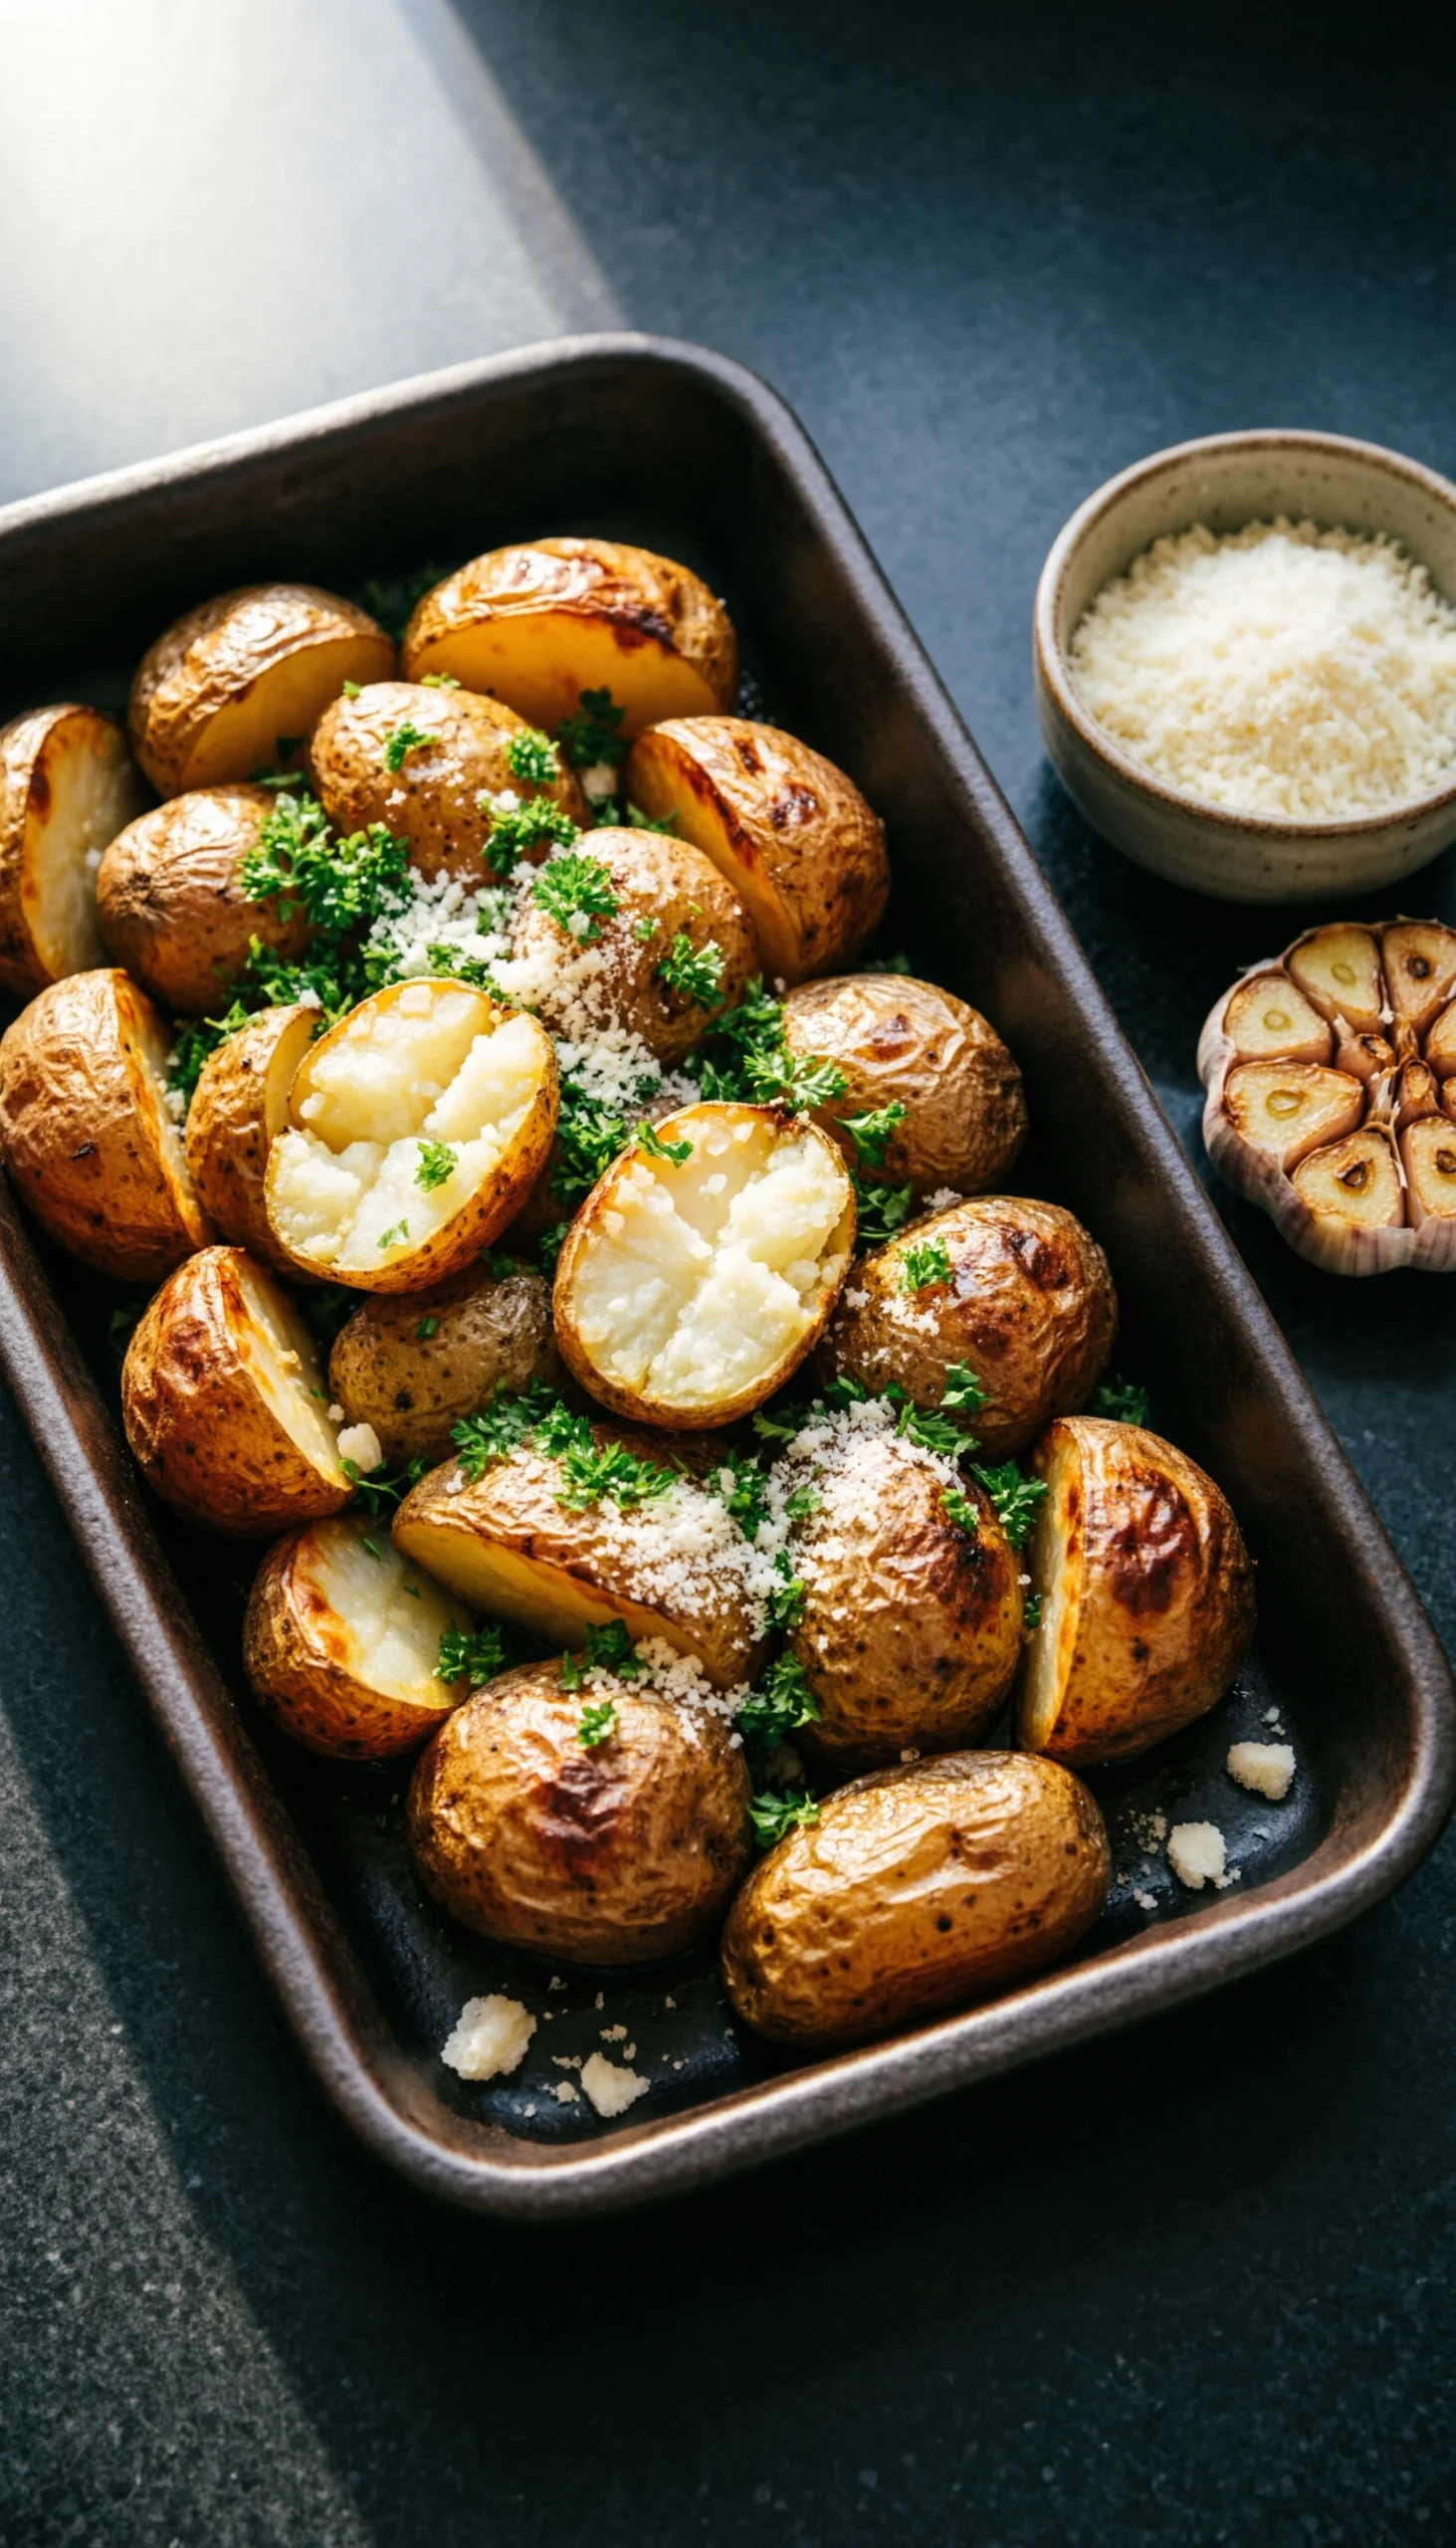
Never have boring potatoes again! Pin this crispy recipe.
**Garlic parmesan roasted potatoes** are a highly requested addition to any barbecue menu. The high-heat roasting method creates a wonderfully crispy texture that perfectly balances smoky meat. Unlike mayonnaise-heavy cold potato salads, these potatoes remain appetizing when kept warm in an insulated tray.
#### Ingredients
– 3 lbs Yukon Gold or red potatoes, cut into 1.5-inch chunks
– 1/4 cup olive oil
– 6-8 cloves garlic, minced
– 1/2 cup grated Parmesan cheese
– 2 tbsp chopped fresh parsley
– 1 tsp salt
– 1/2 tsp black pepper
#### Instructions
1. **Prepping:** Preheat oven to 425°F (220°C).
2. **Par-boiling:** Place the potatoes in a large pot of cold, salted water. Bring to a boil and cook for 7-8 minutes, until just tender enough to be pierced with a fork. Drain well and let them steam dry for 2 minutes in the colander.
3. **Seasoning:** Transfer the dry potatoes to a large bowl. Drizzle with olive oil, minced garlic, salt, and pepper. Toss gently to coat.
4. **Roasting:** Spread the potatoes in a single layer on a large, heavy-duty baking sheet. Do not overcrowd the pan. Roast for 20 minutes.
5. **Finishing:** Remove from the oven, flip the potatoes, and sprinkle with the Parmesan cheese. Return to the oven and roast for another 10-15 minutes, or until golden brown and crispy. Toss with fresh parsley before serving.
> **Pro-Tip:** Par-boiling the potatoes first is a chef-tested trick. It causes starch gelatinization, creating a fluffy inside and a slightly roughed-up surface that gets incredibly crispy during roasting. For easy transport, roast in a sturdy aluminum pan.

### 6. Assemble Vibrant Grilled Vegetable Kabobs
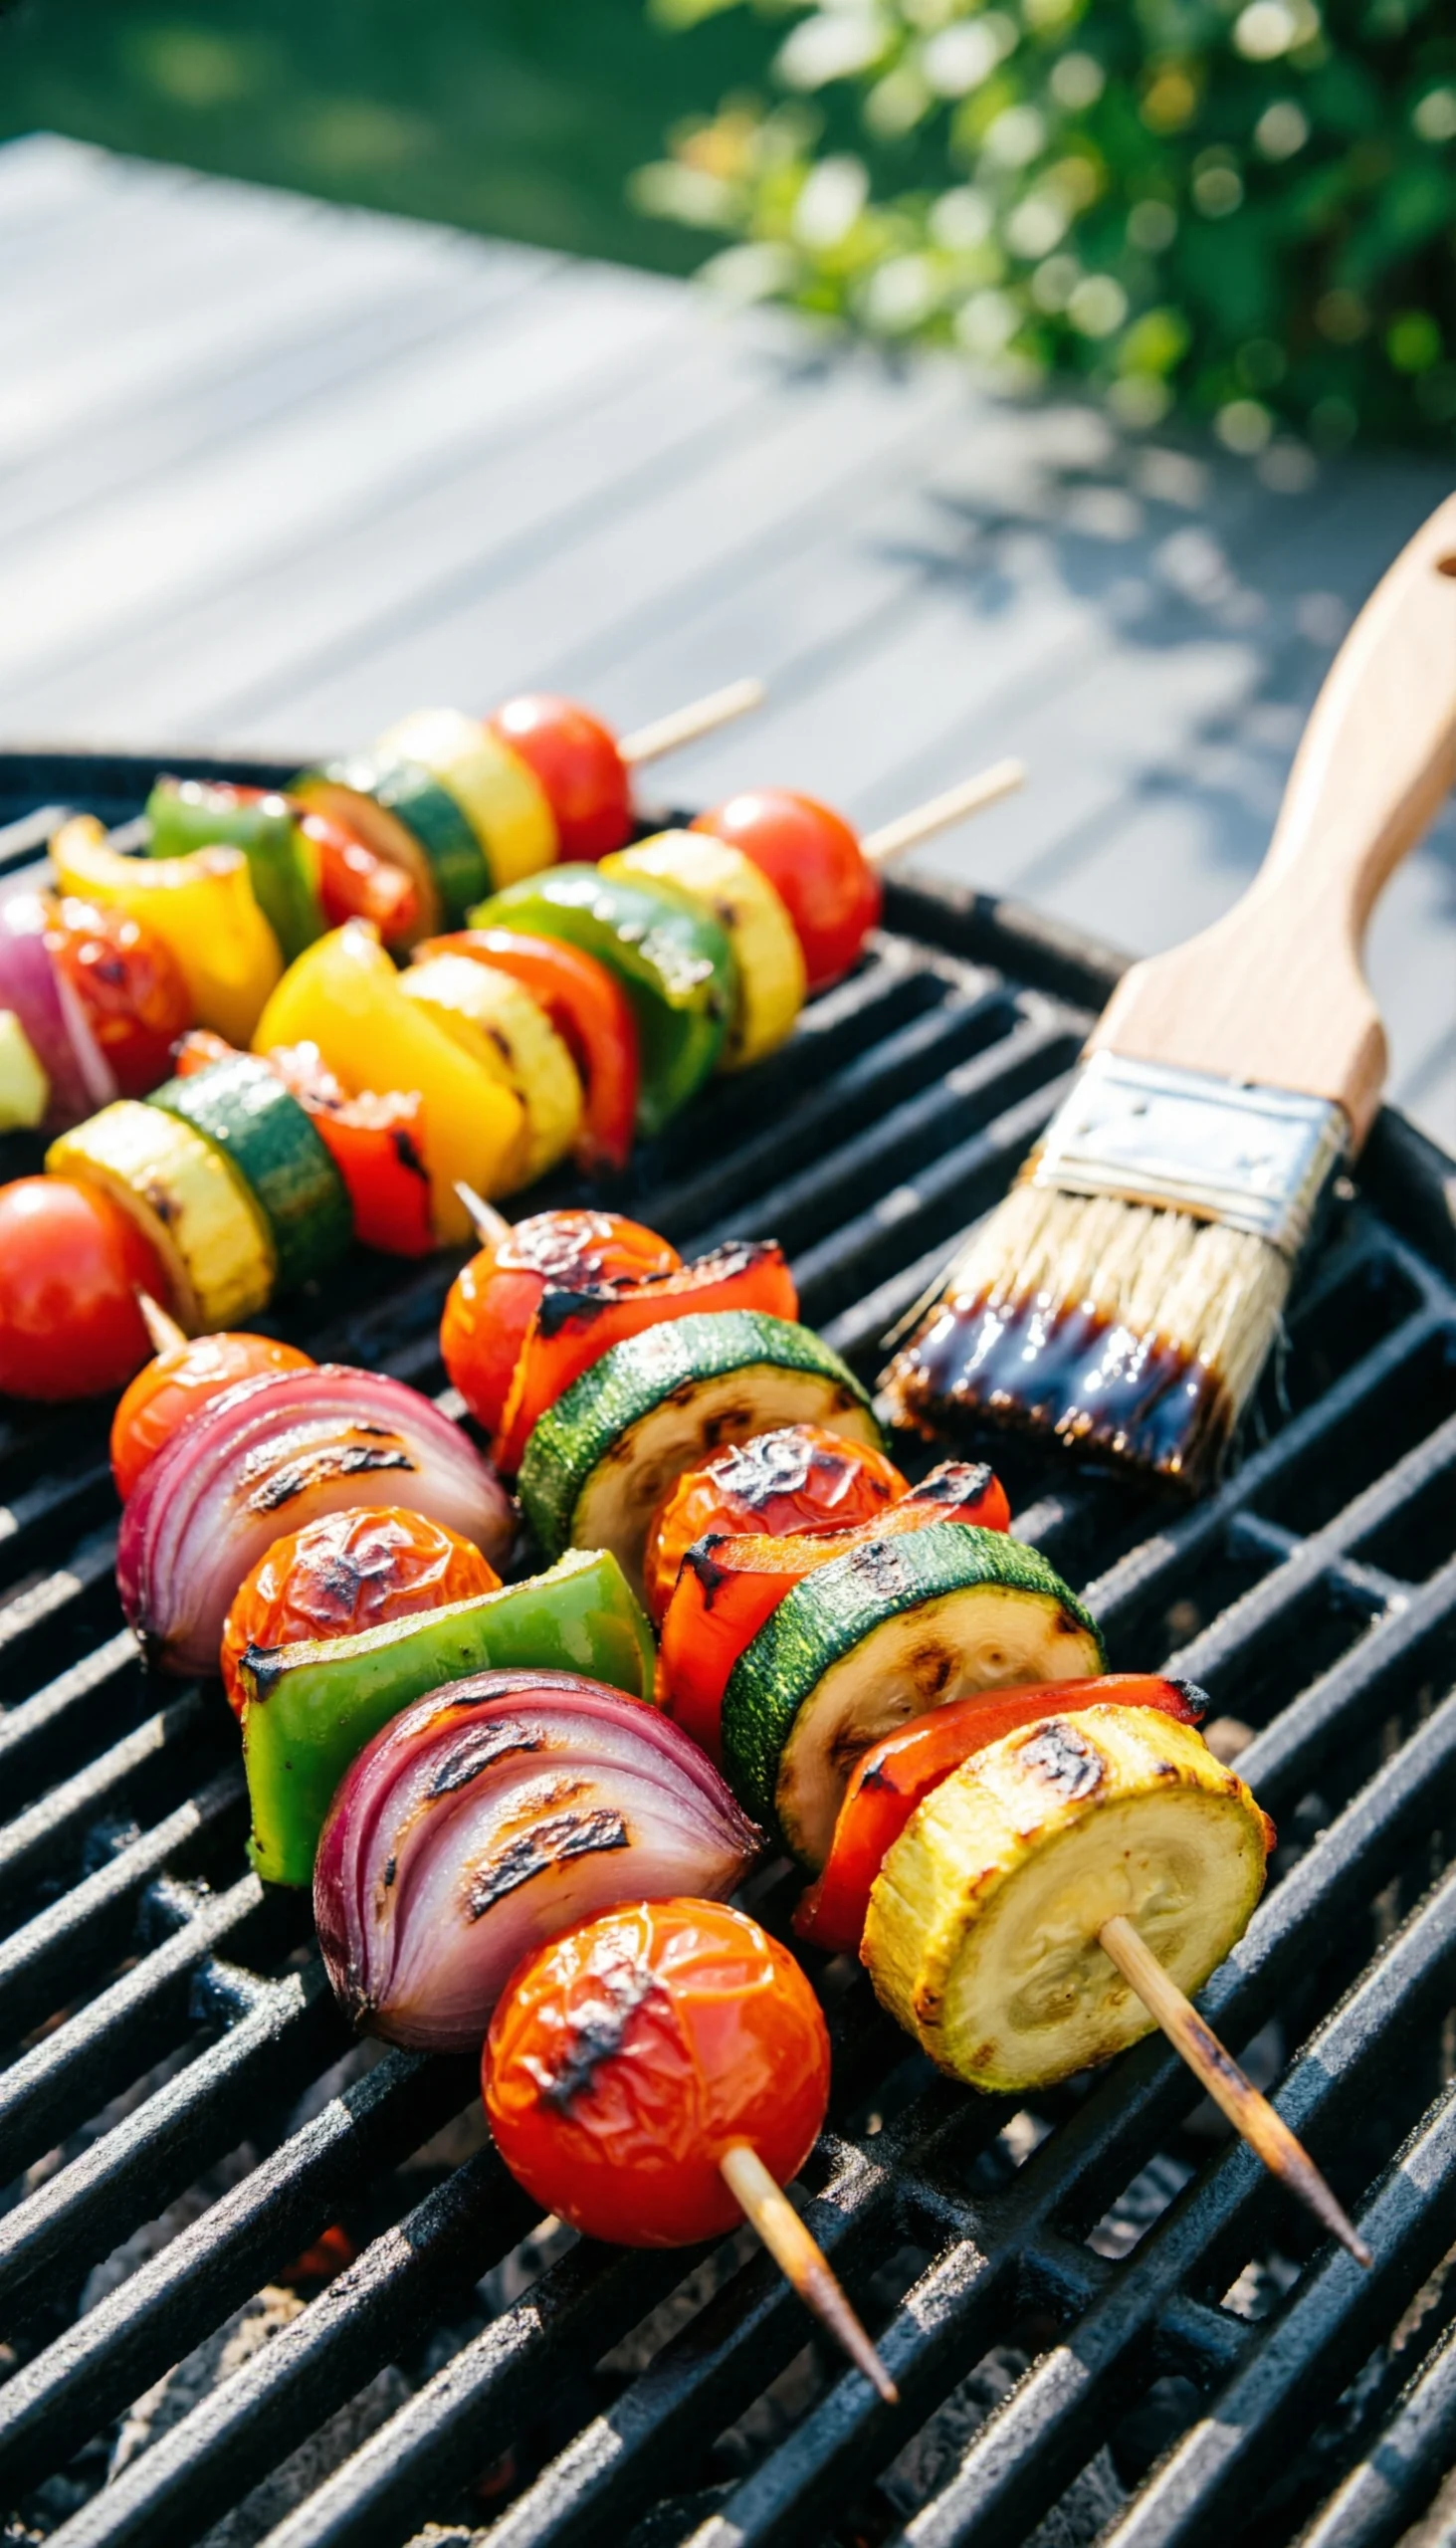
The perfect healthy side! Pin this colorful kabob recipe.
If you want a lighter option, **grilled vegetable kabobs with balsamic glaze** are phenomenal. They add vibrant color to the plate and act as a wonderful healthy alternative to heavier cheese and potato dishes. They easily fit on the grill right next to your steaks or burgers.
#### Ingredients
– 2 green bell peppers, cut into 1-inch chunks
– 2 red bell peppers, cut into 1-inch chunks
– 2 large red onions, cut into 1-inch chunks
– 2 medium zucchinis, sliced into 1/2-inch thick rounds
– 1 pint cherry tomatoes
– 1/4 cup olive oil
– 2 tbsp balsamic glaze
– Salt and freshly ground black pepper
#### Instructions
1. **Prepping:** If using wooden skewers, soak them in water for at least 30 minutes to prevent burning. Preheat your grill to medium heat.
2. **Assembling:** Thread the vegetables onto the skewers, alternating colors and types to create a vibrant pattern.
3. **Seasoning:** Brush the kabobs on all sides with olive oil and season generously with salt and pepper.
4. **Grilling:** Place the kabobs on the grill. Cook for 8-12 minutes, turning occasionally, until the vegetables are tender-crisp and have nice char marks.
5. **Glazing:** During the last 2 minutes of cooking, brush the kabobs with the balsamic glaze. Watch closely as the sugar in the glaze can burn quickly. Serve warm.
> **Pro-Tip:** Use flat metal skewers instead of round wooden ones. The flat shape prevents round vegetables like tomatoes and zucchini from spinning when you try to turn the kabobs on the grill, ensuring even cooking. This is an expert hosting tip for foolproof results.

### 7. Bake a Savory Cast Iron Skillet Cornbread
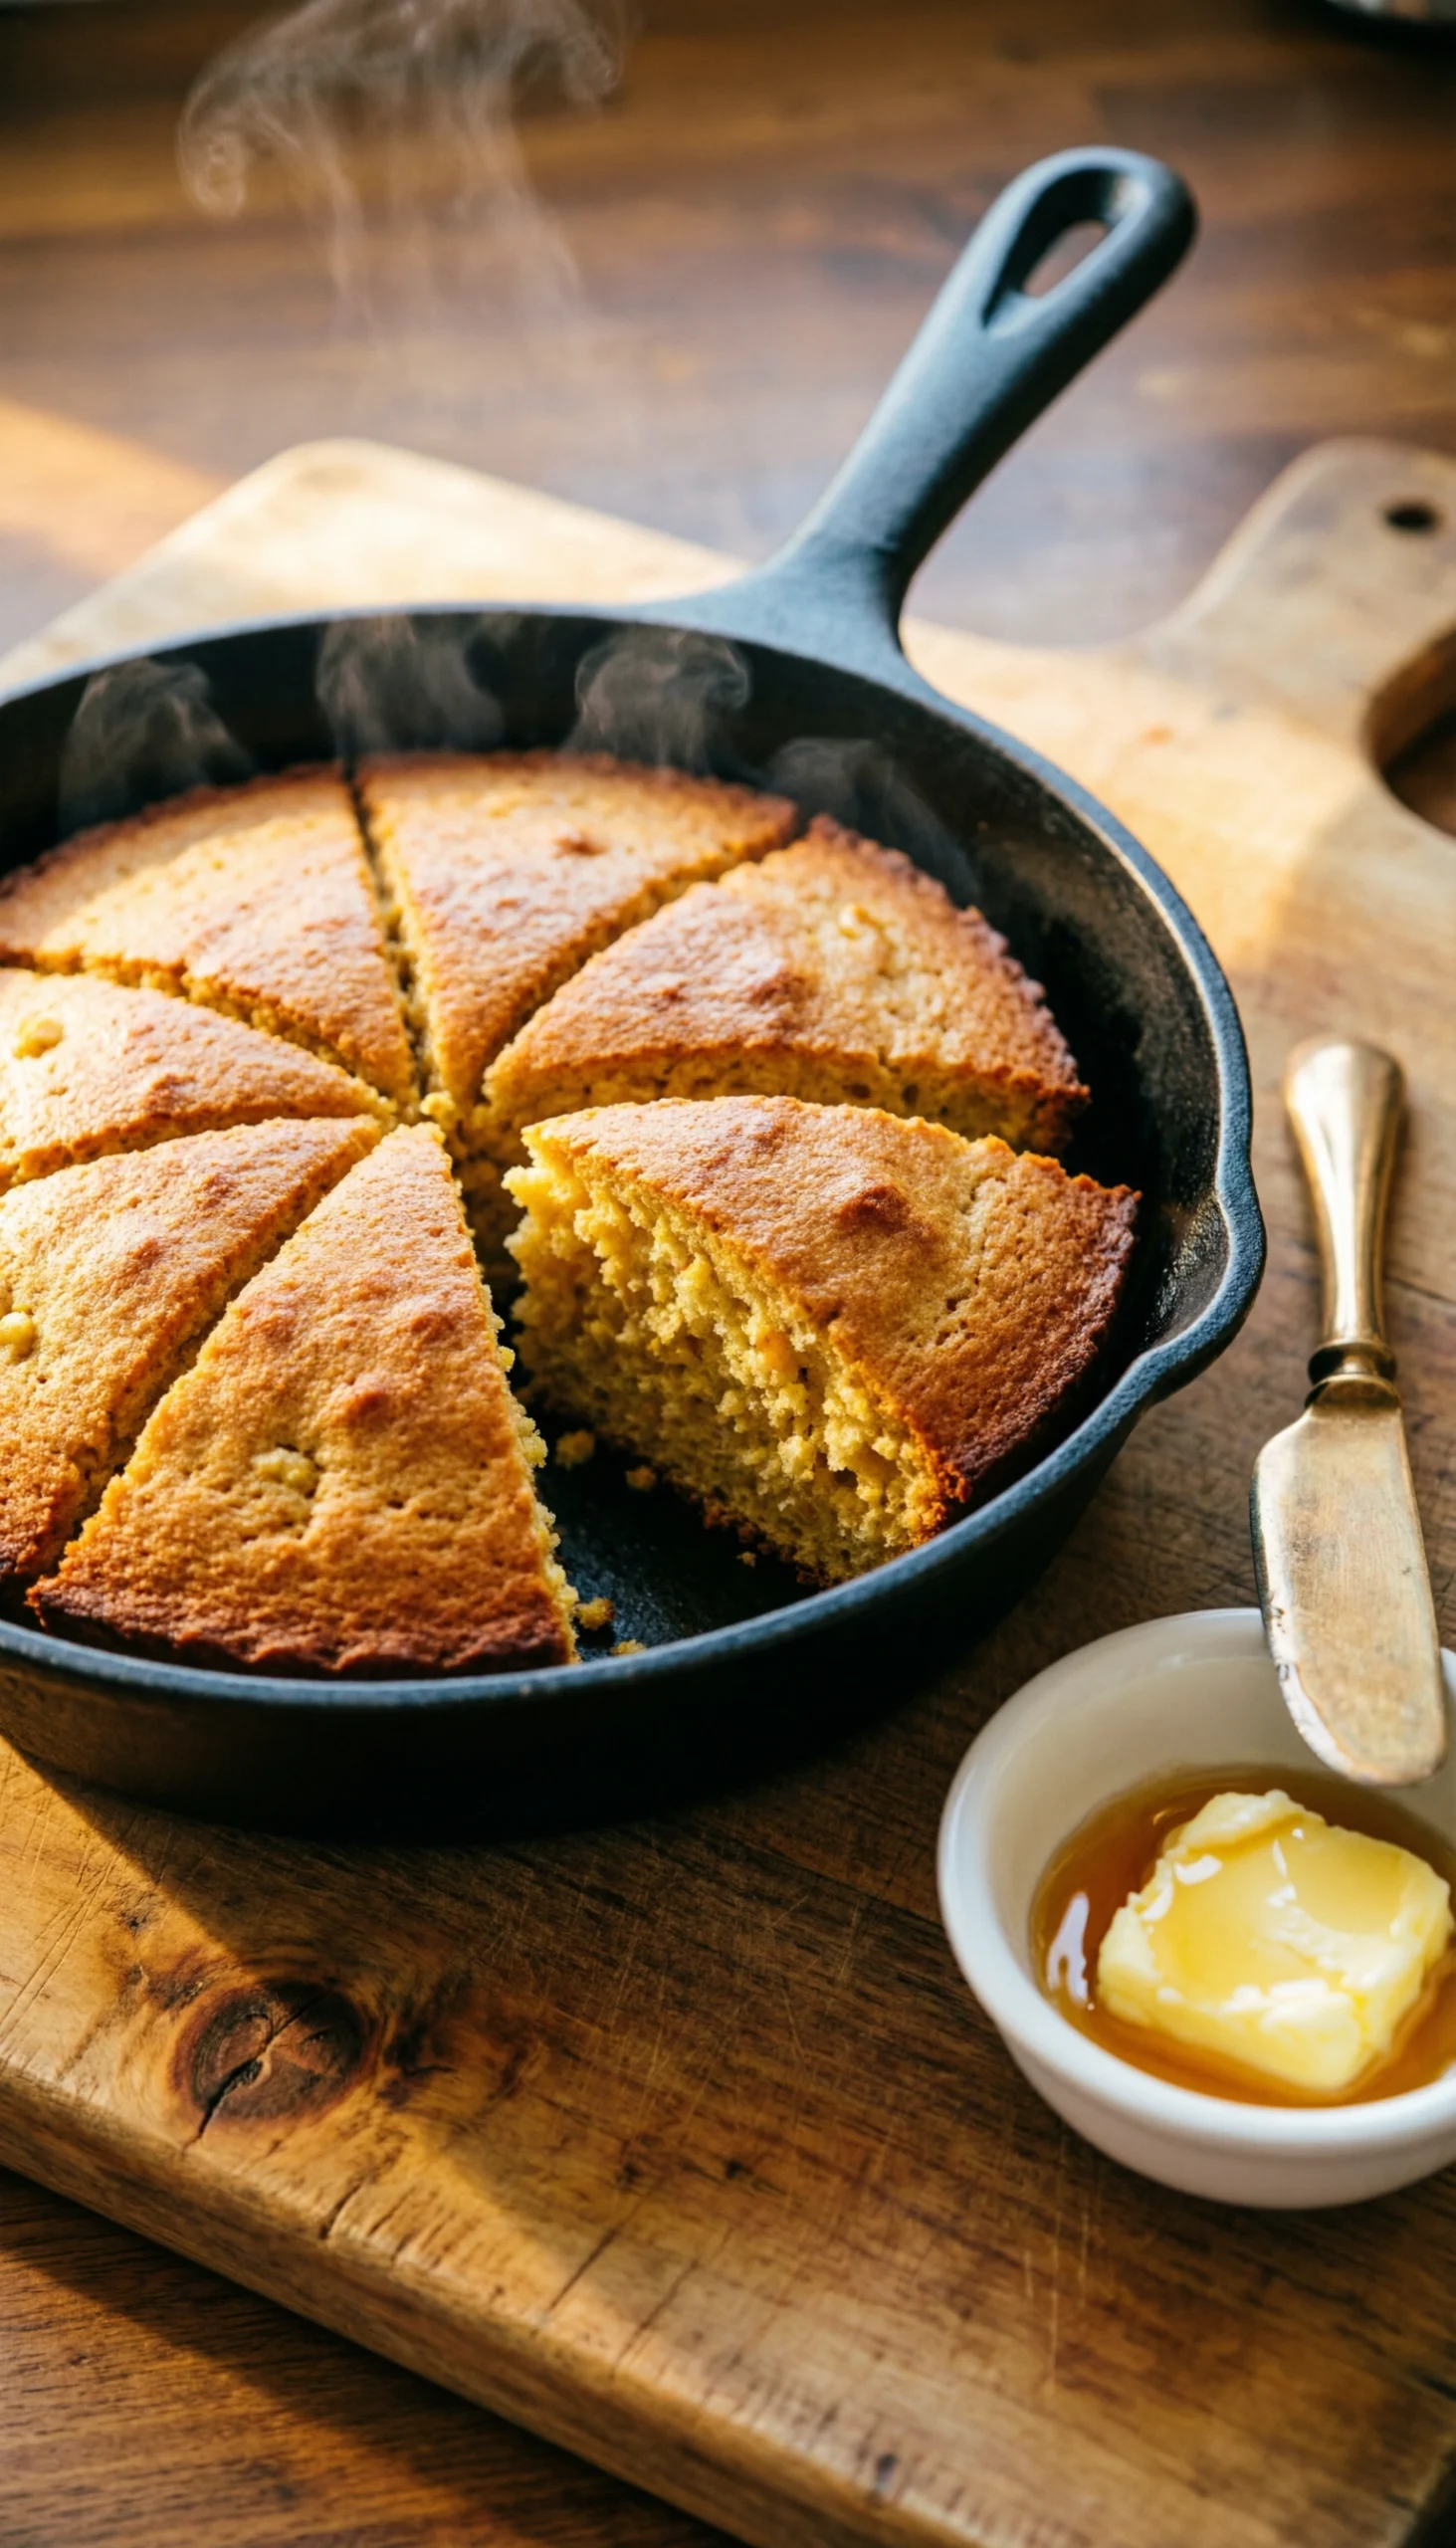
The perfect partner for any BBQ dish. Pin this classic recipe!
Nothing enhances BBQ flavor quite like a slice of **cast iron skillet cornbread with honey**. This savory cookout staple absorbs rich sauces perfectly. Because it uses a cast iron skillet, it develops an unbeatable crunchy crust that holds up well when transported and served warm outdoors.
#### Ingredients
– 1.5 cups fine-ground yellow cornmeal
– 1 cup all-purpose flour
– 1/4 cup sugar
– 1 tbsp baking powder
– 1/2 tsp salt
– 2 large eggs
– 1.5 cups buttermilk
– 6 tbsp unsalted butter, melted
#### Instructions
1. **Prepping:** Place a 10-inch cast iron skillet in the oven and preheat the oven to 400°F (200°C).
2. **Mixing:** In a large bowl, whisk together the cornmeal, flour, sugar, baking powder, and salt.
3. **Combining Wet Ingredients:** In a separate medium bowl, whisk the eggs and buttermilk. Pour the melted butter into the wet ingredients and whisk to combine.
4. **Baking:** Carefully remove the hot skillet from the oven. Pour the batter into the hot skillet—it should sizzle.
5. **Baking:** Bake for 20-25 minutes, or until the top is golden brown and a toothpick inserted into the center comes out clean. Let it cool for a few minutes before slicing and serving warm with honey butter.
> **Pro-Tip:** The secret to a perfect cornbread crust lies in the high thermal mass of cast iron. Preheating the skillet creates an intensely hot surface that instantly starts cooking the batter, forming a wonderfully crisp, non-stick crust that you can’t get from a standard baking pan.
### 8. Whip Up Hot Honey Glazed Carrots
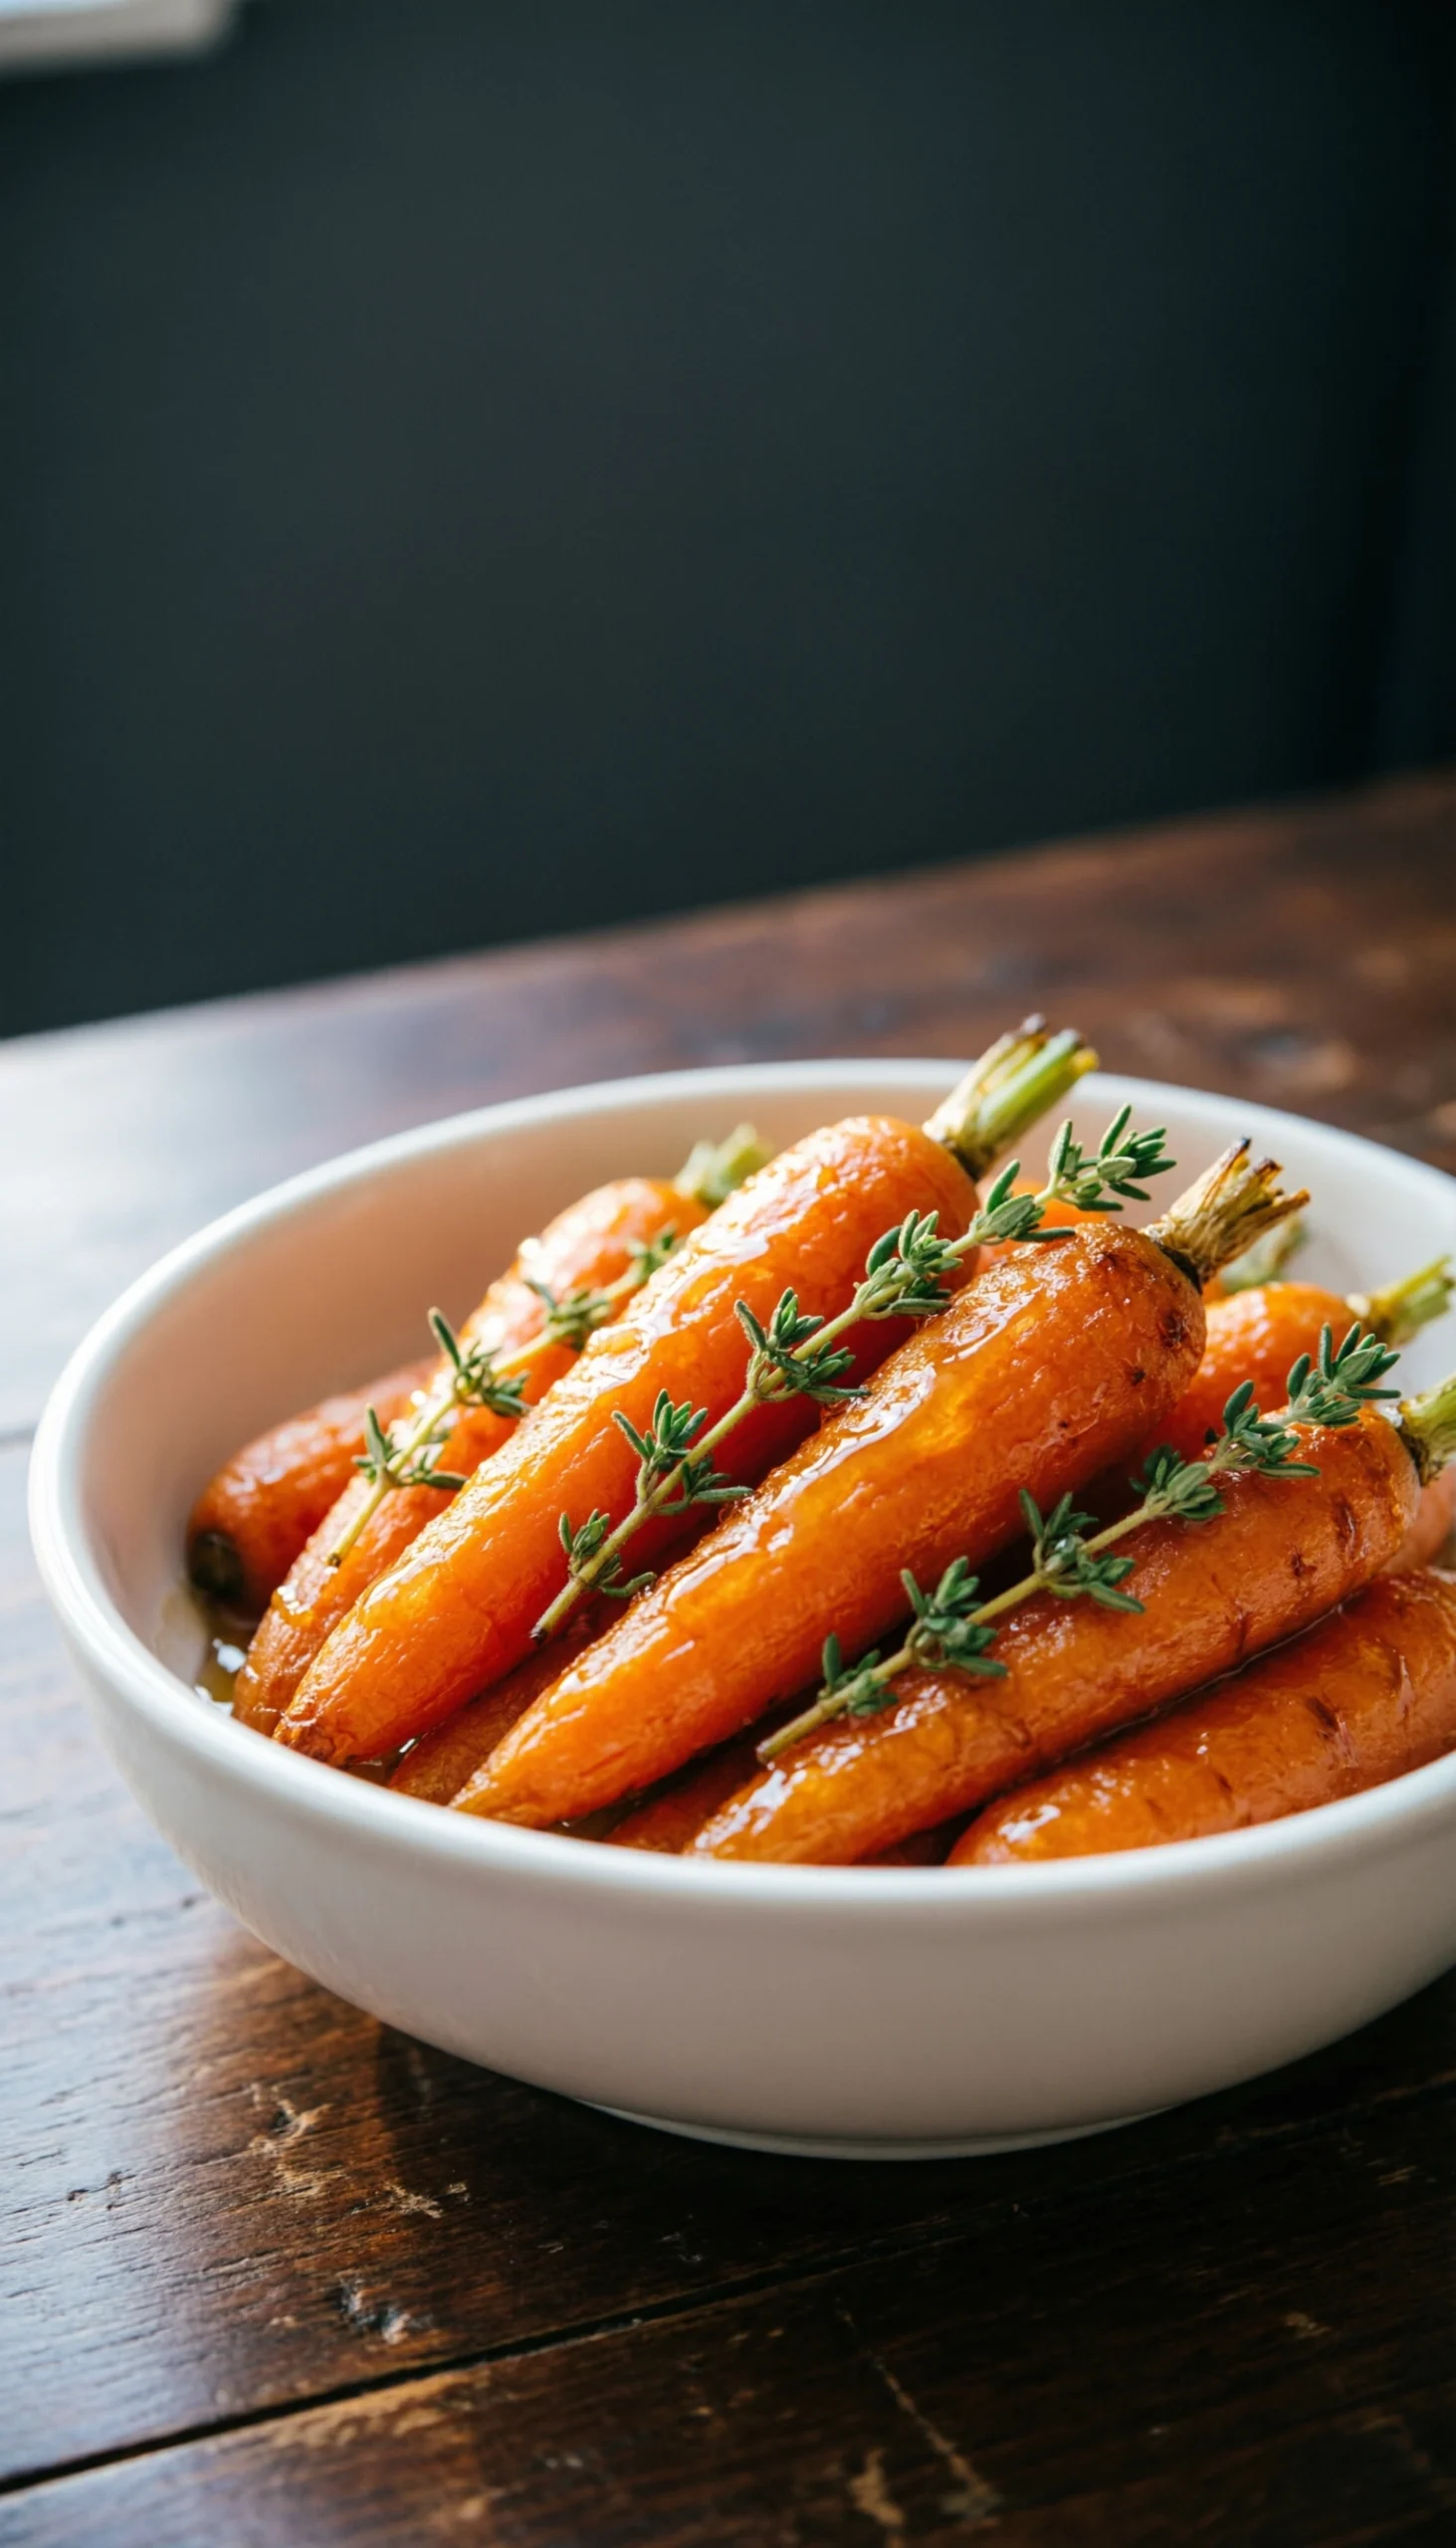
A surprisingly simple and elegant side dish! Pin for your next dinner party.
For a unique alternative to classic dishes, **hot honey glazed carrots for bbq** deliver incredible flavor. They add brilliant color to the plate while offering a modern twist. The sweet vs savory balance cuts through heavy, smoky meat beautifully, making this warm vegetable side highly desirable.
#### Ingredients
– 2 lbs carrots, peeled (use baby carrots for ease, or whole carrots cut into sticks)
– 2 tbsp olive oil
– 1/4 cup hot honey (or regular honey plus 1/2 tsp red pepper flakes)
– 2 tbsp butter, melted
– 1 tbsp fresh thyme leaves
– Salt and pepper to taste
#### Instructions
1. **Prepping:** Preheat oven to 400°F (200°C).
2. **Seasoning:** On a large rimmed baking sheet, toss the carrots with olive oil, salt, and pepper until evenly coated.
3. **Roasting:** Spread the carrots in a single layer and roast for 20-25 minutes, or until tender and slightly caramelized, tossing halfway through.
4. **Glazing:** While the carrots are roasting, whisk together the hot honey and melted butter in a small bowl.
5. **Finishing:** Remove the carrots from the oven and drizzle the hot honey glaze over them. Toss to coat evenly. Return to the oven for 2-3 minutes to let the glaze set. Sprinkle with fresh thyme before serving.
> **Pro-Tip:** Don’t have hot honey? Make your own by gently warming 1/4 cup of honey with 1/2 teaspoon of red pepper flakes and a pinch of salt. Let it sit for 10 minutes for the flavors to infuse. This chef-tested method allows you to control the heat perfectly.

### 9. Master the Loaded Baked Potato Casserole
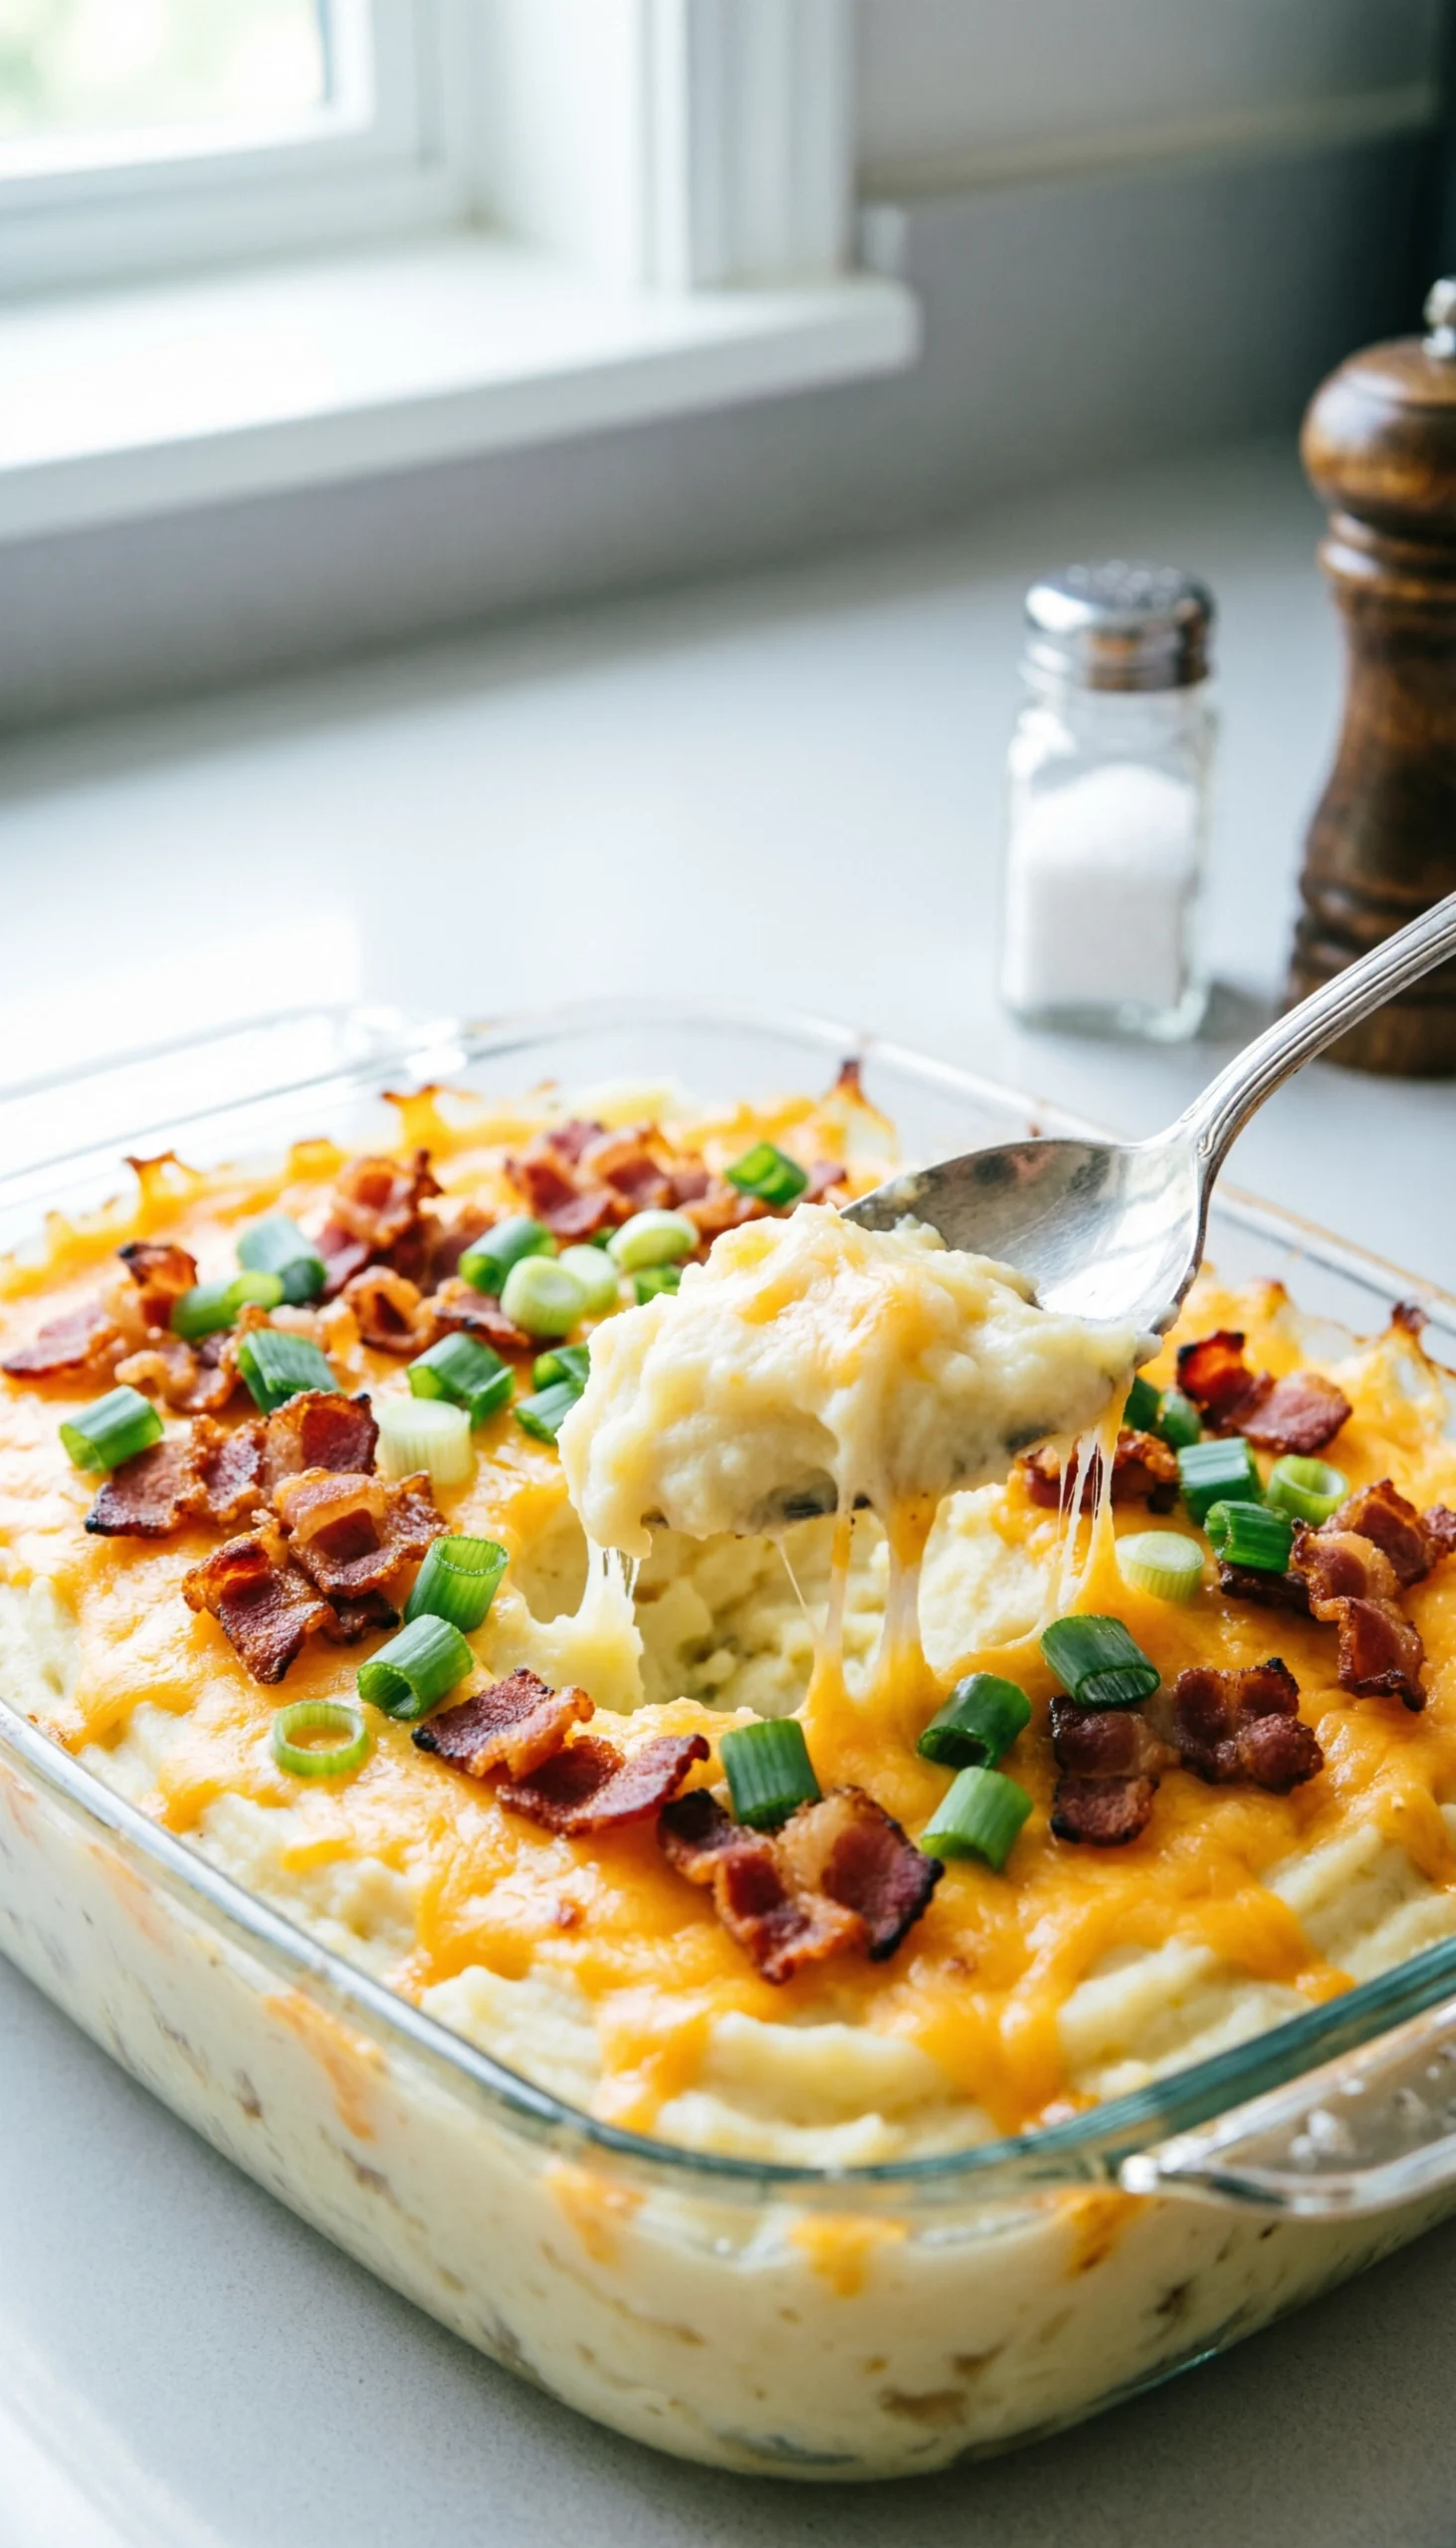
All the flavor of a baked potato, but easy to serve to a crowd! Pin it now.
Serving individual baked potatoes at a party is tedious. A **loaded baked potato casserole for cookouts** provides the exact same creamy, cheesy flavors in a format that easily satisfies large appetites. This loaded casserole reheats effortlessly and is extremely picky eater approved.
#### Ingredients
– 4 lbs russet potatoes, peeled and cut into 1-inch cubes
– 8 slices bacon, cooked and crumbled
– 1 cup sour cream
– 1/2 cup milk
– 4 tbsp butter
– 2 cups shredded cheddar cheese, divided
– 1/2 cup sliced green onions, divided
– Salt and pepper to taste
#### Instructions
1. **Boiling:** Place the cubed potatoes in a large pot of salted water. Bring to a boil and cook for 15-20 minutes, or until very tender. Drain well.
2. **Mixing:** Return the hot potatoes to the pot. Add the sour cream, milk, butter, 1 cup of cheddar cheese, half of the crumbled bacon, and half of the green onions. Mash until mostly smooth but still slightly chunky. Season generously with salt and pepper.
3. **Assembling:** Spread the potato mixture into a greased 9×13 inch baking dish.
4. **Topping:** Sprinkle the remaining 1 cup of cheddar cheese, the rest of the bacon, and the rest of the green onions over the top.
5. **Baking:** Bake at 350°F (175°C) for 25-30 minutes, or until heated through and the cheese is melted and bubbly. Serve warm.
> **Pro-Tip:** According to USDA recommendations, dairy and meat-based casseroles must be kept out of the bacterial growth danger zone (40°F-140°F). Keep this casserole in an insulated carrier or warm on the grill until ready to serve.

### 10. Prepare a Zesty Warm Mediterranean Grilled Vegetable Medley
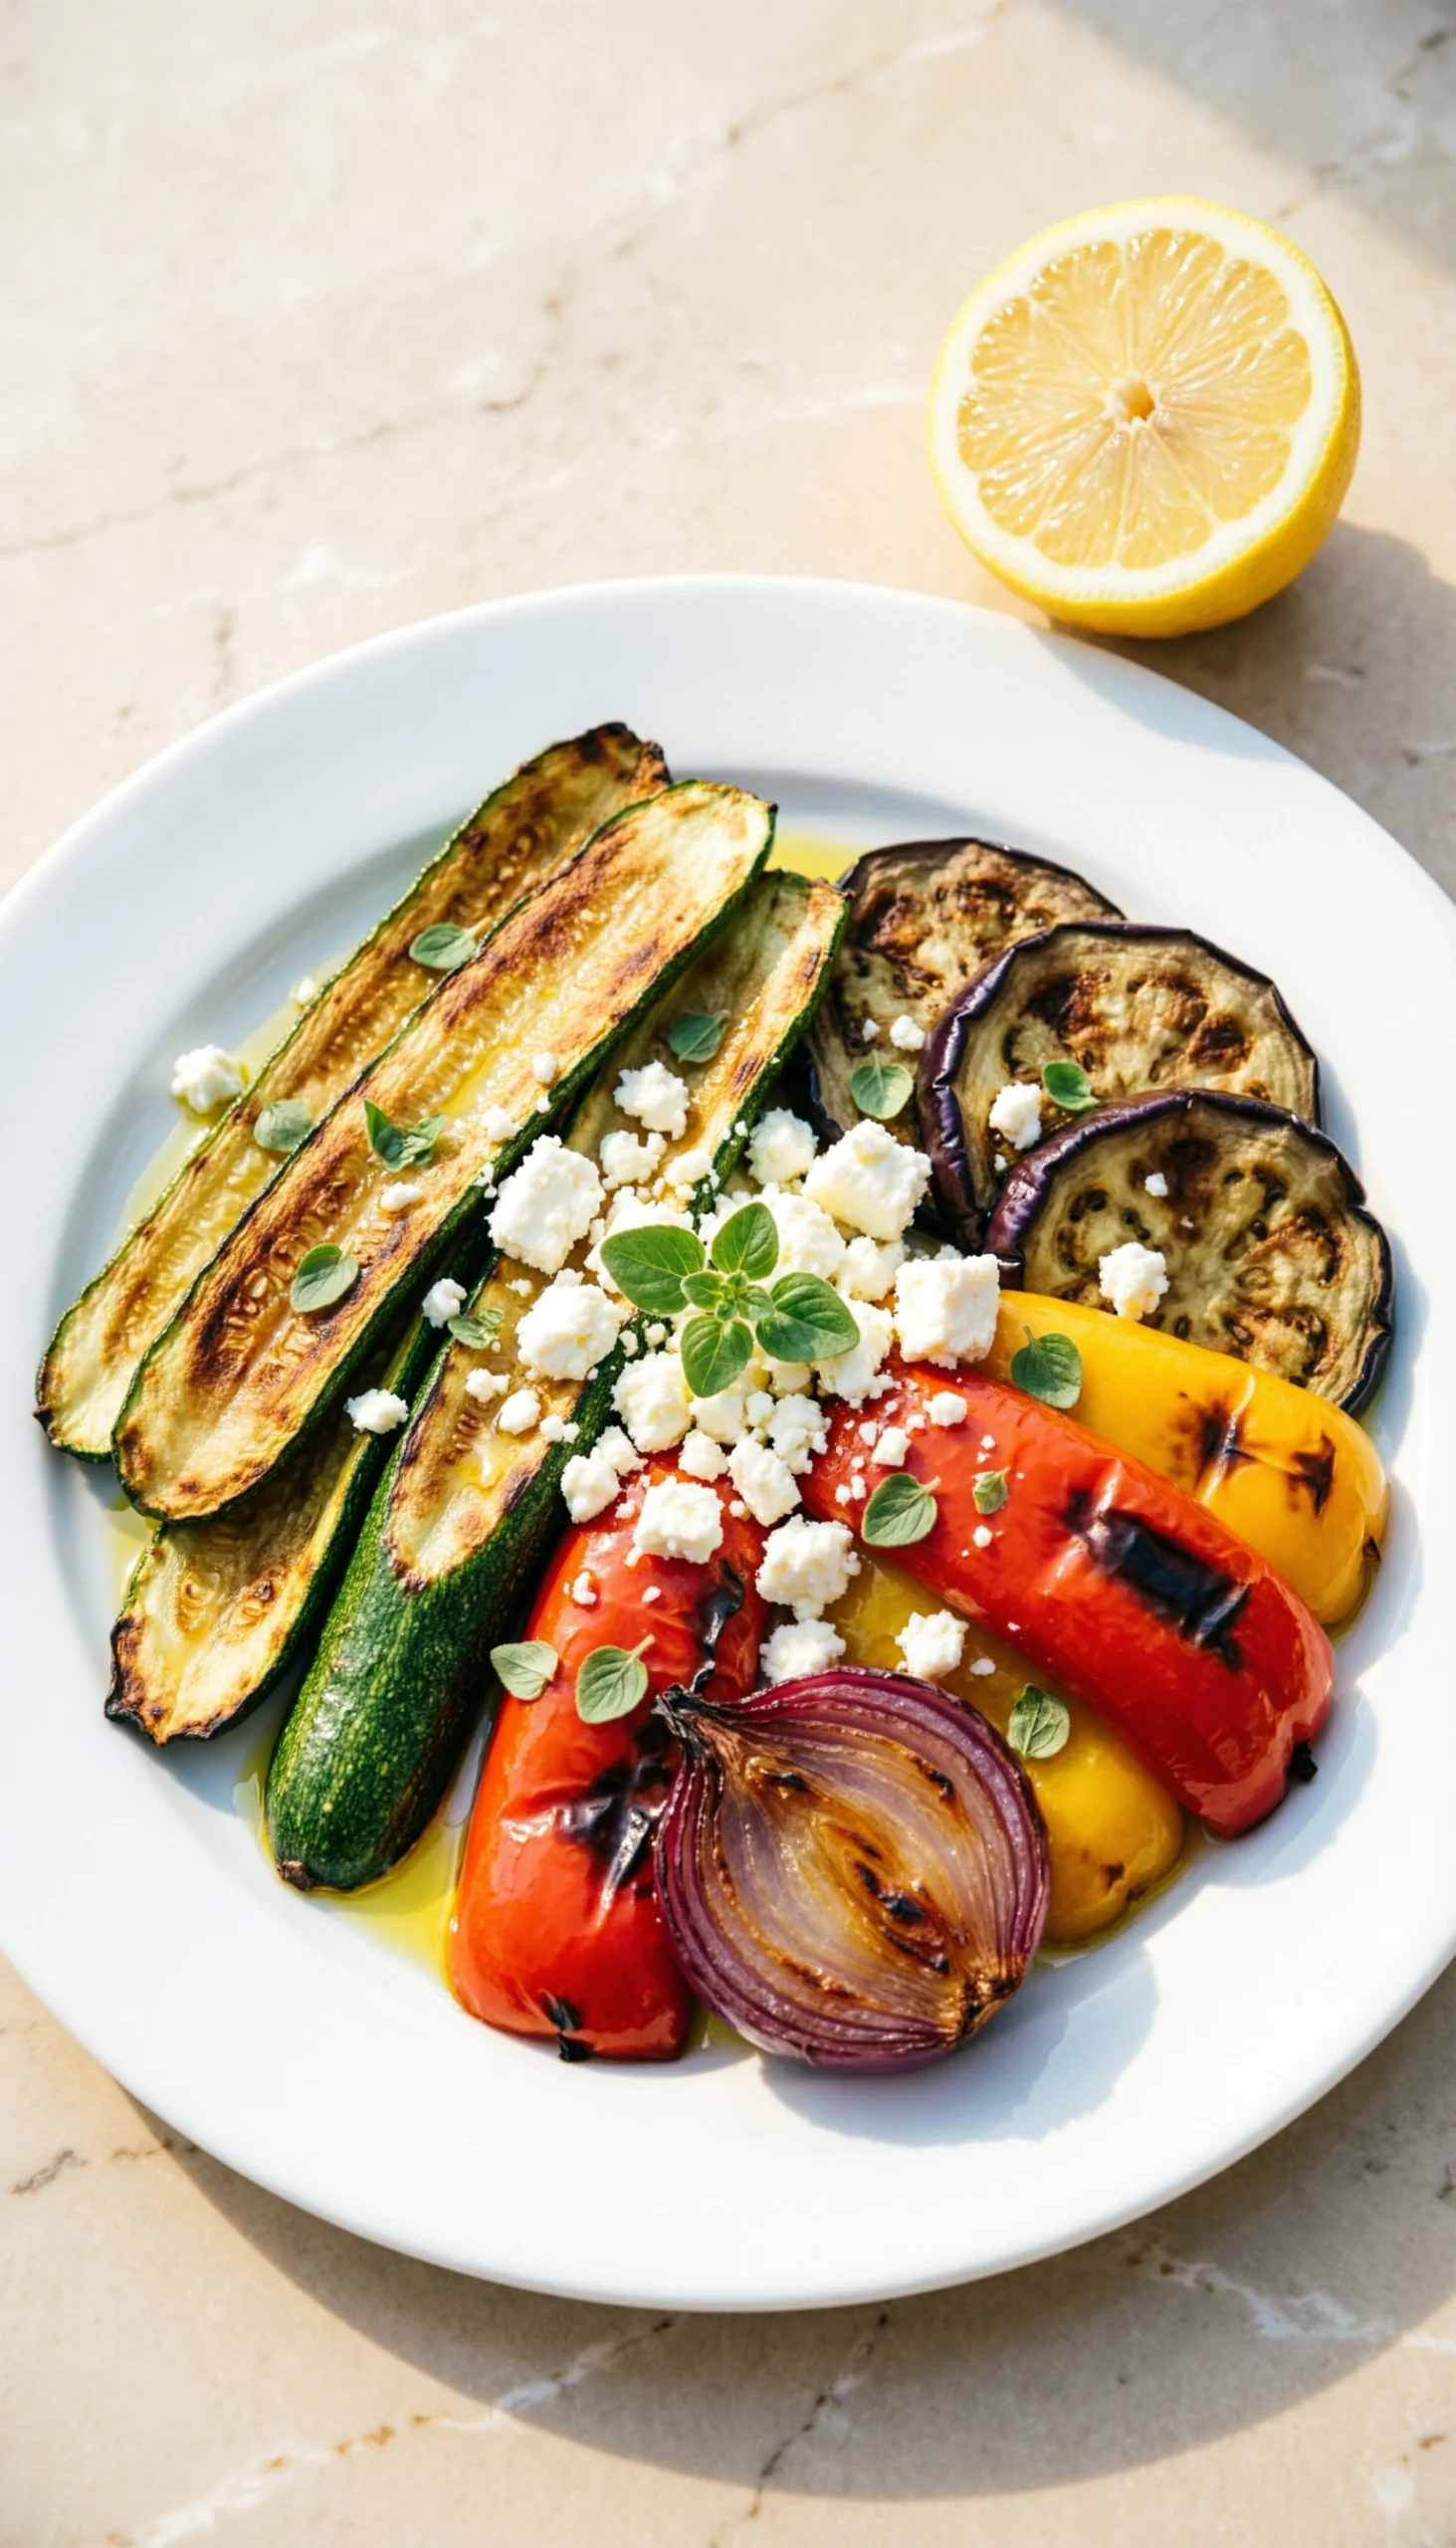
A healthy and sophisticated side that’s surprisingly easy. Pin for a taste of summer!
For hosts comparing light vs heavy sides, a **warm mediterranean grilled vegetable medley** offers a fantastic solution. This zesty vegetarian alternative naturally offsets spicy BBQ sauces. It features vibrant grilled zucchini and eggplant, providing a healthy cookout side that feels elevated yet easy to prepare.
#### Ingredients
– 1 medium eggplant, sliced into 1/2-inch rounds
– 2 medium zucchini, sliced lengthwise into planks
– 2 red bell peppers, seeded and quartered
– 1 large red onion, cut into thick wedges
– 1/4 cup olive oil
– 1 tsp dried oregano
– Juice of 1 lemon
– 1/2 cup crumbled feta cheese
– Fresh mint or parsley for garnish
– Salt and pepper
#### Instructions
1. **Prepping:** Preheat grill to medium-high. If desired, salt the eggplant slices and let them sit for 20 minutes to draw out moisture, then rinse and pat dry.
2. **Seasoning:** In a large bowl, toss the eggplant, zucchini, bell peppers, and onion with olive oil, dried oregano, salt, and pepper.
3. **Grilling:** Place the vegetables directly on the grill grates. Grill for 4-6 minutes per side, until tender and nicely charred.
4. **Assembling:** As the vegetables come off the grill, roughly chop them into bite-sized pieces and place them in a large serving bowl.
5. **Finishing:** While the vegetables are still warm, drizzle with fresh lemon juice and toss with the crumbled feta cheese. Garnish with fresh mint or parsley before serving.
> **Pro-Tip:** Salting the eggplant is a professional technique to improve its texture and flavor. It draws out bitter juices and helps the eggplant become creamy, not spongy, when grilled. This step makes a huge difference in the final dish.
### 11. Craft a Creamy Jalapeño Corn Pudding
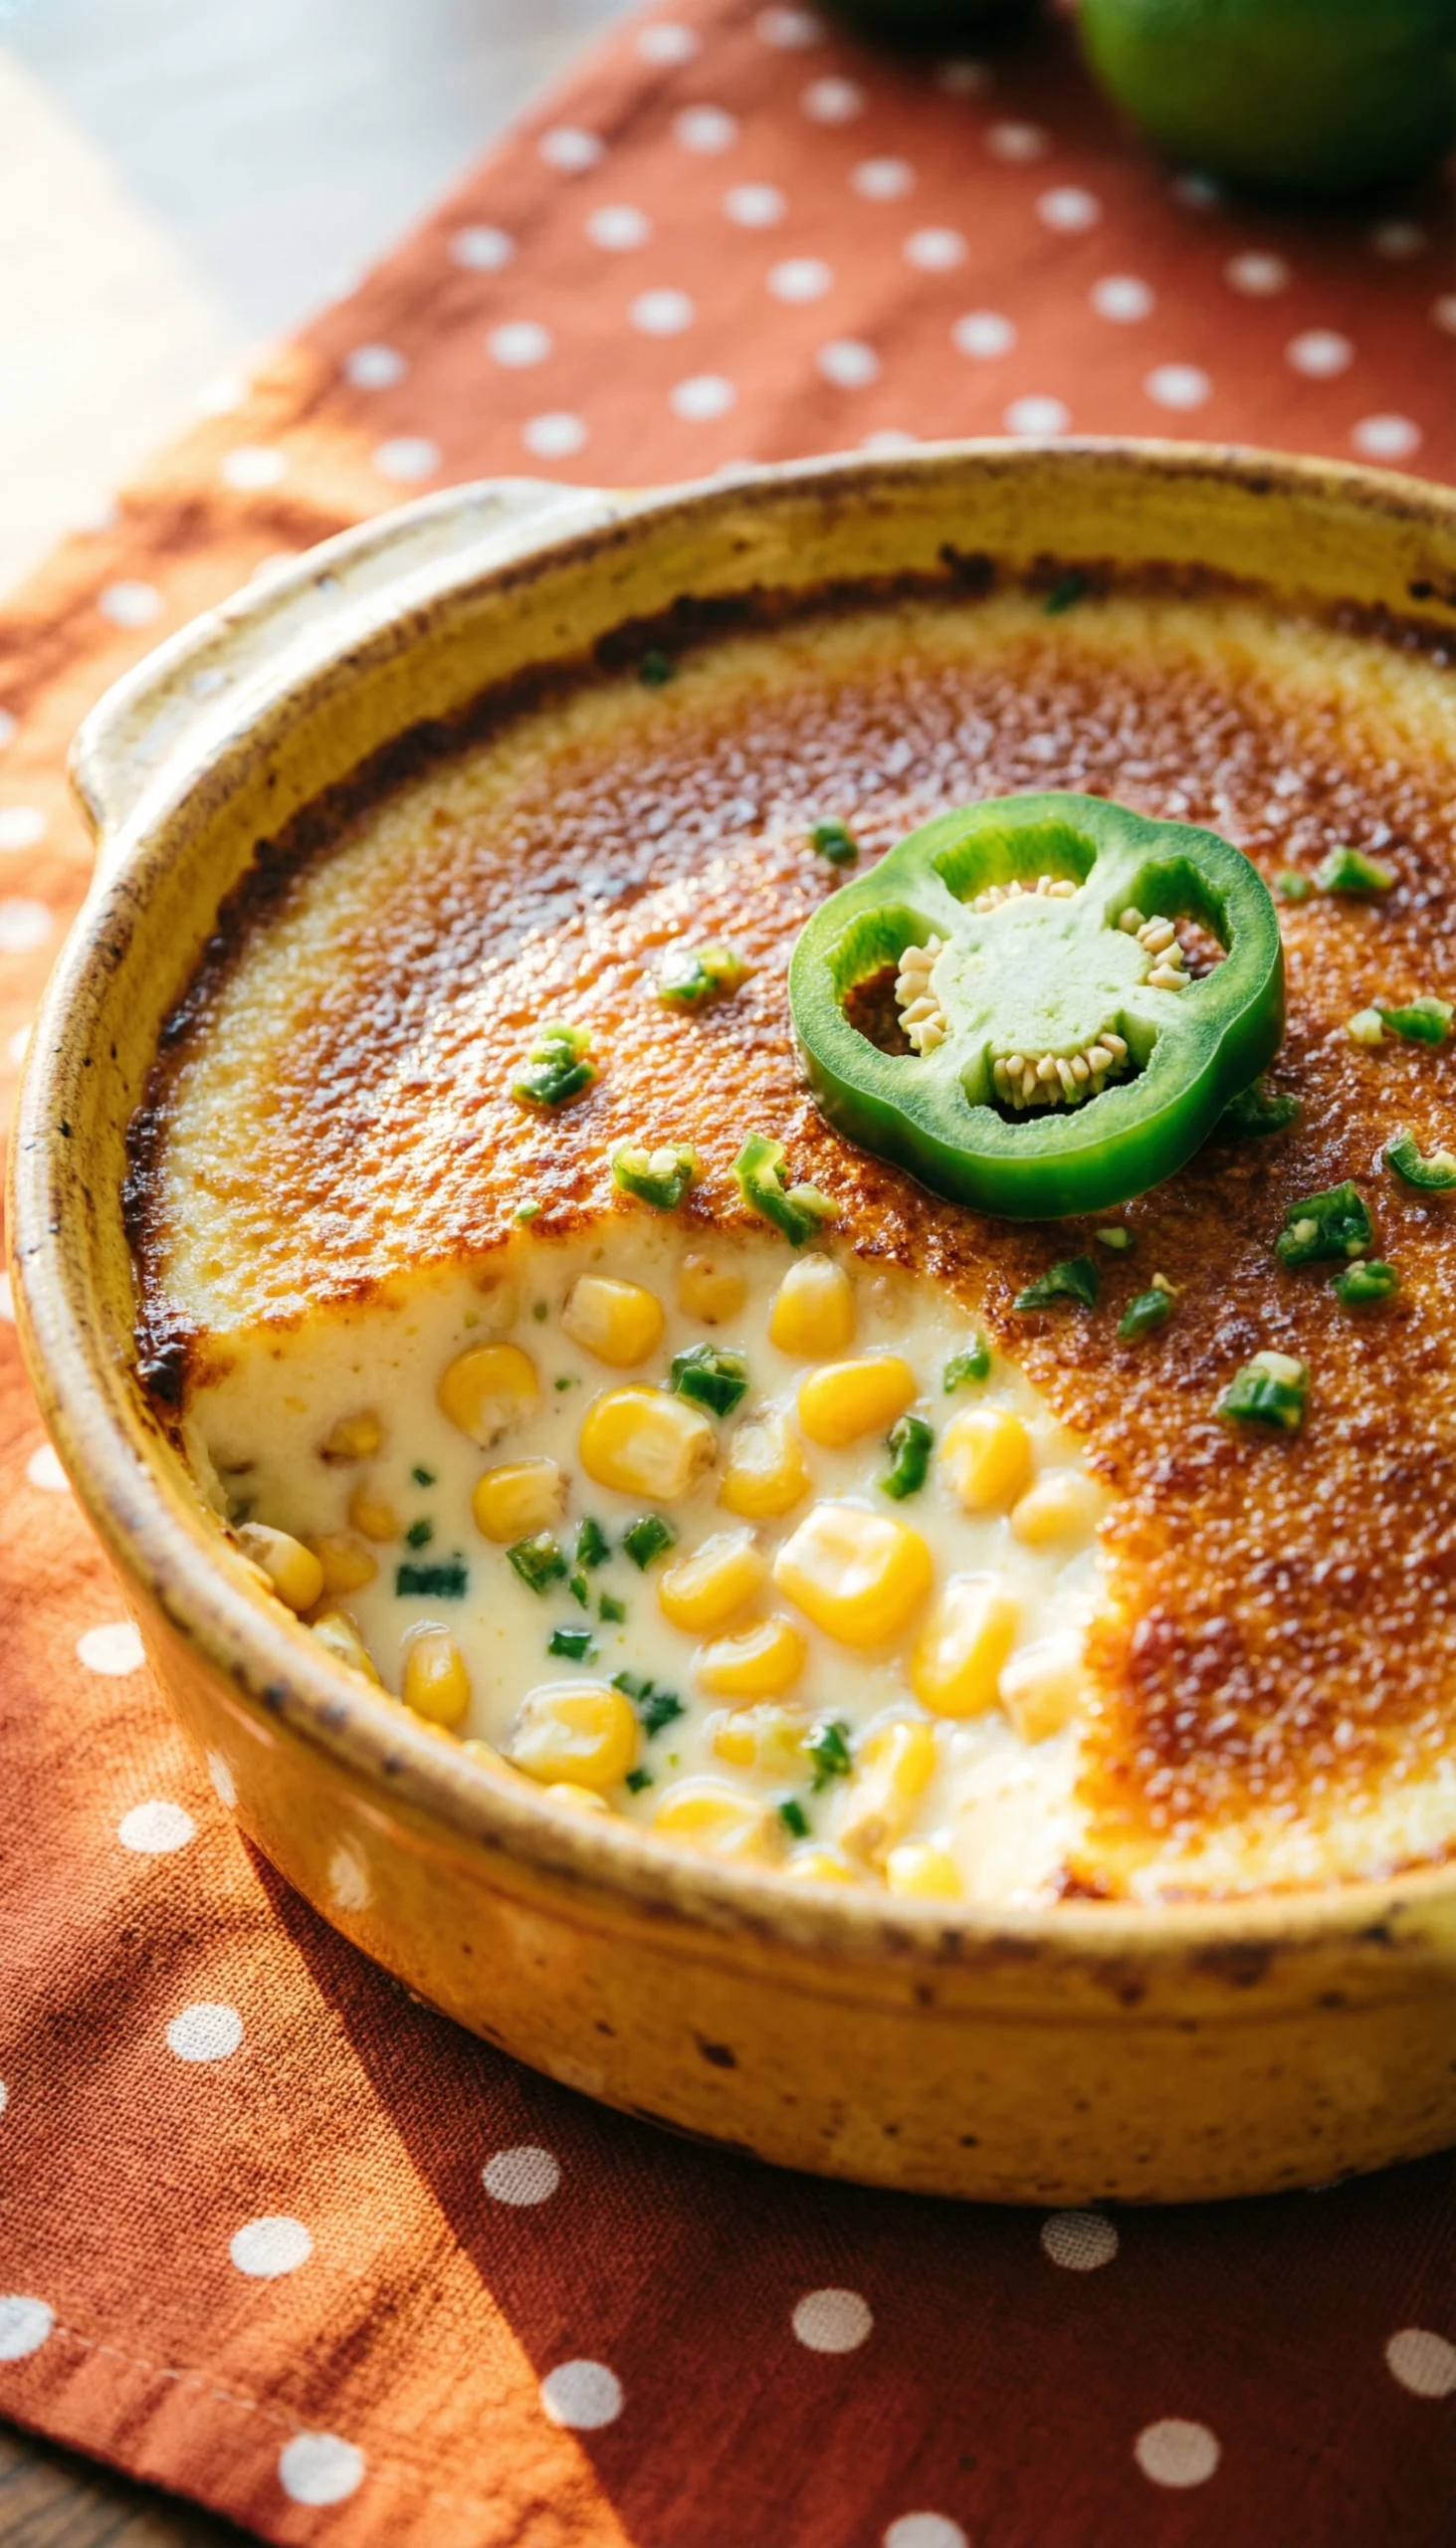
A southern classic with a kick! Pin this unique side dish recipe.
If you enjoy unique vs classic debates, this **creamy corn pudding with jalapeños** wins every time. It provides a hearty texture that perfectly offsets spicy sauces with its underlying sweet creaminess. It’s an incredibly comforting side dish that guests will remember long after the cookout ends.
#### Ingredients
– 1 (15 oz) can whole kernel corn, drained
– 1 (15 oz) can cream-style corn
– 1 (8.5 oz) box corn muffin mix (like Jiffy)
– 1 cup sour cream
– 1/2 cup melted butter
– 2 large eggs, beaten
– 1-2 jalapeños, finely diced (seeds removed for less heat)
#### Instructions
1. **Prepping:** Preheat oven to 350°F (175°C). Grease an 8×8 inch baking dish.
2. **Mixing:** In a large bowl, combine the drained whole kernel corn, cream-style corn, corn muffin mix, sour cream, melted butter, beaten eggs, and diced jalapeños.
3. **Assembling:** Stir until everything is just combined. Do not overmix.
4. **Baking:** Pour the batter into the prepared baking dish.
5. **Baking:** Bake for 45-55 minutes, or until the center is set and the top is golden brown. The pudding will be soft and custard-like. Let it cool for 10 minutes before serving warm.
> **Pro-Tip:** The heat from jalapeños is concentrated in the seeds and white membranes. For a mild, family-friendly version that is picky eater approved, make sure to remove all seeds and membranes. For heat lovers, leave some in!

## Key Takeaways: Your Quick Guide to Perfect Warm Cookout Sides
Navigating outdoor dining recipes can be overwhelming, but remembering a few core insights will guarantee success. Review these main takeaways to ensure your warm sides stay delicious, safe, and wildly popular.
* **Embrace Your Slow Cooker:** For dishes like slow cooker cowboy beans, a crock pot is your best friend. It allows for make-ahead prep, easy transport, and keeps the food safely warm throughout the event.
* **Don’t Fear the Grill:** The grill isn’t just for meat. Use it to make fantastic warm vegetable sides like honey butter corn on the cob or grilled vegetable kabobs, which cook quickly and save oven space.
* **Master the Make-Ahead Casserole:** Cheesy casseroles like the loaded baked potato casserole or southern-style mac and cheese are crowd-pleasing staples that can be assembled the night before to save time.
* **Prioritize Food Safety:** Always adhere to food safety guidelines. Hot food must be kept above 140°F to prevent bacterial growth. Use insulated carriers, slow cookers on a “warm” setting, or chafing dishes.
* **Technique Matters for Texture:** To get the best results, use chef-tested techniques. Preheat your cast iron skillet for crispy cornbread, par-boil potatoes for a crispy exterior, and use freshly grated cheese for the creamiest mac and cheese.
## People Also Ask About Warm Cookout Side Dishes
Hosting a seamless summer cookout requires planning, especially when determining how to manage hot food safely. Below are the most common cookout queries regarding logistics and menu pairings.
### How do you keep side dishes warm at a cookout?
**The best way to keep side dishes warm is by using insulated carriers, slow cookers, or chafing dishes.** For dishes like baked beans or mac and cheese, a slow cooker set to “warm” is perfect. For casseroles, transport them in an insulated food carrier immediately after baking. You can also place aluminum trays on the upper rack of a grill over low, indirect heat to keep them warm.
### What are the most popular hot BBQ sides?
**The most popular hot BBQ sides are classic comfort foods that pair well with smoky meat.** This includes homemade baked beans, creamy baked macaroni and cheese, buttery cornbread, and some form of cheesy potatoes like a cheesy hashbrown casserole. These dishes are popular because they are crowd-pleasing, hearty, and have a nostalgic, traditional feel.
### How many side dishes do I need for 20 people?
**For a party of 20, a good rule of thumb is to offer 3 to 4 different side dishes.** This provides variety without being overwhelming. You should aim for a mix of types: one potato or pasta-based side (like mac and cheese), one bean or vegetable-based side (like baked beans or grilled vegetables), and one bread or lighter option (like cornbread). Plan for about 1/2 cup serving size per person, per dish.
### Can I make BBQ sides the night before?
**Yes, many warm BBQ sides are perfect for making the night before.** Casseroles like the loaded baked potato casserole or cheesy hashbrown casserole can be fully assembled (without the crunchy topping) and refrigerated. Bean dishes often taste even better the next day. Simply plan for extra time to reheat them thoroughly in the oven or a slow cooker before the event.
### How do you transport hot side dishes to a potluck?
**To transport hot side dishes safely, use insulated food carriers or a slow cooker with a locking lid.** If you don’t have a dedicated carrier, you can wrap a hot dish tightly in foil, then in several layers of thick towels, and place it in a cooler. This creates a makeshift hot box that will keep food at a safe internal temperature for a short trip.
## Final Thoughts on Warm Cookout Side Dishes
Serving amazing **warm cookout side dishes** is entirely possible and highly rewarding when you employ the right tools and strategies. While cold pasta salads have their place, hot sides for grilled chicken, steaks, and burgers are what transform a standard backyard get-together into an unforgettable barbecue feast.
By utilizing expert hosting tips—such as prepping casseroles the night before, preheating cast iron, and relying on insulated carriers—you bypass the usual stress of outdoor entertaining. Your guests will deeply appreciate the robust, comforting flavors that only warm sides can provide.
Which recipe are you most excited to add to your summer menu in 2026? Whether you fire up the grill for zesty vegetables or plug in the slow cooker for smoky beans, you are fully equipped to host with confidence.
Last update on 2026-06-01 at 22:25 / Affiliate links / Images from Amazon Product Advertising API
